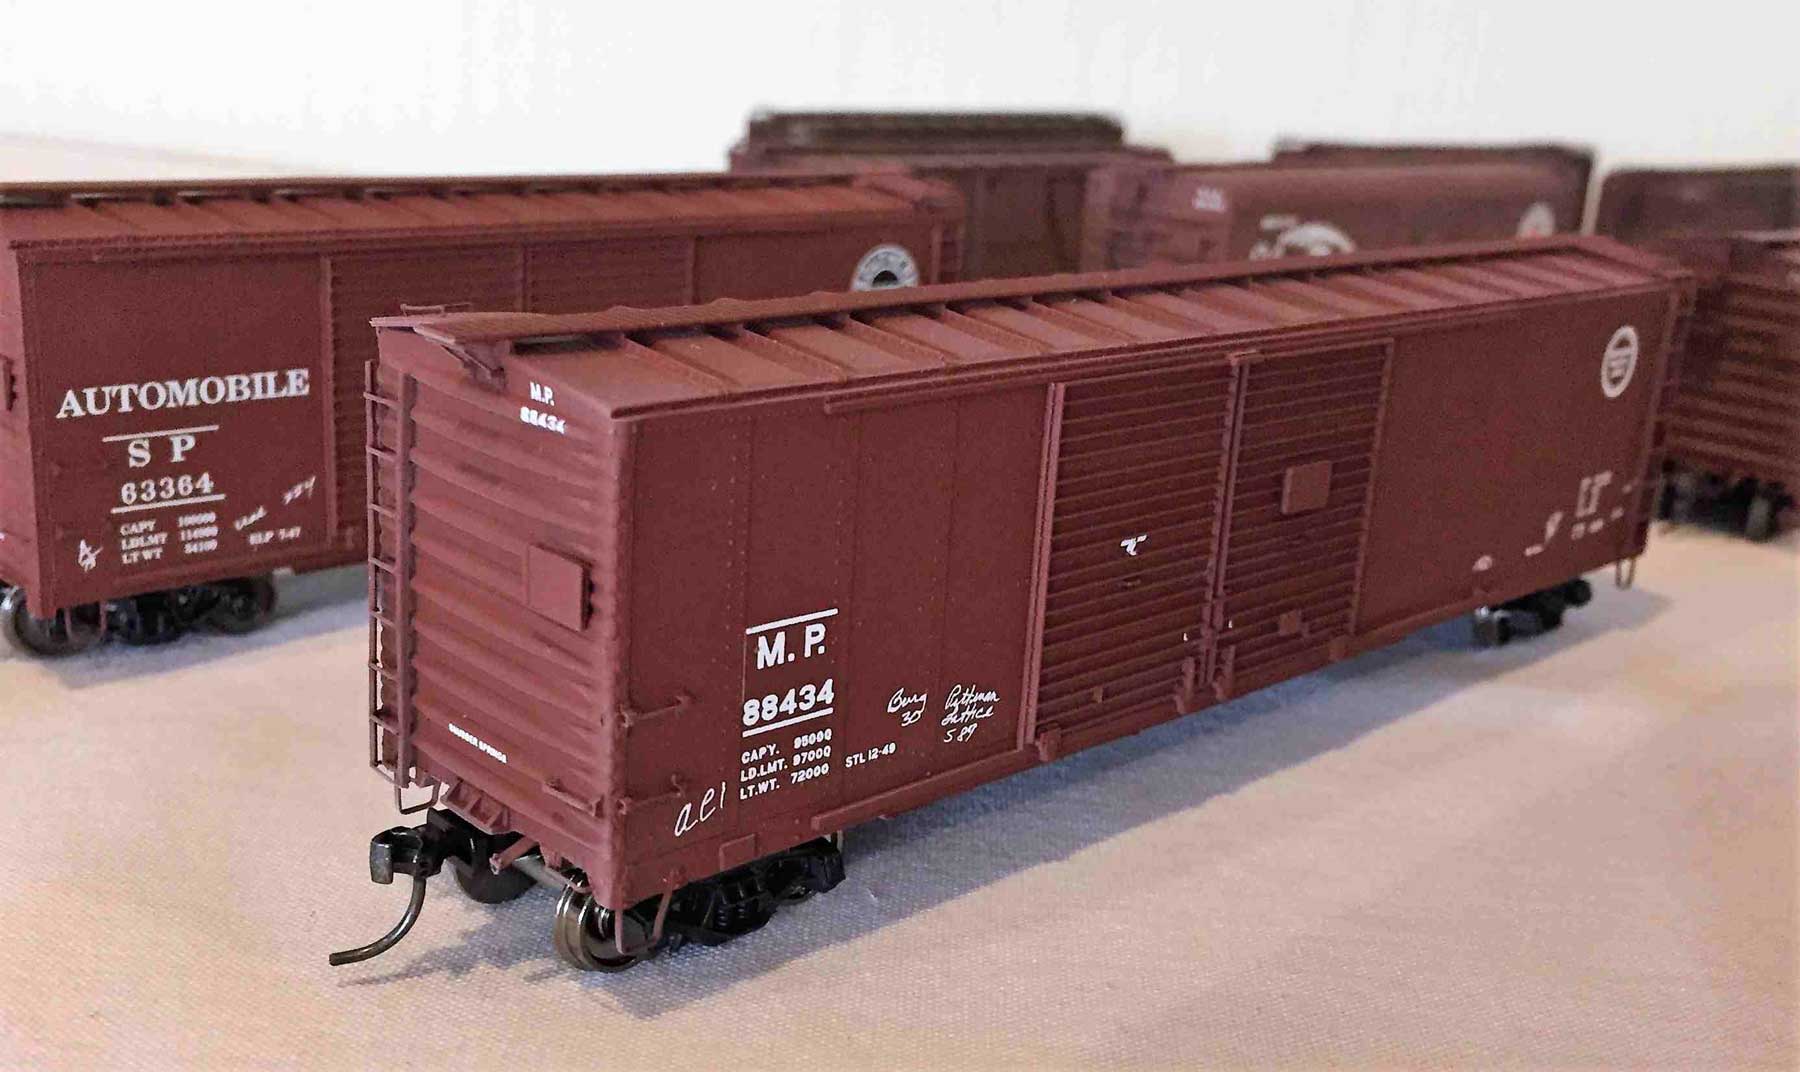
Craig Zeni displayed several fine models at the recent RPM-East event. Here’s how the models looked on March 25. Craig shared updated images of these cars recently in a weathered state so we thought you might enjoy his techniques. Here’s Craig with more details.
I had a really good time at the recent RPM-East prototype modeler meet in Greensburg, PA. After arriving back home, I was inspired to move a couple of the display models through the weathering steps.
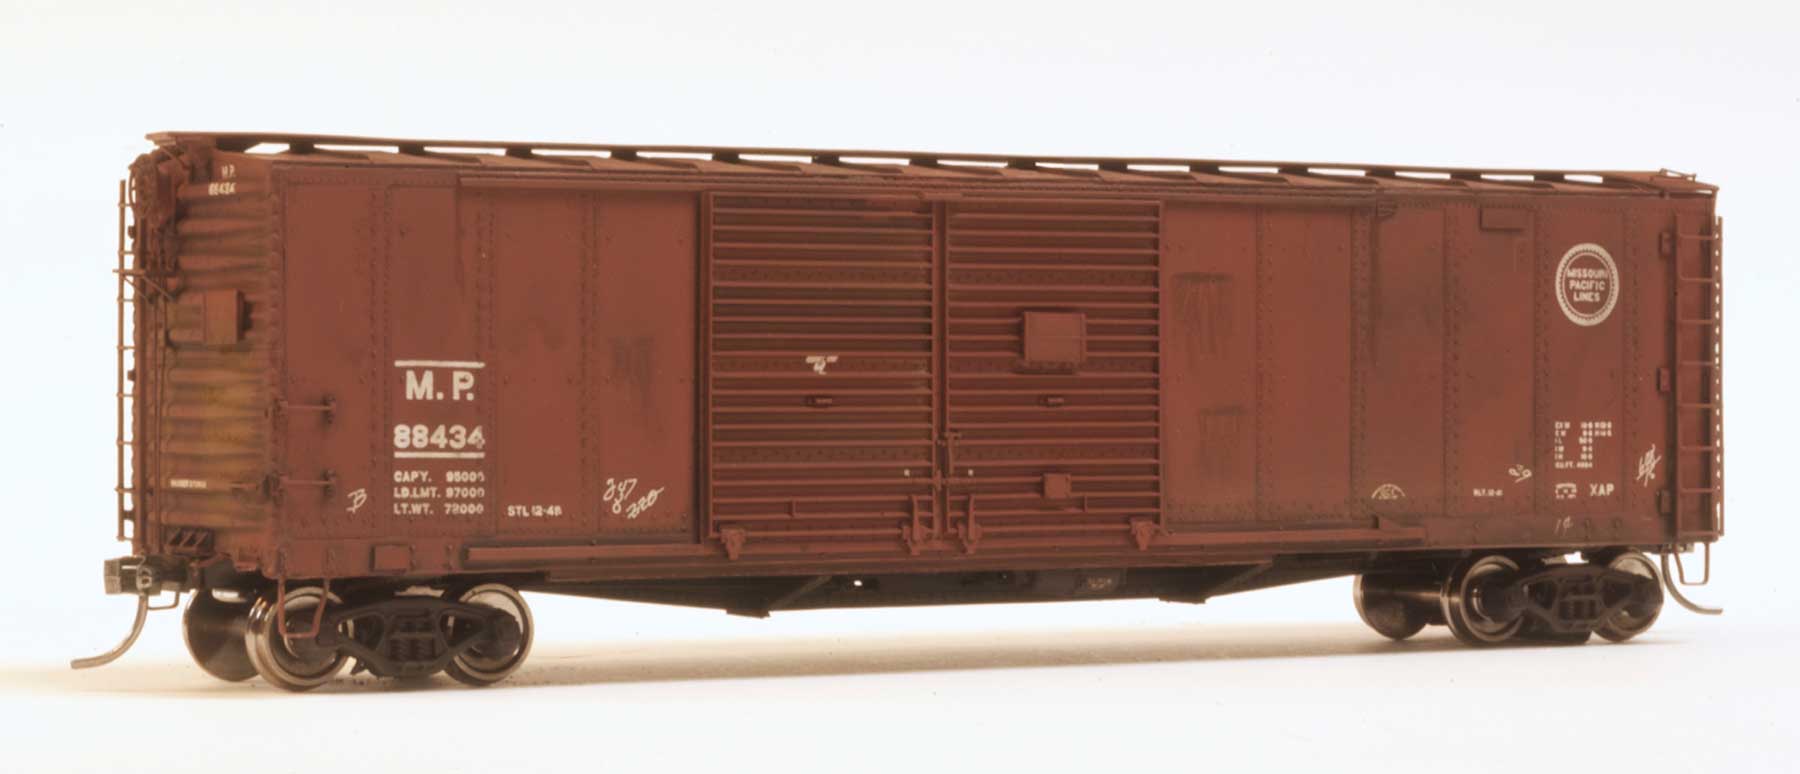
This Mopac automobile box car is a Resin Car Works kit. I used a Kadee running board and substituted Kadee bracket grabs with Yarmouth Model Works ladders. I think I’ve got the hang of building the Yarmouth ladders and the look cannot be beat.
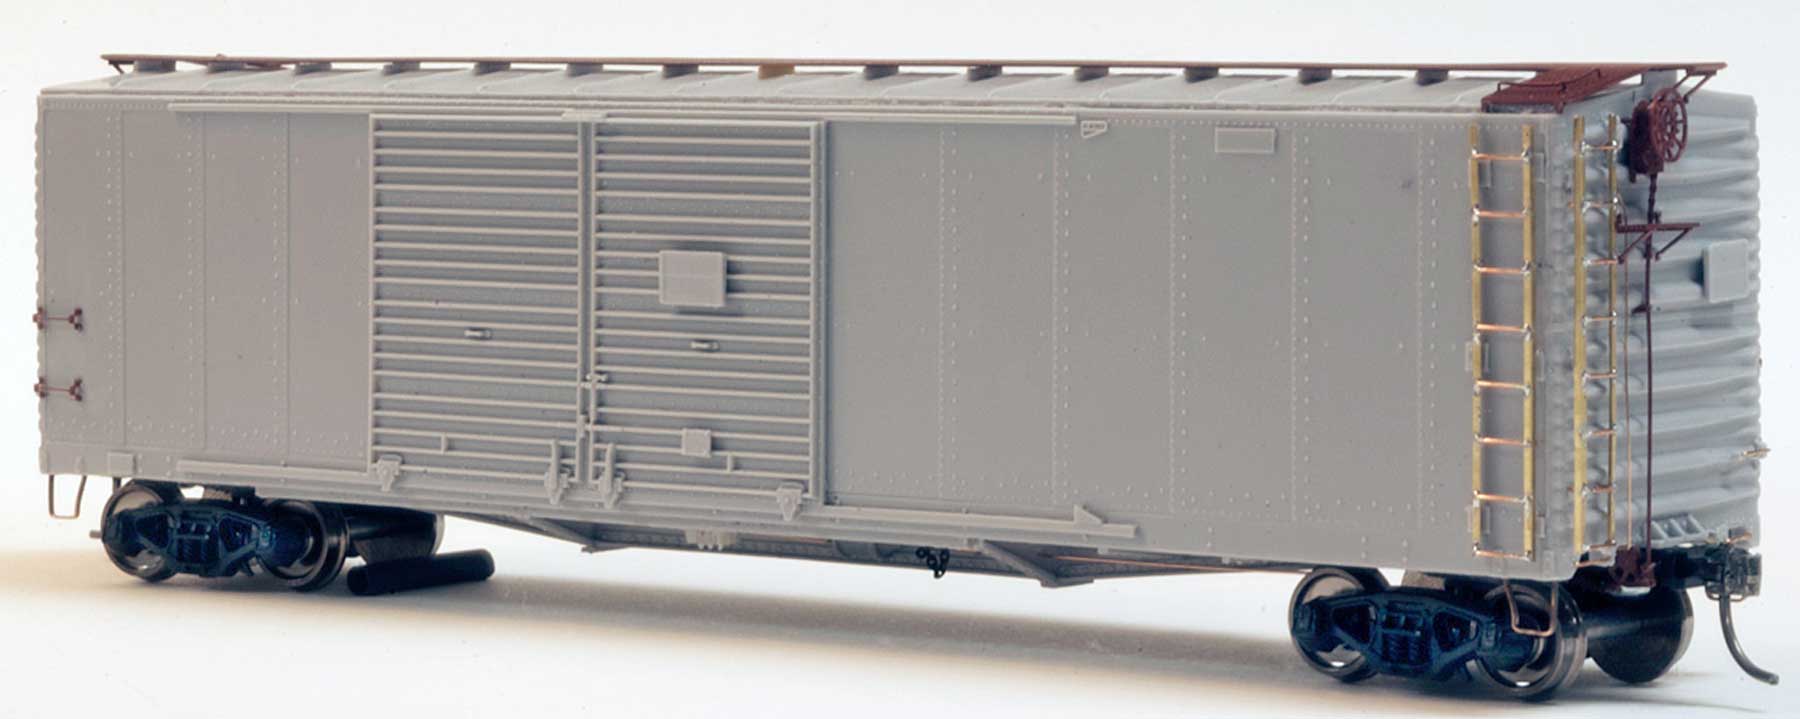
Here’s a look at the model in early January, just after it was built.
I generally paint with Scalecoat II paint so it’s a glossy finish to apply decals after the paint dries. After I get the decals applied right, including the decal chalk marks, I airbrush Model Master non-acrylic flat finish right over the decals. As with the Scalecoat paint, I give these finishes plenty of time to dry…at least a week.
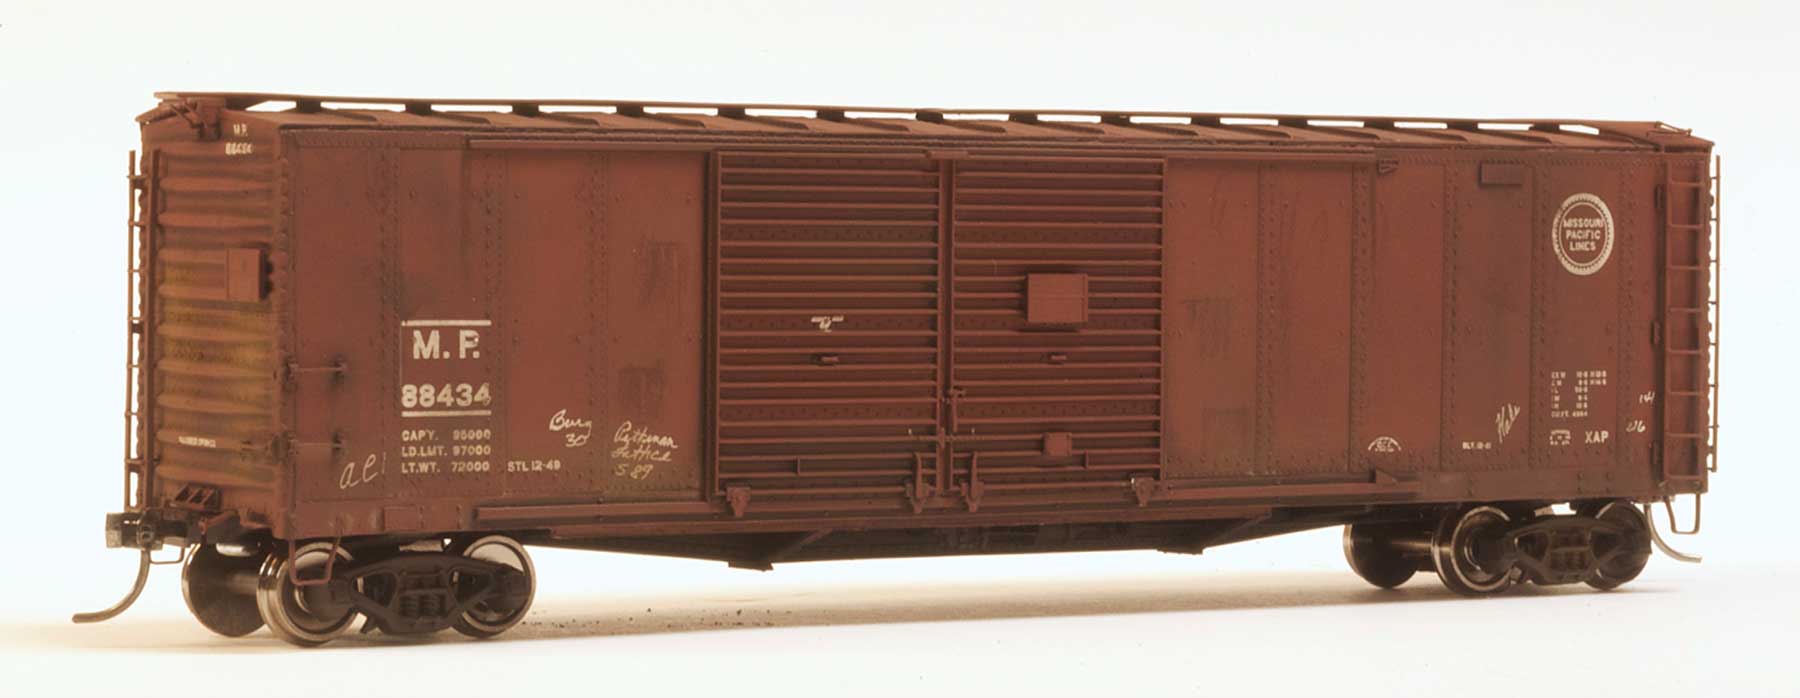
Once I get in a weathering mood, it goes pretty fast for me. The weathering steps are applied as layers. Washes are applied in multiple passes until I’m happy with the appearance. I have to give Tony Thompson credit for this method; I picked it up at his clinic in Cocoa Beach a couple of years ago.
Colored pencils follow with streaks and rivet highlighting. Bragdon Weathering Powders are applied as the last layer. I don’t spray a flat coat over the final layer. The Bragdon powders stay in place on the existing flat finish and wash surface.
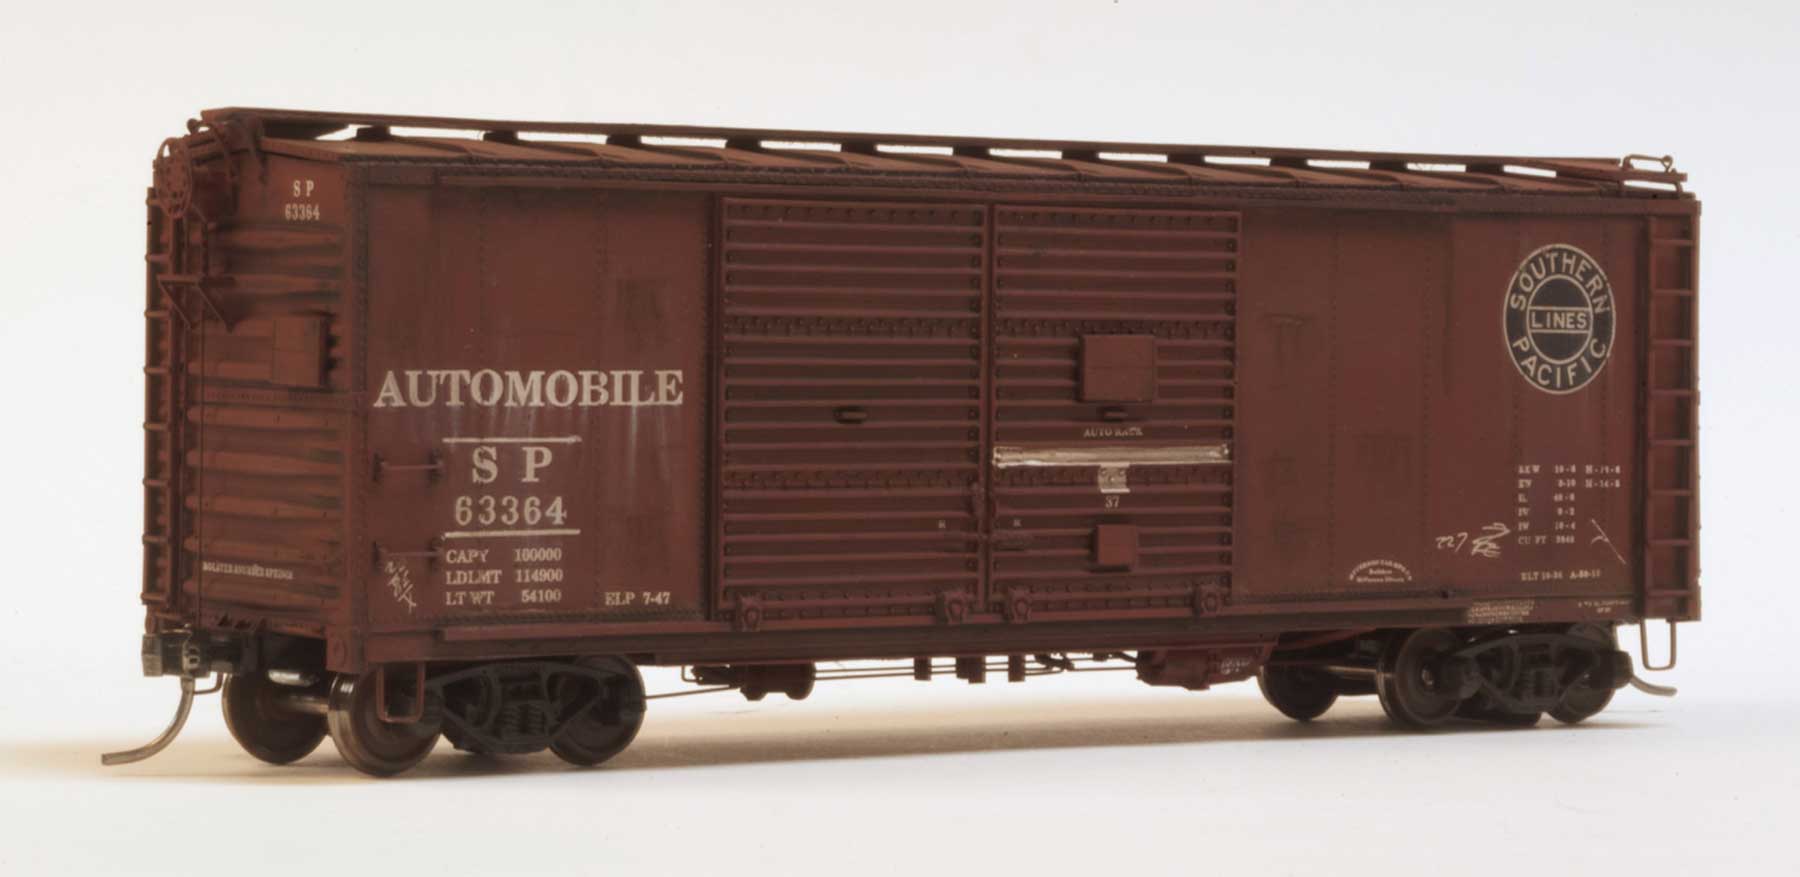
This Southern Pacific automobile box car is a special car produced long ago as a joint project with Sunshine Models and the Southern Pacific Historical & Technical Society. The car was built more or less with the kit supplied details. I did add a True Line Trains brake wheel/gear, Tichy Train Group ladders, and Kadee bracket grabs. Microscale SP heralds were used as I think the Sunshine decals without a black background were not correct.
This model was weathered with acrylic tube paint washes, Prismacolor pencils and Bragdon powders. The streaked lettering is done by using a watercolor color pencil, not a regular color pencil. Sharpen the pencil and “color” over the lettering with the pencil. Take a deep breath and breathe on the car. Use your finger to smear down the pencil color to mimic how lettering on the prototype looks after a few years. Don’t like it? Take a wet something-or-other and wipe it off.
I did just had the idea to get some burnt umber watercolor pencils to make great looking streaks under the door scrapes. I’ll have to try that soon.
And yes, I’m still working on weathering the trucks.
Thank you, Craig, for sharing images and weathering tips on these models. It was great to meet you and discuss the models as you put them on display at RPM-East. In case you missed it, here’s the photo gallery from the event.
Questions and comments can be posted below. Please follow the instructions so your comment can be posted. All comments are reviewed and approved before they appear. To subscribe to this blog, enter your info for a comment and check the last box to notify of new posts by email. Share the blog link with other model railroaders.
SUPER JOB CRAIG.
Very nice work!
Always love Craig’s work and his delicate soldering of the Yarmouth ladders.