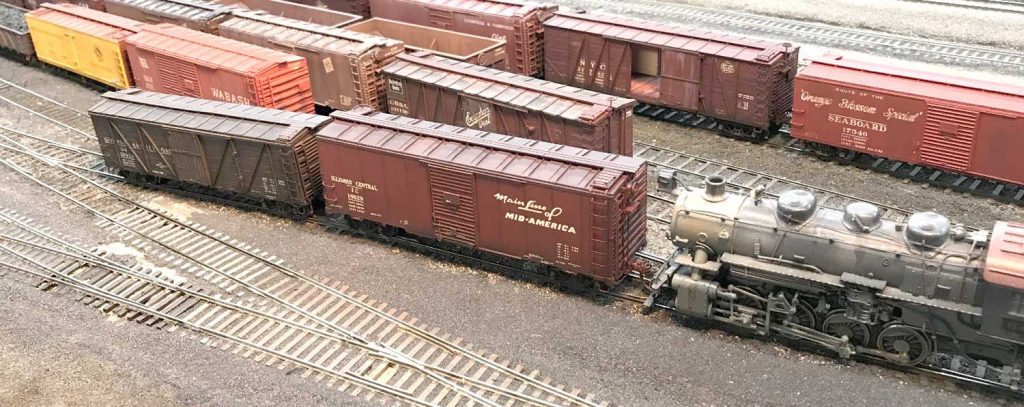
Jerry Hamsmith shared an activity report on a group boxcar kit build. One of the final products is being switched on Jerry’s layout in the lead photo. Here’s Jerry with the details.
A few friends and I just completed the group building of Resin Car Works Kit #8.02. I thought I’d share the results. Each of us have different modeling eras, which affects the final outcome of our builds.
Two members of the group, Ed Rethwisch and myself, model 1955. We followed the original presentation of the cars, albeit a car that was almost 20 years old.
Here are photos of Ed’s work.
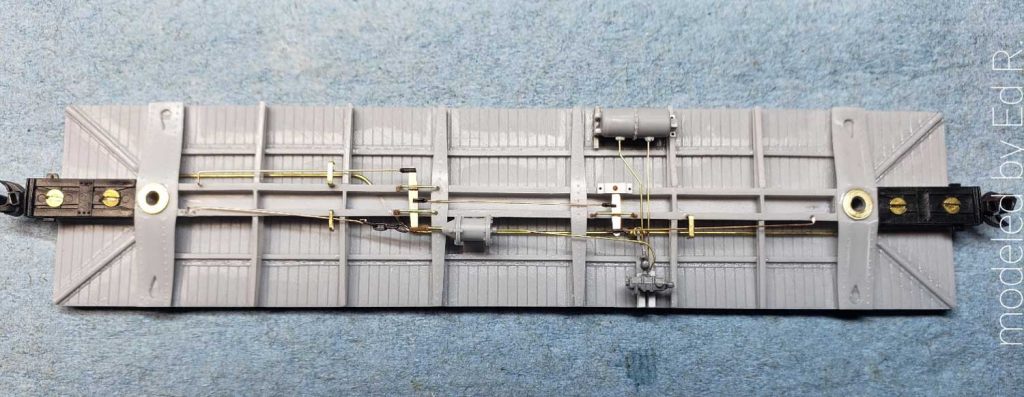
The finished brake system details.
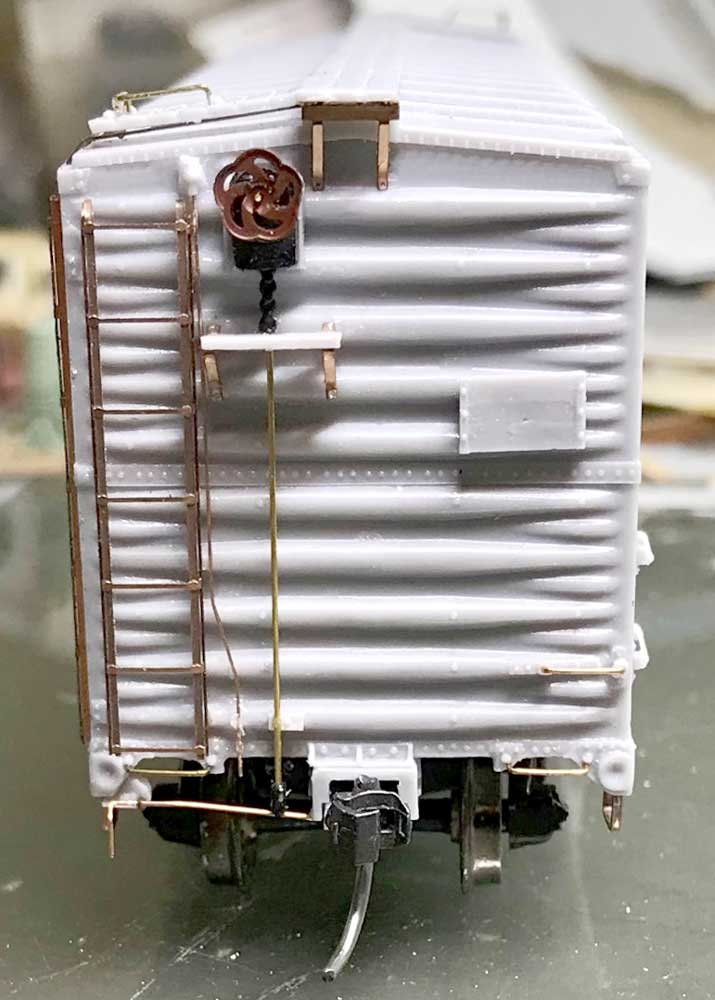
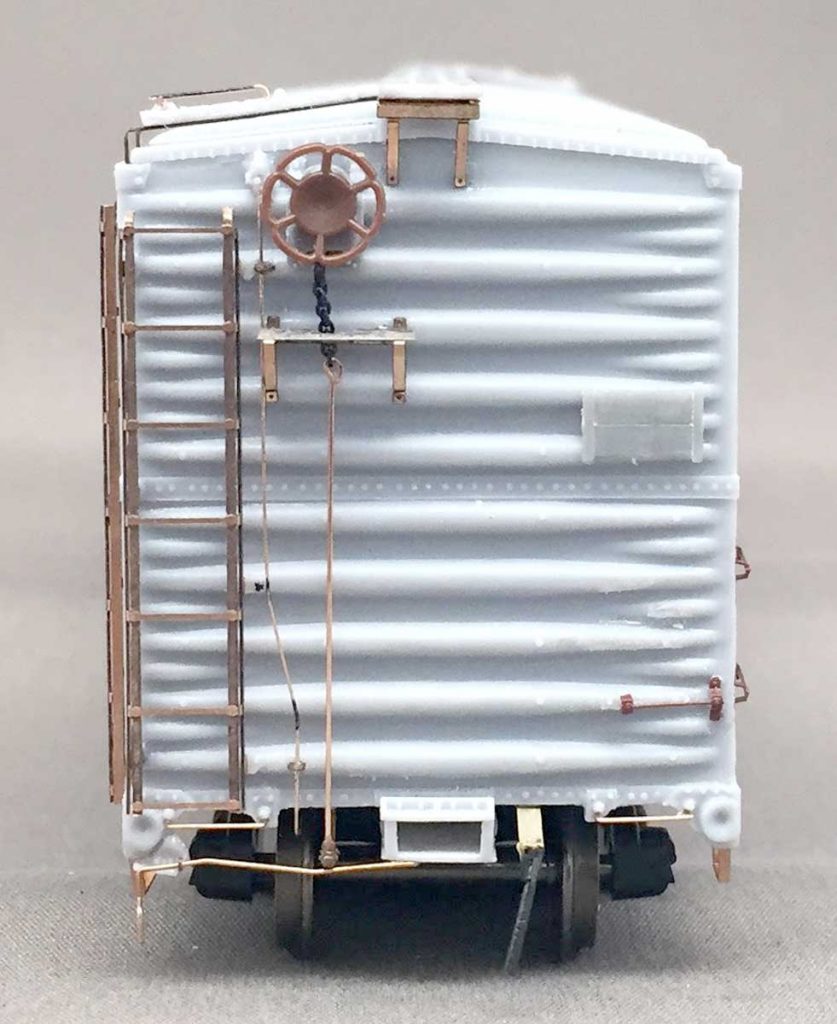
The B end under construction.
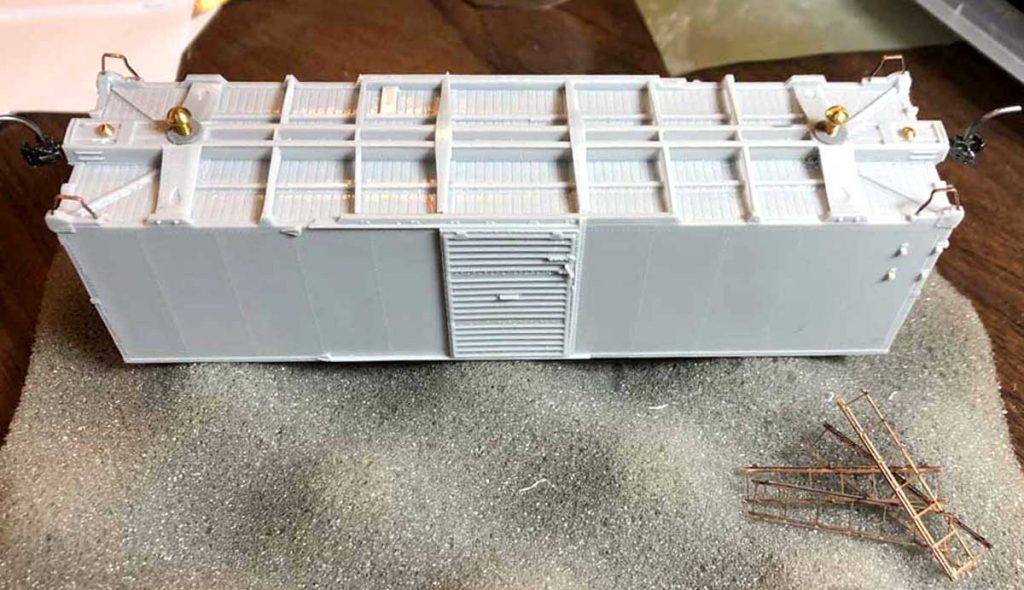
The completed running board and laterals.
Here’s Ed’s painted and decaled model awaiting weathering. Note the National Type B trucks.
Here is a sampling of my work.
I installed a Peacock hand brake wheel on the B end.
Here’s a progress shot with weathering started.
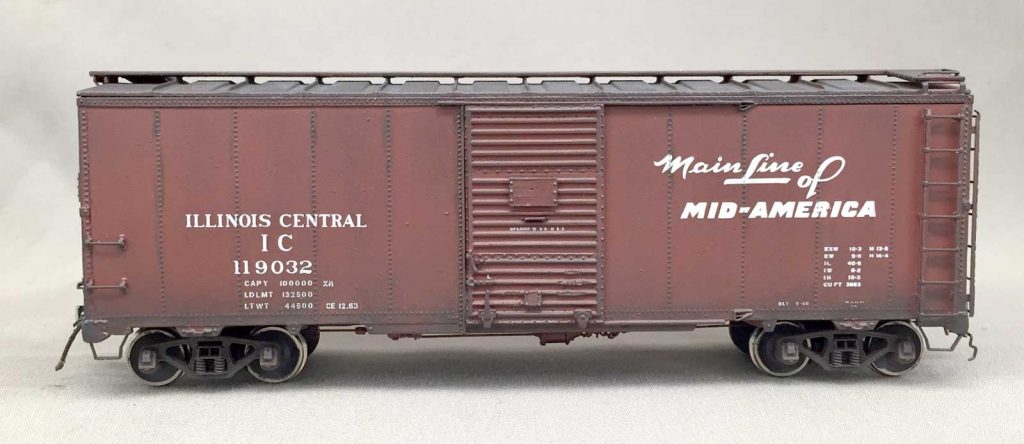
After weathering, my finished car is ready for service. I also installed the National Type B trucks.
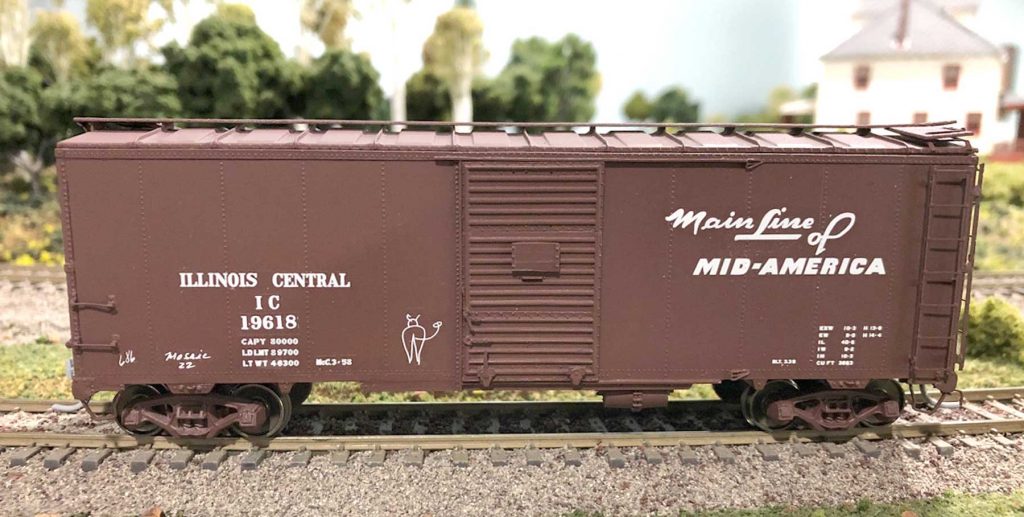
Bob Hanmer also participated, He models 1958 and needed to change the car’s lettering. He dropped the lines above and below the reporting marks. This reflects the modified AAR lettering guidelines.
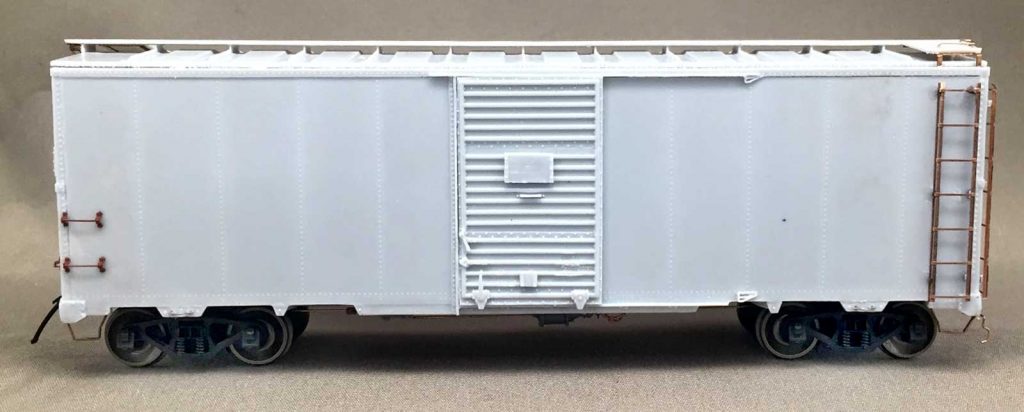
Bob is ready to install the underframe details. Sill steps have been added and the etched metal ladders are built and ready for placement.
Here’s the finished car on Bob’s layout. He also added a few chalk mark decals.
The final member of our build group, Chris Vanko, models the late 1960s. He needed to consider the conversion of these cars in the early 1960s. The capacity was increased to 50-tons from the original 40-tons. During this conversion, the cars were given new trucks and renumbered. The following progress photos show Chris’s work and the results.
The etched metal parts and fine wire make the B end details stand out.
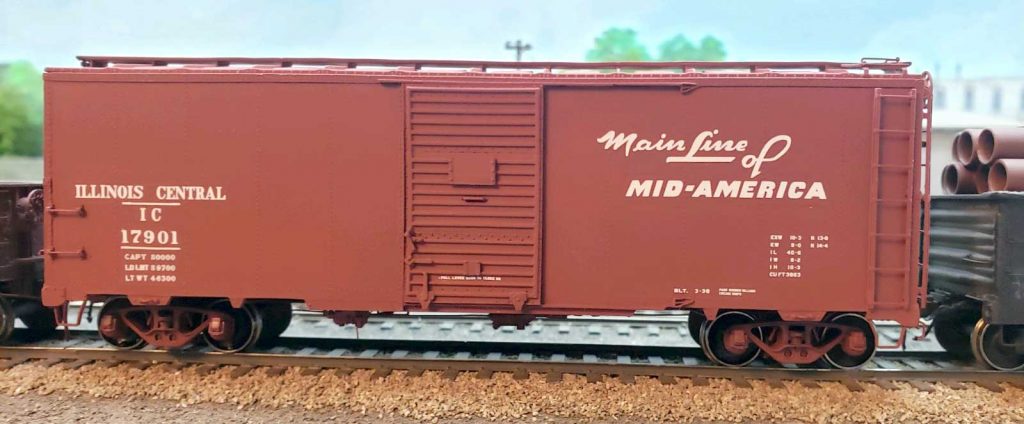
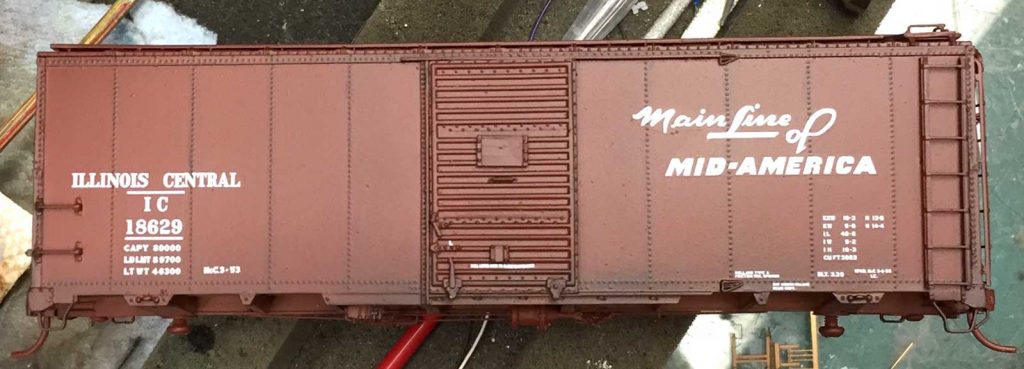
Chris’ finished car ready for the paint shop.
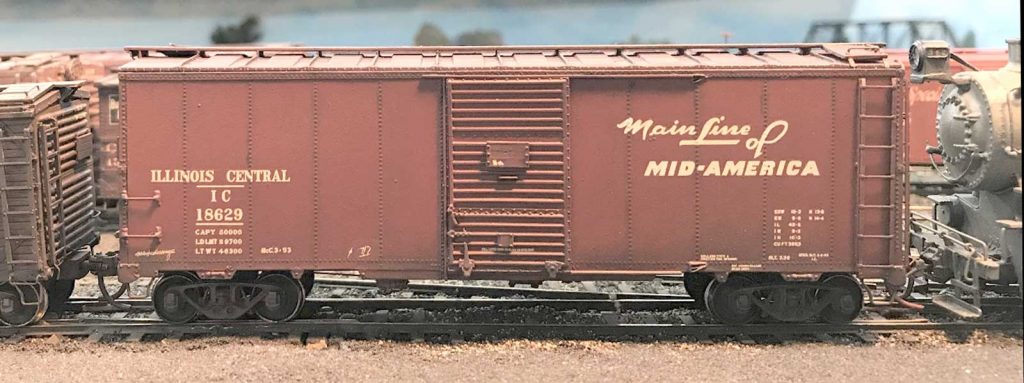
After painting, decaling, and weathering, Chris’ model looks like it’s seen a few years of service on the mainlines of America.
Weathering of these cars was based on the individual modeler’s desire and favorite techniques. Chris weathered his and my model using a multi-tiered process. The car is painted and then a pre-weathering wash with oils is applied to the entire car.
Once the initial weathering dries, a gloss coat is sprayed onto the car and the major decals are added. These would be all lettering except the load numbers, build and reweigh dates, and any chalk marks. Another gloss coat is applied to protect the decals. A flat coat follows to allow for additional weathering with more oils and powders. Future/Pledge acrylic is spot applied to areas for the remaining decals. After those decals are added and dry, another flat coat is applied to seal everything.
The group build was enjoyable and each of us now have an additional car for our respective fleets.
- Jerry Hamsmith
Thank you, Jerry, for sharing the model work on this group build. This is a great way to encourage modeling friends to learn new skills and add an interesting freight car to their fleets.
Questions and comments can be posted below. Please follow the instructions so your comment can be posted. All comments are reviewed and approved before they appear. To subscribe to this blog, add your email address to the function at the bottom of the right column on the main page. Share the blog link with other model railroaders.


Some great modeling
Thanks for sharing techniques
Excellent construction with the fine brass details. The weathering is subtle and it helps highlight the details.
Very nice modelling
All beautifully completed and look ready to roll.
Good looking build, thanks for sharing, very nice finish and subtle weathering