I noticed Jay Styron’s carbon black hopper car model progress on a Facebook group and asked if he would share his build. Here’s Jay with the details.
After taking a long pause from model building, in the spring of 2020 when Covid hit, I opened the kit closet and started building again. I did a few plastic model builds and kitbashes, and when I felt my modeling chops were good enough, I started in on some resin kits. I told myself I would build in whatever order they came off the stack.
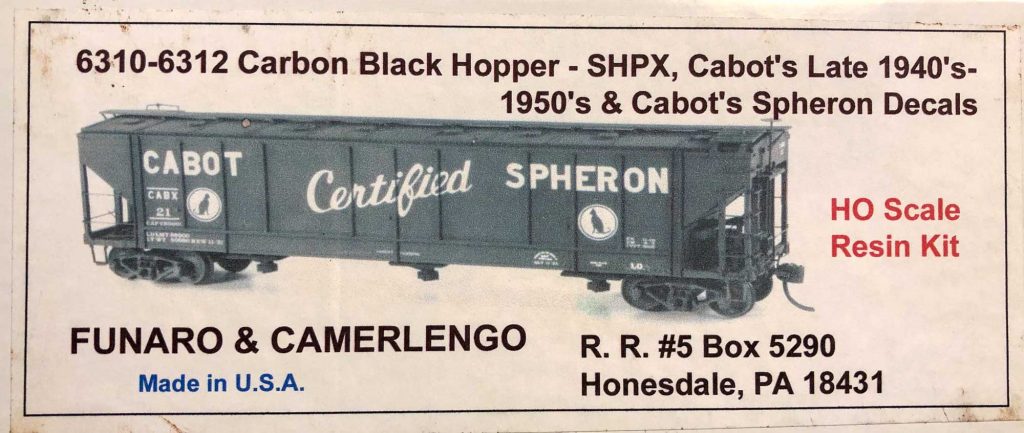
The next kit up was the Funaro & Camerlengo Carbon Black car. What is Carbon Black, you ask? It’s what makes tires black, also printing ink, and is an additive for plastics. It’s made during petroleum processing.
The prototype car was built in the 1940’s and is one of the earliest covered hoppers. Previously, carbon black was bagged and shipped in boxcars, but if a bag broke open the car was ruined for shipping anything but carbon black. These covered hoppers were operated in dedicated service for this commodity.
The kit is an oldie. I’ve had it for at least fifteen years, and it was old when I bought it at a swap meet. The resin material is fairly soft and the parts are somewhat crude, leaving a lot to the model builder to figure out and invent solutions along the way. Eric asked me to relate how I deviated from the instructions. I would say that just about everything was a deviation from the vague drawings and instructions.
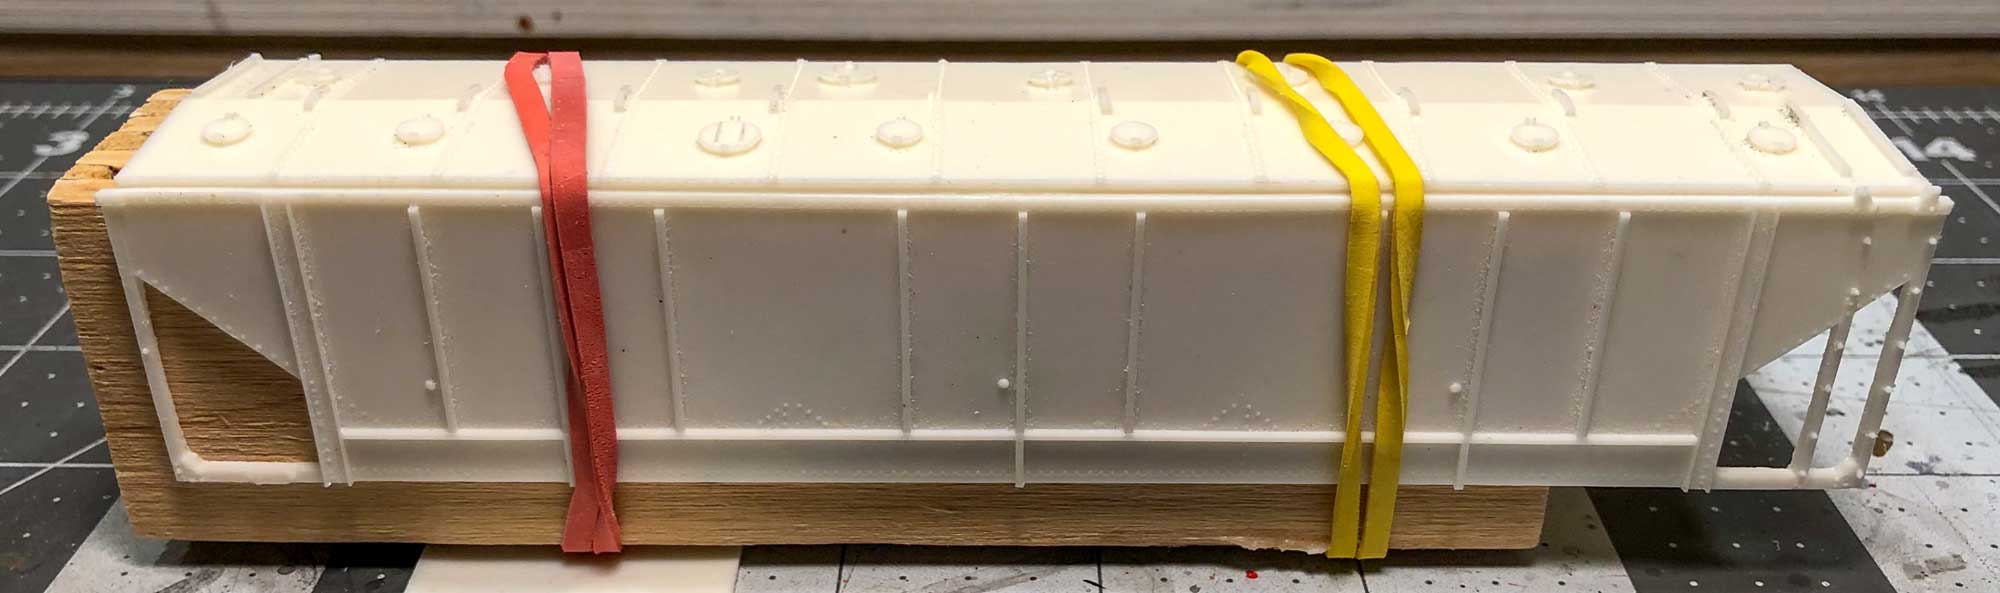
I started by gluing the sides and roof together per the instructions. I thought I had everything braced square, but in the morning, the thing was leaning to one side. I have no idea how that happened. It was decision time. Should I throw the thing away, or try to fix it? I had an old bottle of Jet De-Solv super glue remover and ran a bead along the seams I had glued, and let it sit overnight; if the whole thing dissolved, so be it. In the morning, the ACC seams had softened to rubbery hinges.

I cleaned everything out with soap and water, squared things up, added the ends to keep it square, and re-glued it. It came out OK. Hey, I’m not afraid to discuss my disasters!

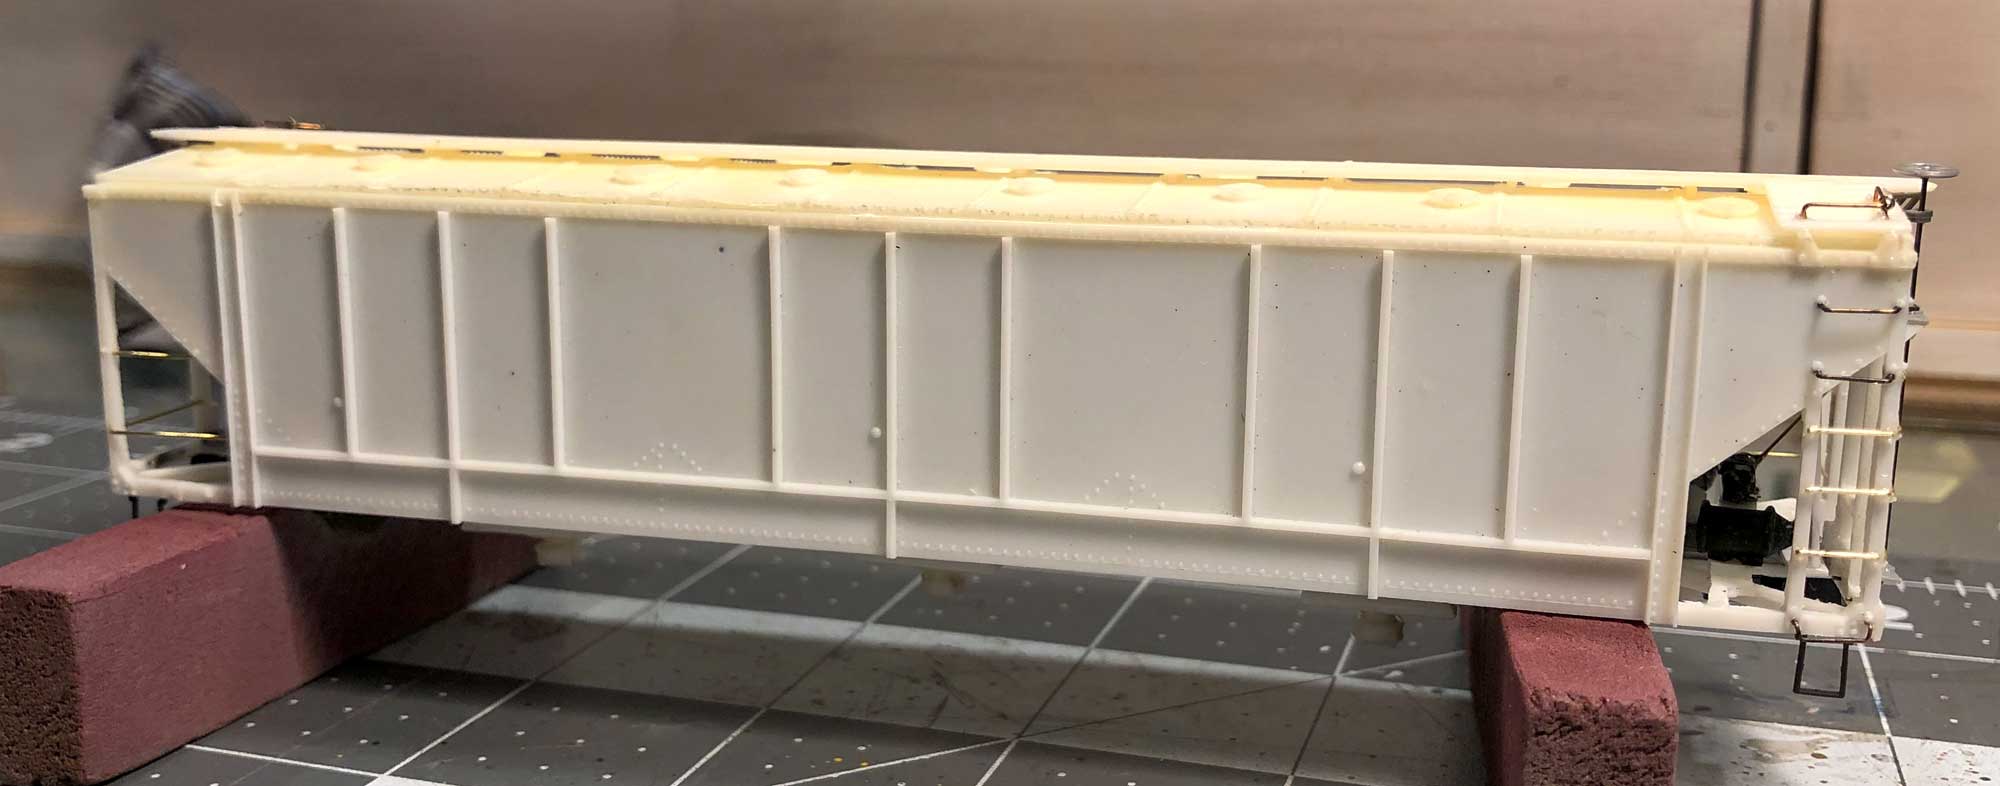
I had to invent a better coupler mount. I added a layer of sheet lead to top of the thin little tongue in the kit to give a coupler box screw something to grip. The green arrow in the above image is pointing to this addition. I braced it as best I could. Building to La Mesa Model Railroad Club standards, a freight car must be able to survive possibly being part of a hundred car train, up and over Tehachapi Loop

Slope sheets and supports were added, with lots of fiddling, fitting, and guesswork as to where exactly everything goes. Once those part were installed, I looked it over and realized the white resin might glow no matter how it was painted.

I shot the inside with some dark gray paint. I also added sheet lead to the bottom of the car to bring the weight up to club standard.
I installed the running boards and corner grabs using canopy glue. I’ve had good luck using it. As I thought about installing grab irons, I felt the resin corner posts were weak and potentially brittle. Drilling them for ladder grabs could be suicidal. I mounted the top few ladder rungs drilled into the car body, and the rest were simply straight wire glued beneath the cast-on mounting bolts. This is obvious close-up, less so from a distance.
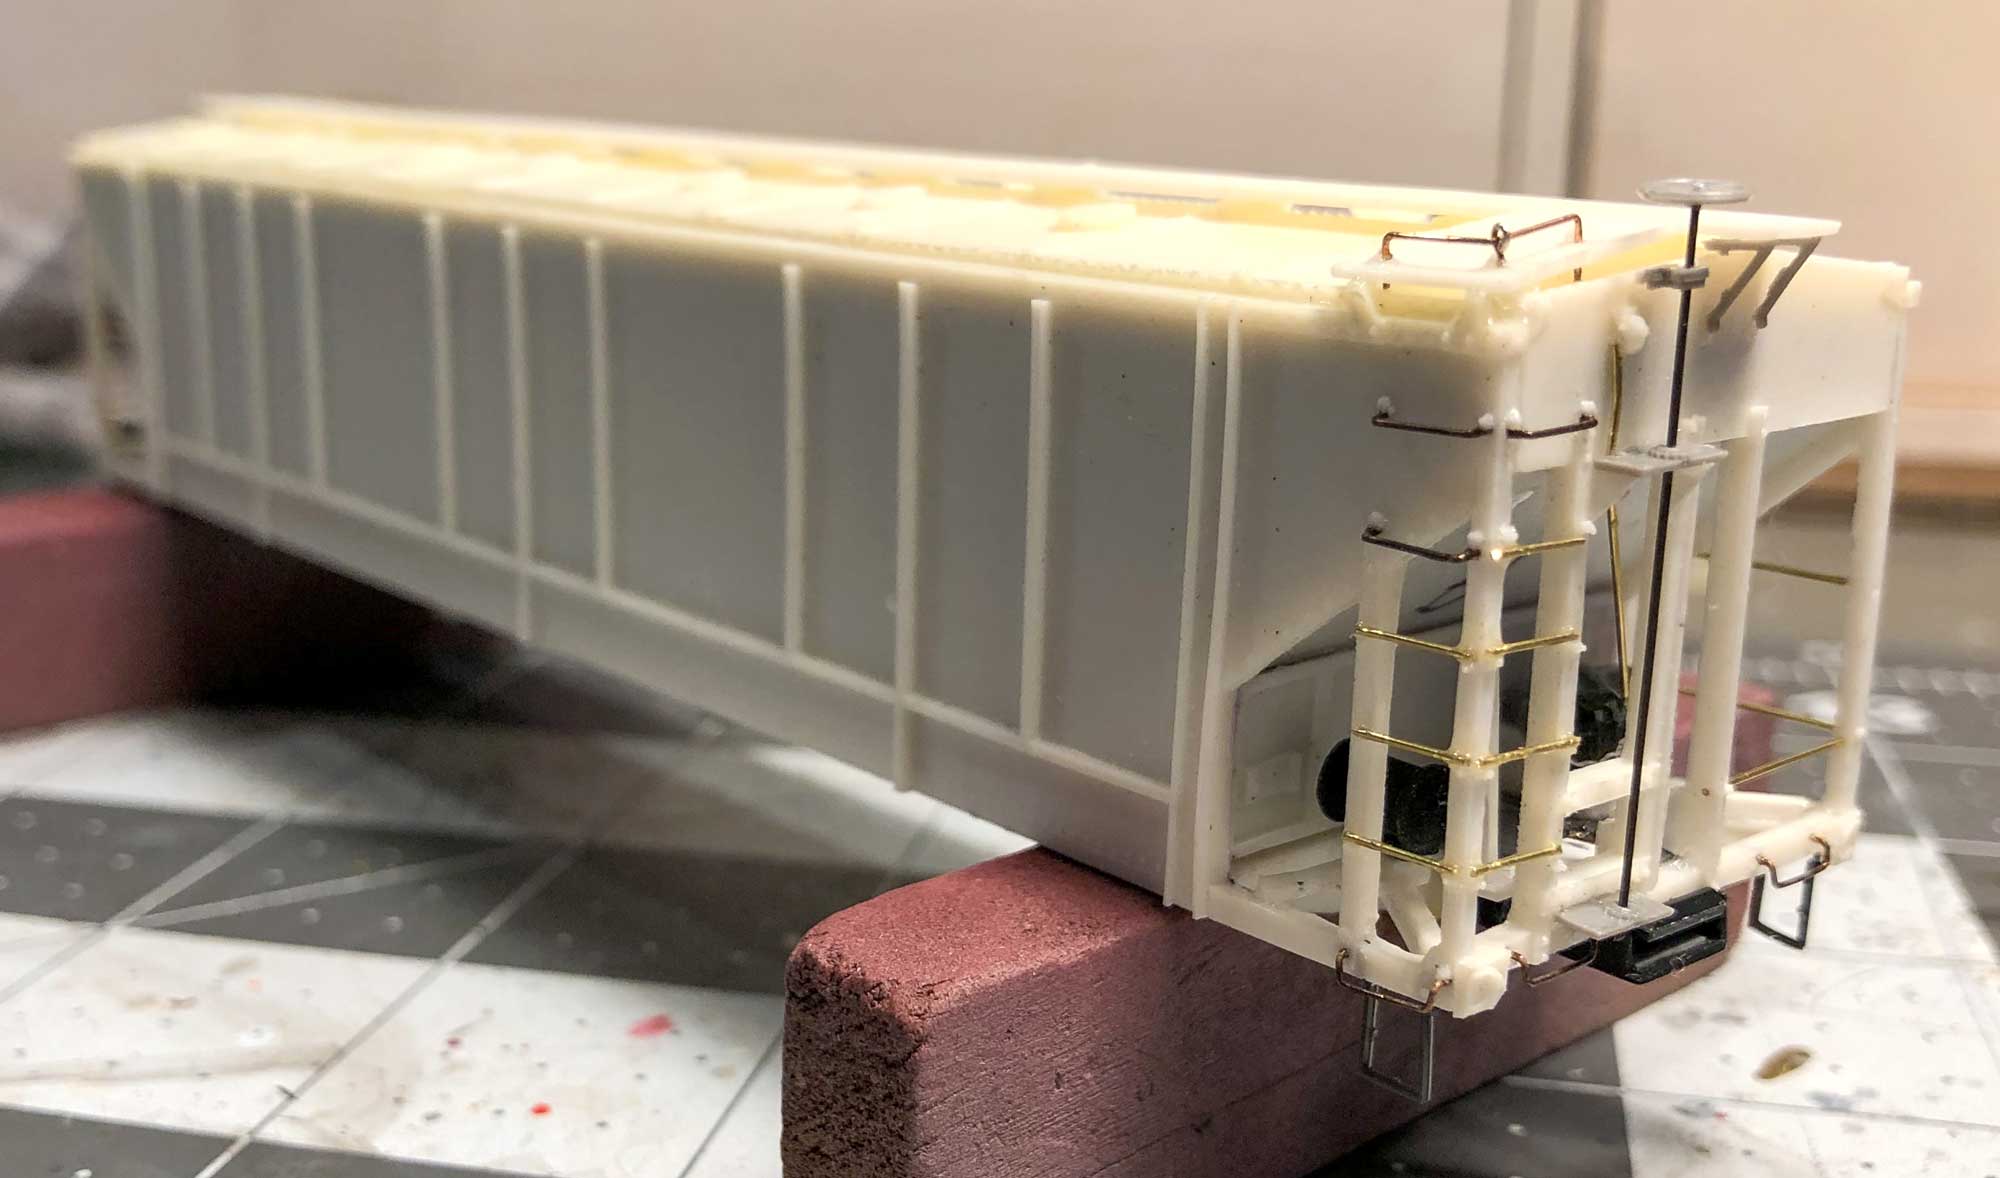
For the long grabs on the car ends, I drilled one lateral hole through the corner post, then bent the wire over and inserted it into a hole drilled into the edge of the car side. There is no indication where these should be, you just have to look at fuzzy photos and do your best to line them up.
The kit included a brake system bracket, but I never figured how it was intended to be used. I dug around in my spare parts and patched together a basic representation of the brake equipment in the B end of the car.
I installed music wire for the brake staff and used various Tichy parts for the mechanism and running board end supports. Corner steps are Tichy, press fit into holes drilled into the side frame. I figured that if these broke, I could replace them with wire parts.

I worked at the model a little bit each day until I ran out of parts. I shot it with Tamiya primer then a coat of Polly-S SP Lark Dark Gray with some Engine Black. This mix would probably look good on a stealth bomber model, too. The model in the above photo rests on shop trucks.
As the kit was old, the original Cabot decals were curled. A test piece disintegrated. I searched and found a Tichy set for Continental Carbon, which was more appropriate for California operations. The Tichy decals arrived in a few days. It was a challenge to coax the big Continental Dustless decals to settle around the ribs. I would recommend Tichy decals for any flat surface, but the ink is thick and doesn’t bend much. I hacked and poked and prodded and Solvaset-ed, and eventually the decals were as good as it was going to get. I made some repairs to the lettering with white paint, then Dullcoted. I added weathering with washes and Pan Pastels. I might work on it some more, but that’s it, for now.

I have to give a shout-out to Tichy. A few times I have been stuck for parts or decals and ordered from them. They have consistently shipped same-day or next-day and parts were received in a few days. That kind of service keeps me coming back.
This wasn’t my favorite resin build, by a long shot, but it’s an unusual and interesting freight car. I think of it sort of like the Sunshine vinegar tank car. I suspect 5% of those kits have ever been successfully built. I can’t say that this was an enjoyable experience. I felt as if it was fighting me every step of the way. In the end, I think it came out well as an operating and not a contest model. It will someday be part of the La Mesa Club fleet. There were carbon black plants at both ends of the Tehachapi Pass line, in Bakersfield and Mojave.
-Jay Styron
These big carbon black hoppers are always interesting. Many thanks to Jay Styron for sharing his efforts on bringing an old kit to life.
Questions and comments can be posted below. Please follow the instructions so your comment can be posted. All comments are reviewed and approved before they appear. To subscribe to this blog, add your email address to the function at the bottom of the right column on the main page. Share the blog link with other model railroaders.
I work with carbon black, we make conductive nanoparticle suspensions for lithium ion batteries. The stuff is sticky, greasy, gets everywhere. It’s BLACK. You could easily make a car look “over” weathered and you’d be spot on. I suspect as the conversation from bagged to hoppers came along there were some big messes made.
I’ve have one of those kits for almost 20 years….never had the desire to tackle it until I read your posting. Looks like it’s time to try this one. Thanks for the great write-up and photos to help guide me. Great Job!
John Miller
Carlsbad, CA.
Good job, Jay on a difficult project
Fenton