I shared a couple photos from the recent NERPM event with RCW honcho Frank Hodina. He liked Bob Cronin’s truck models and suggested a blog post. Bob obliged with several photos and notes from his processes. Here he is with the scoop.
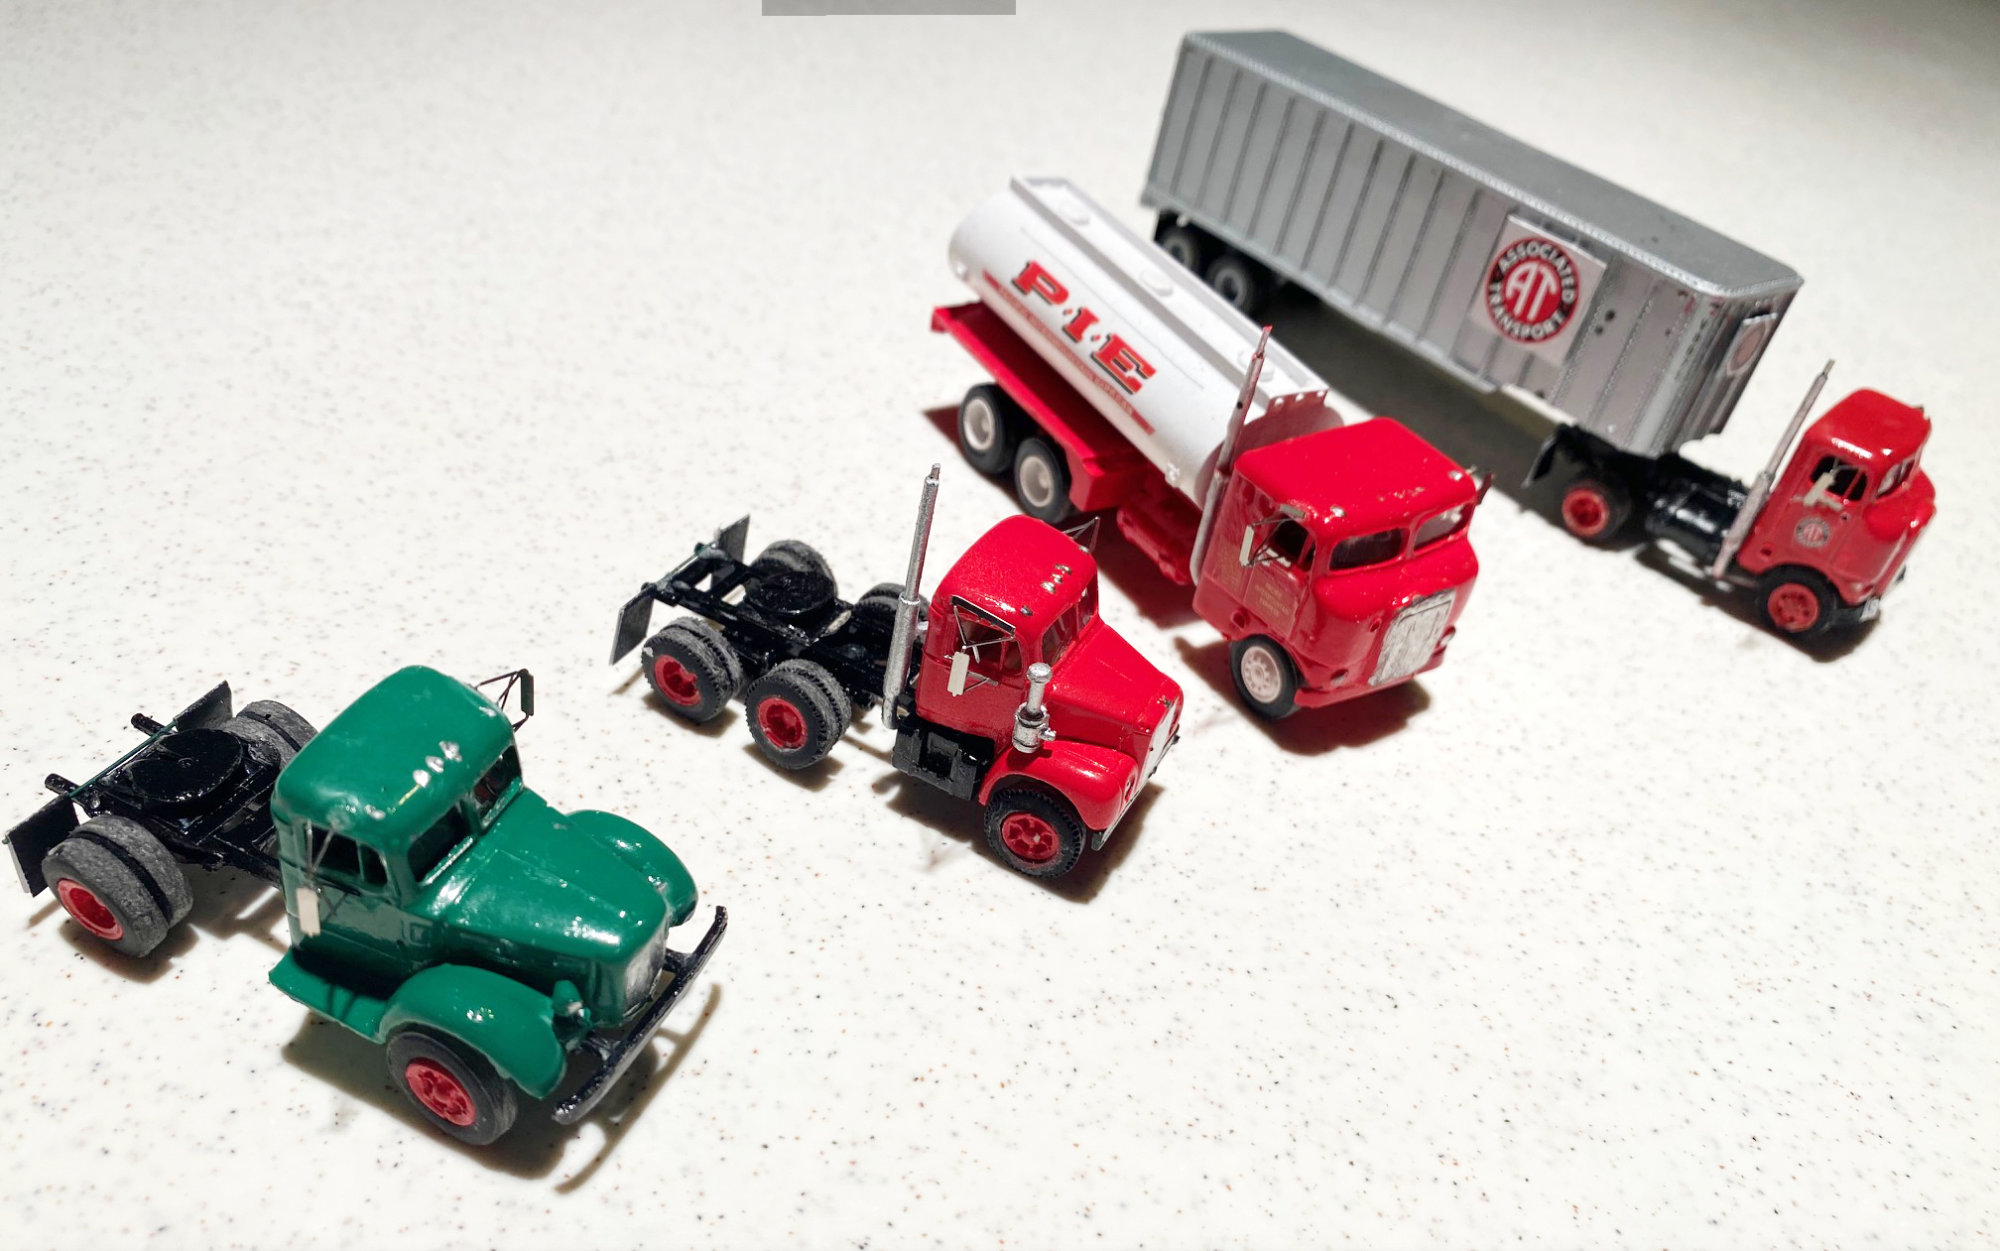
My interest in trucks built in the 1950s and 60s dates back to my childhood and fits my model railroading era. I chose Sylvan Scale Models because they make HO scale resin vehicle models that are prototypical to the golden age of trucking.
Before I begin building a model, I place all the kit pieces on a cloth to ensure all the parts are accounted for. I then individually spray each piece of the model with a stain remover, such as Shout, and use a toothbrush to clean and scrub each piece. Once the pieces and cleaned, I rinse with warm water.
I wait 24 hours to let the pieces dry completely before I prime the parts with Rust-oleum flat white primer. I wait another 24 hours before spray painting the pieces with whatever color acrylic paint that I choose. Once the color coats have dried, I start my build.
I start off by rolling the tires on sandpaper to smooth out the rough edges. I then place the tires on the rims and glue the assembly onto the rear axle(s). I do the same for the front tires before attaching the front axle onto the front of the frame. I always use cyanoacrylate (CA) superglue, such as Instacure. I always have Un-Cure debonder on hand to correct any gluing mistakes.
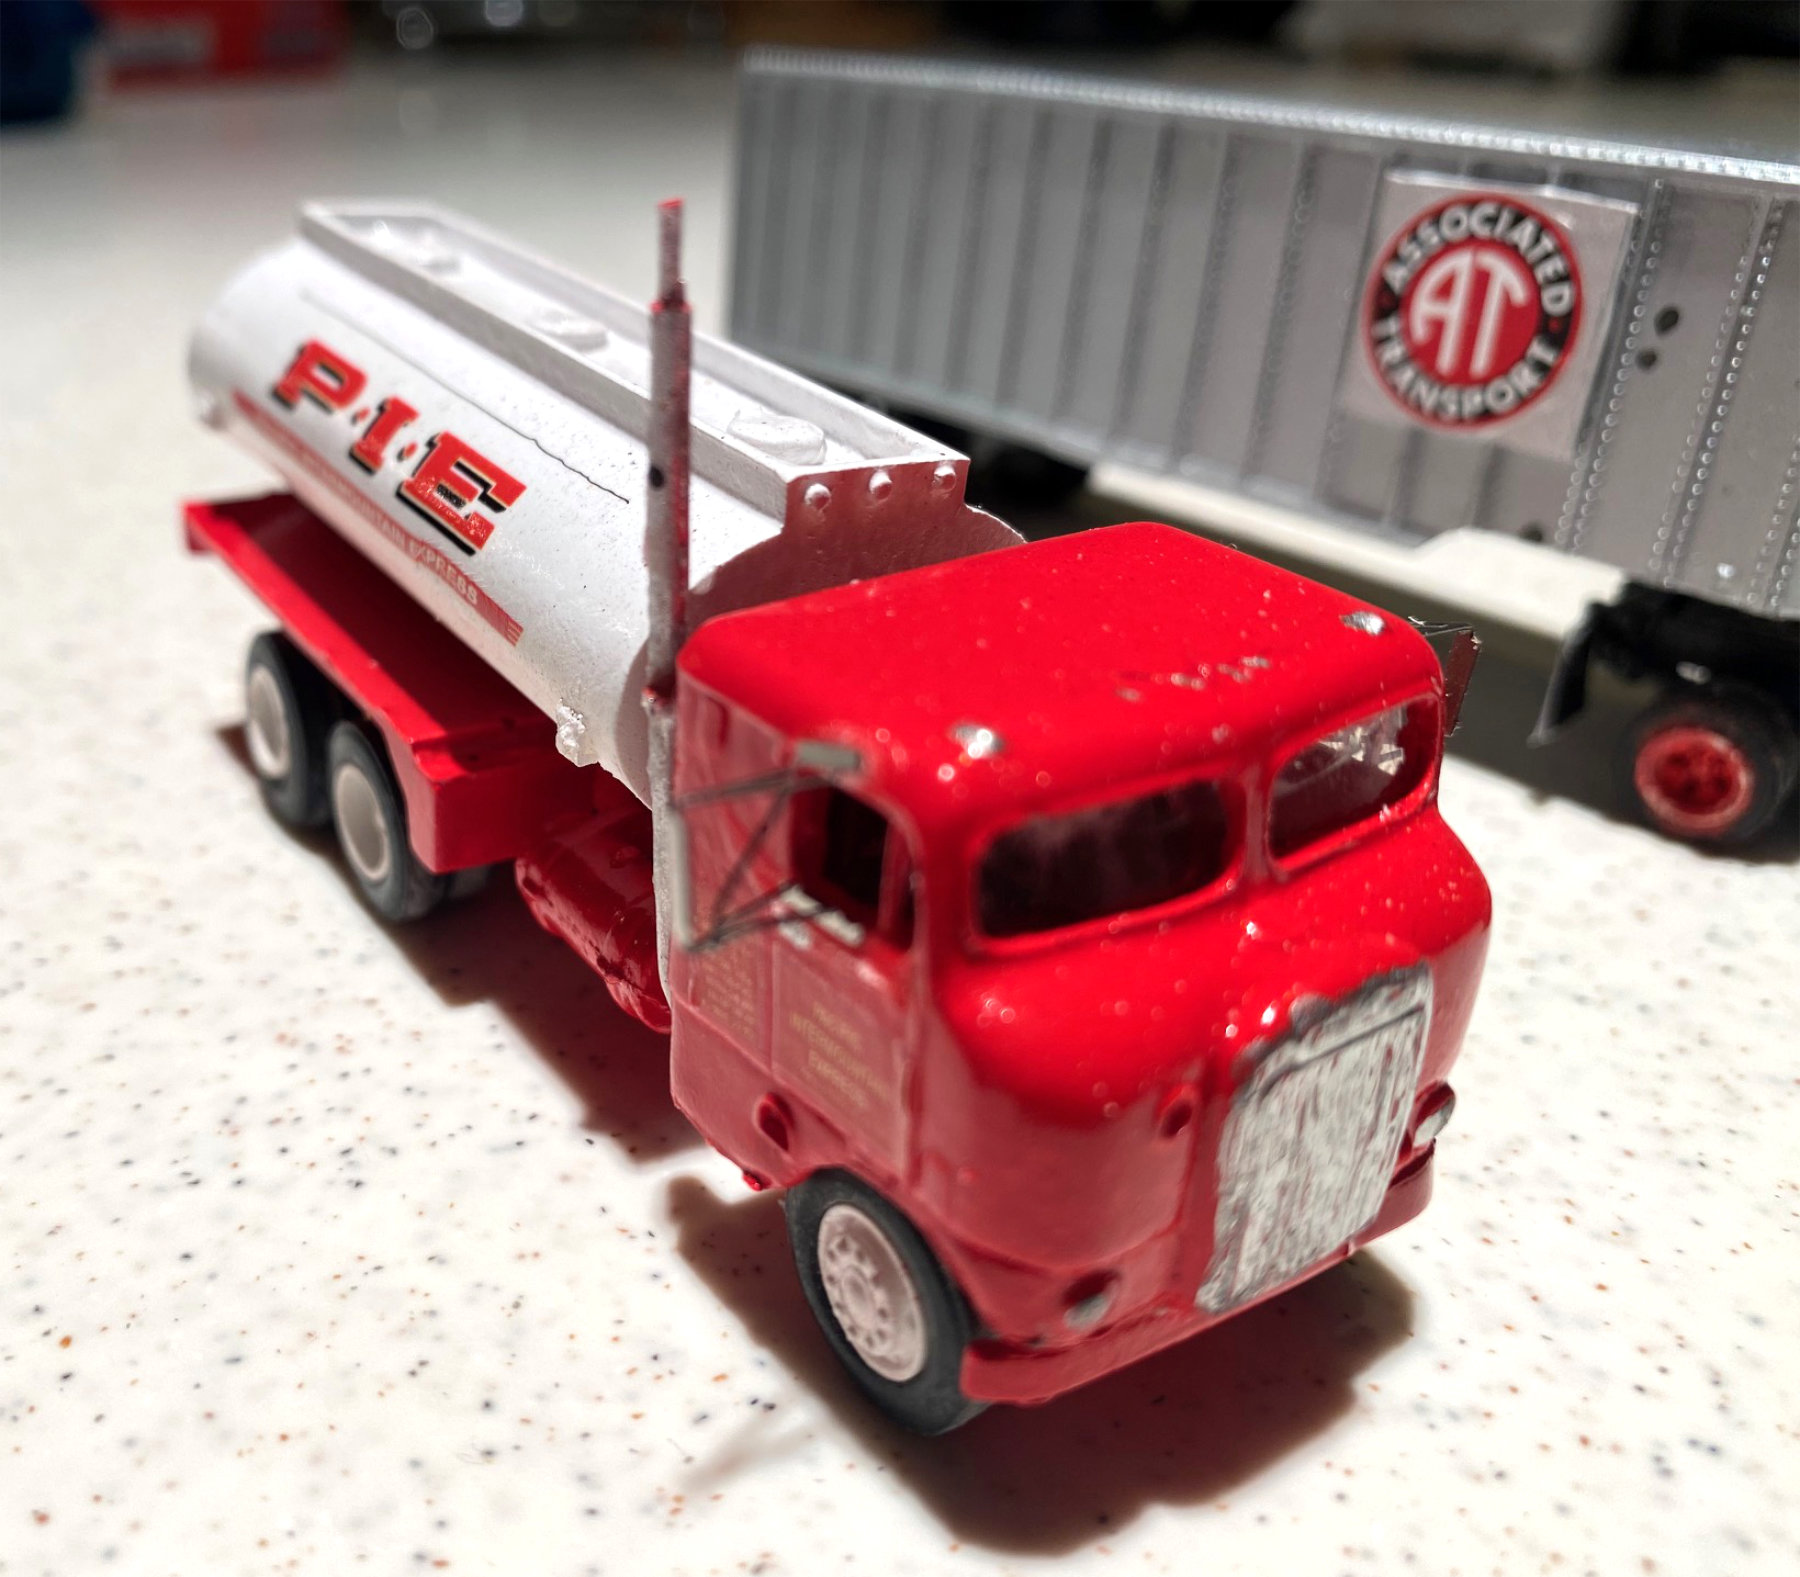
Next, I focus on the truck cab. I measured the windshield area and cut to size a piece of the clear plastic glazing included in the kit. I line the edges of the windshield inside the cab with canopy glue and place the windshield onto the opening. I use a crumbled up piece of paper towel stuffed inside the cab to hold the windshield in place until the glue dries. When the glue has dried, I remove the paper towel and use tweezers to pull any bits of paper towel that may have stuck to the windshield.
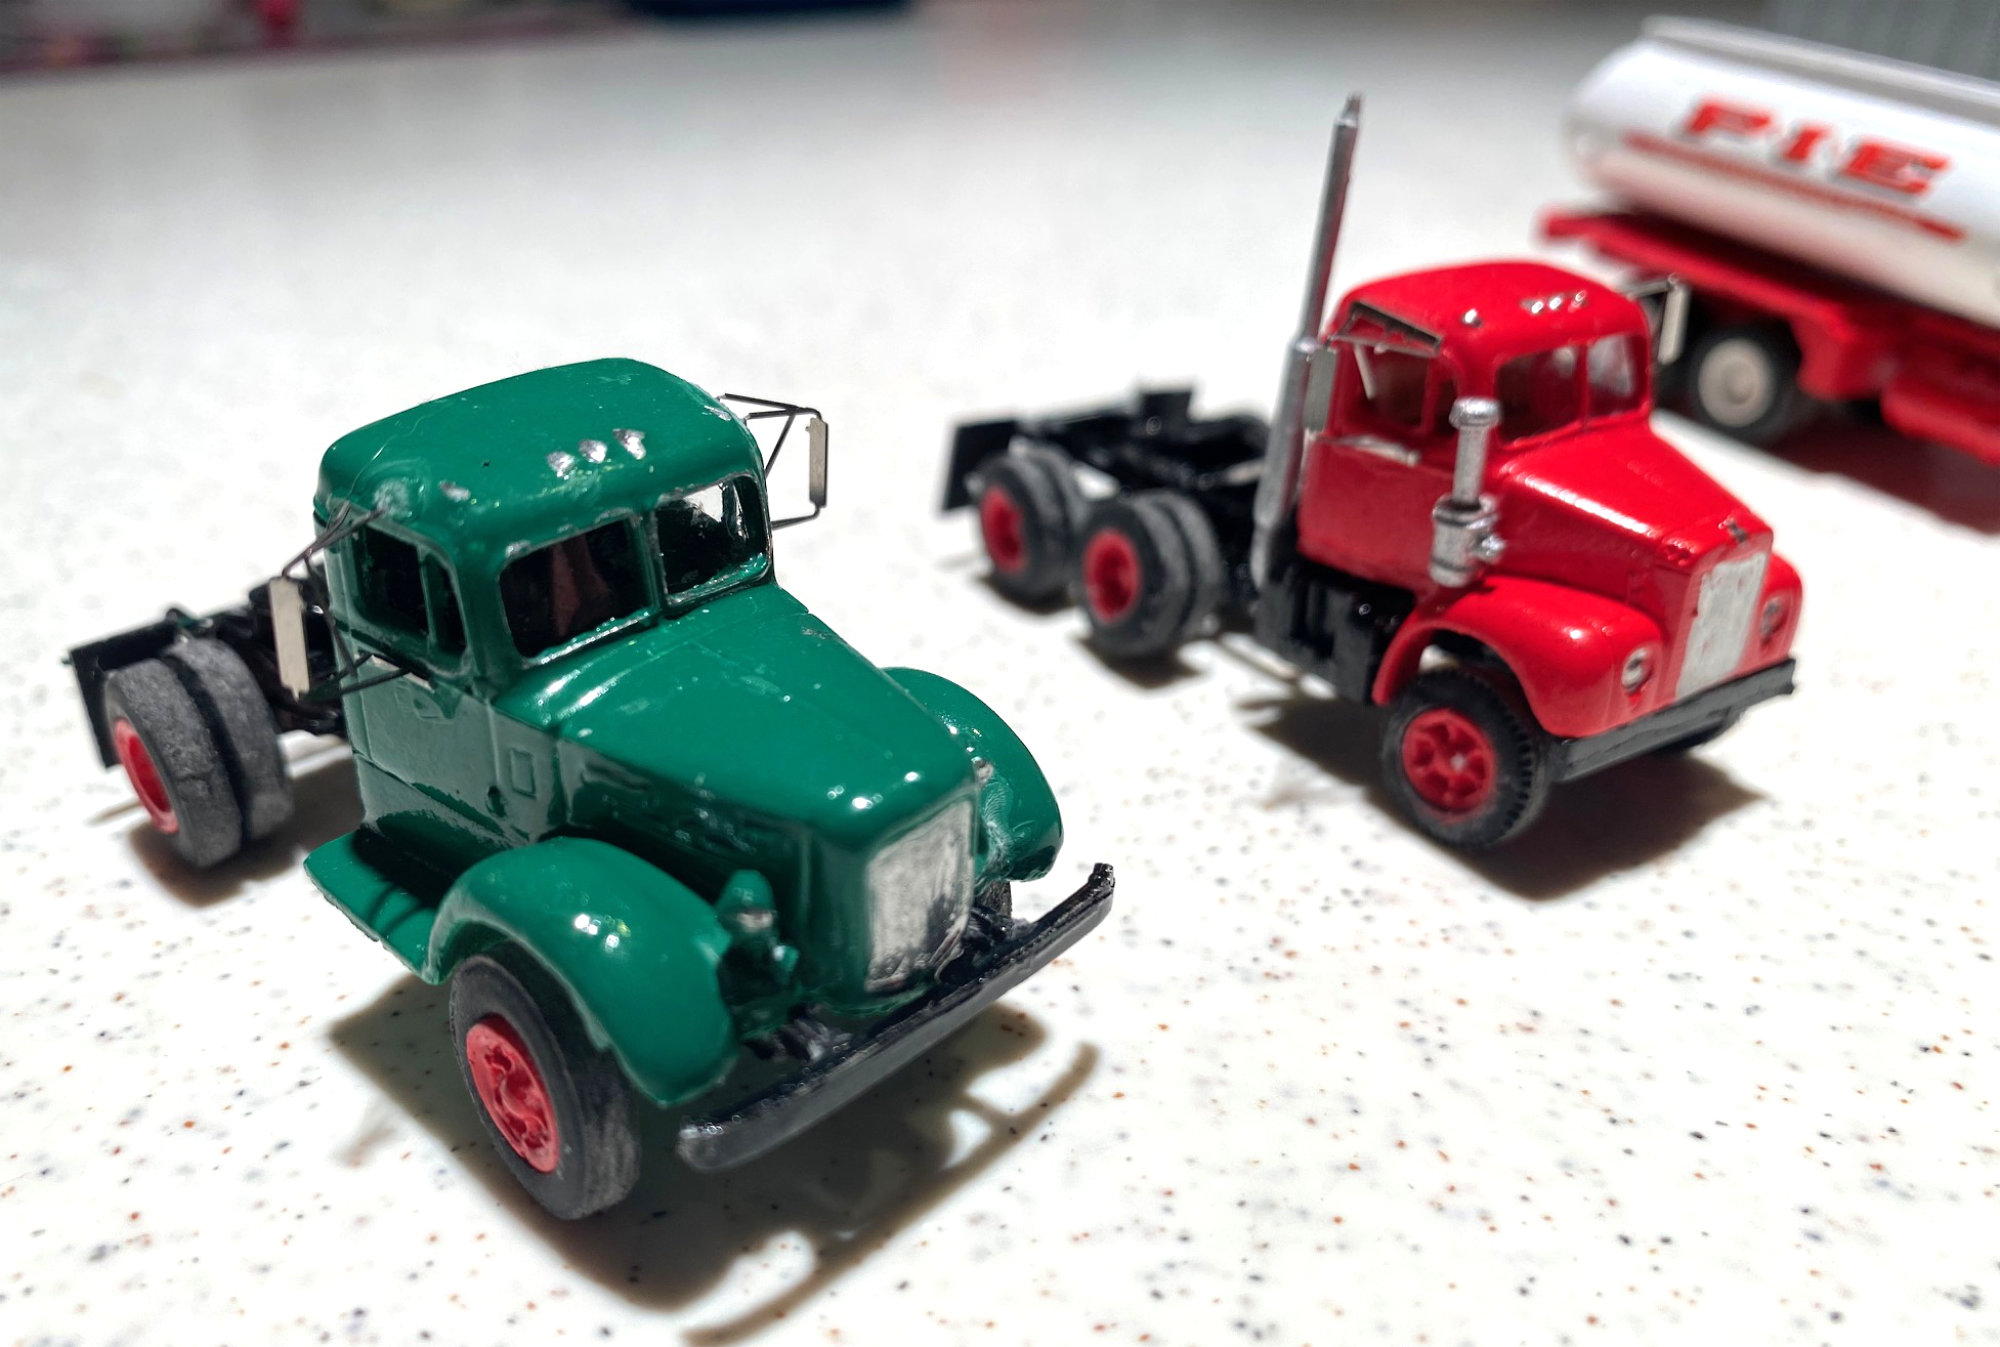
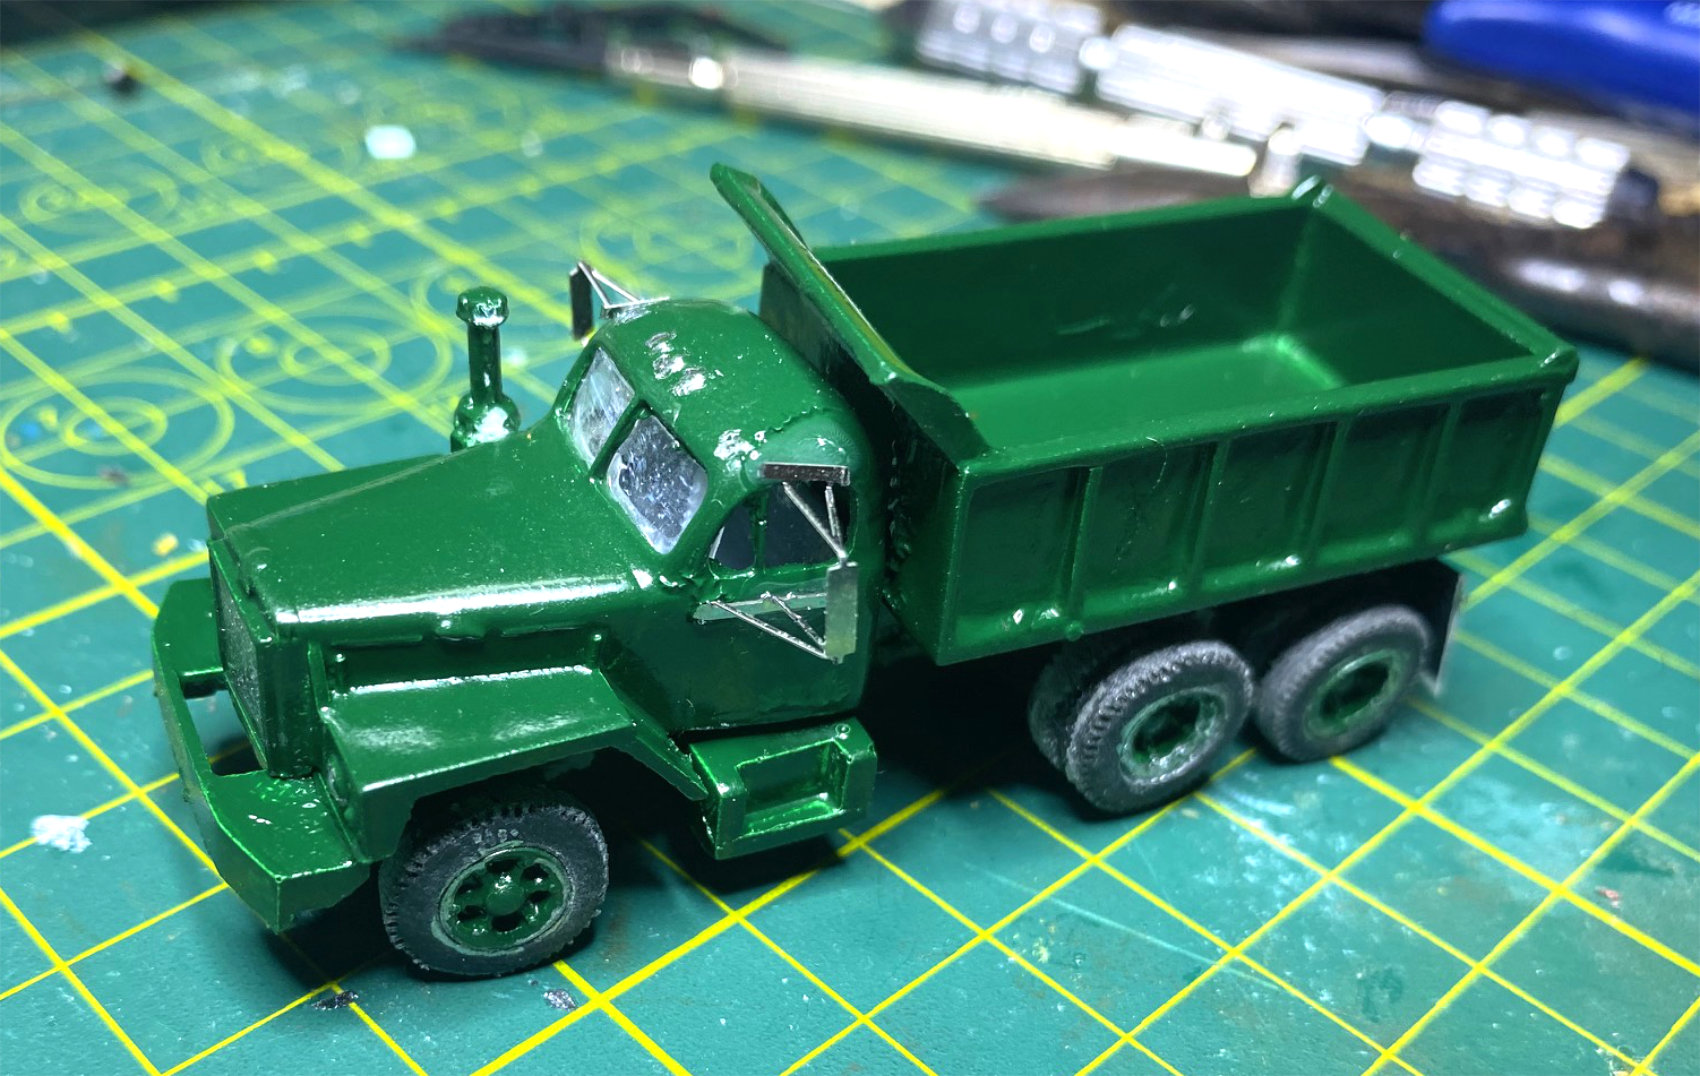
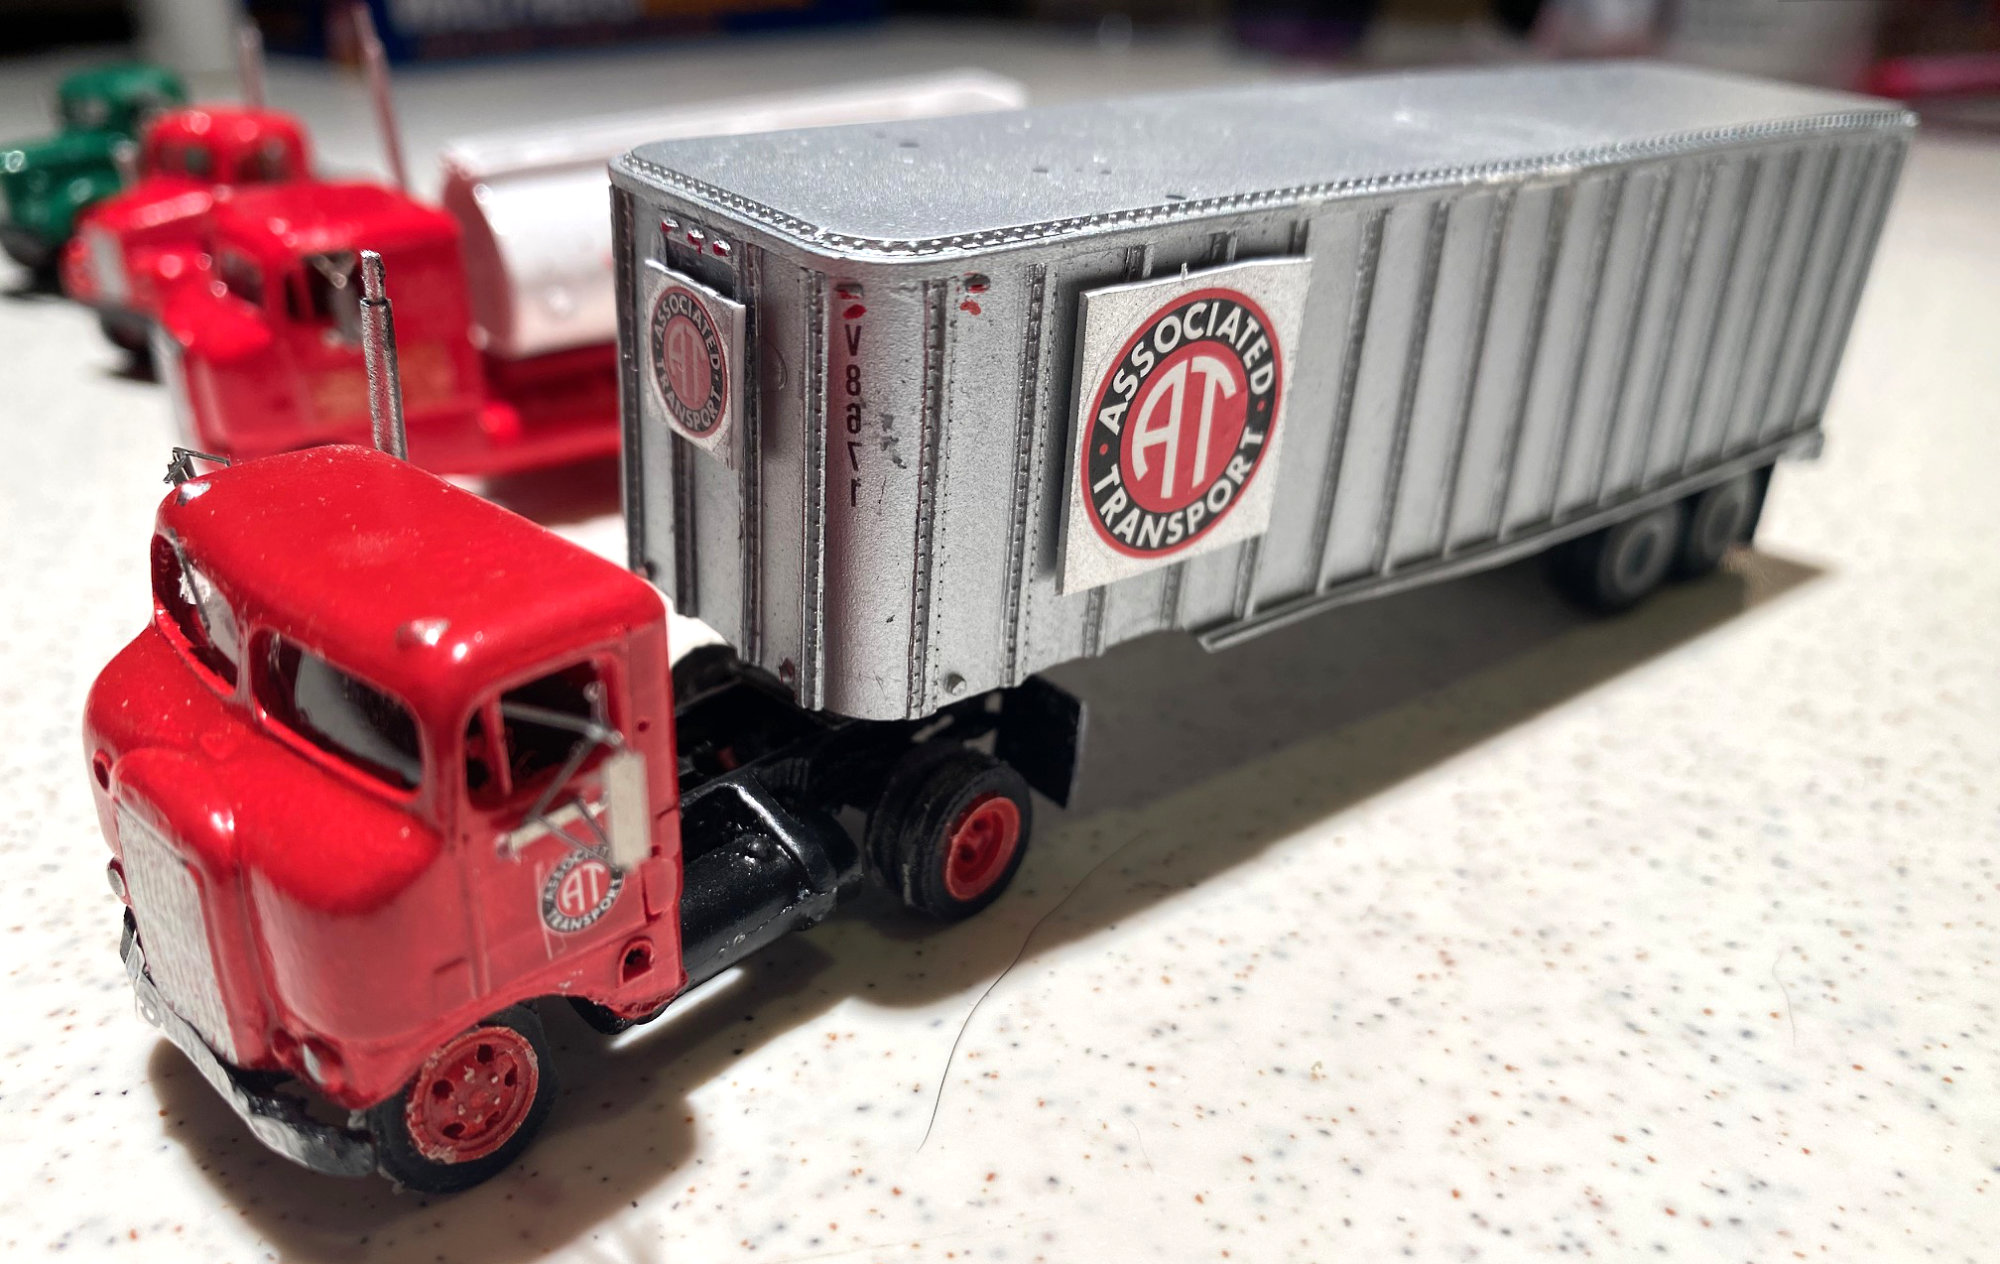
I then attach the cab floor to the cab. When that is set up, I place the cab onto the front of the frame. Several detail parts are next. I add the exhaust stack, air cleaner, fifth wheel to accept the trailer, etc., to the outside of the truck and onto the frame.
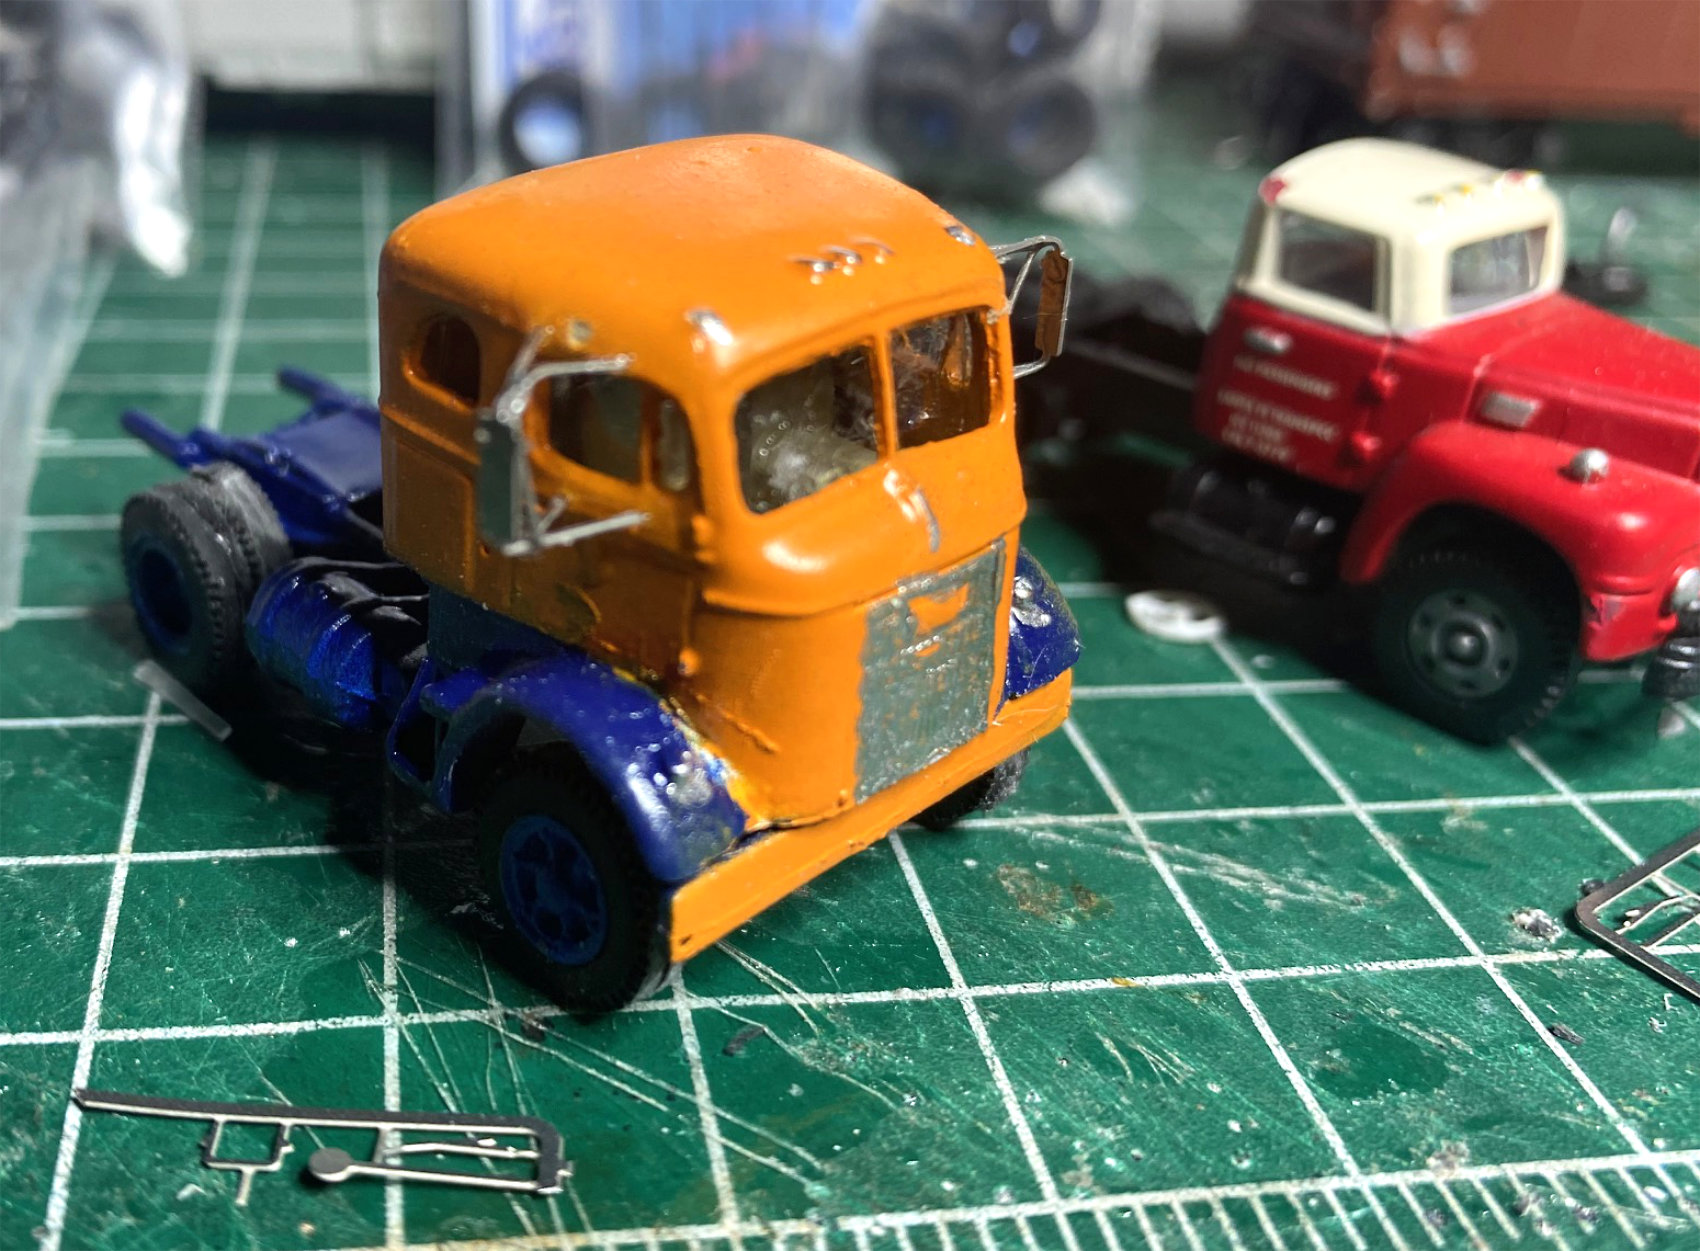
The final step is to add the cab rear view mirrors of your choice and the windshield wipers from the etched metal fret that comes with the kit.
If you follow the instructions included with your kit, you should have no problem building your model. Don’t be discouraged by your mistakes. You will learn from them.
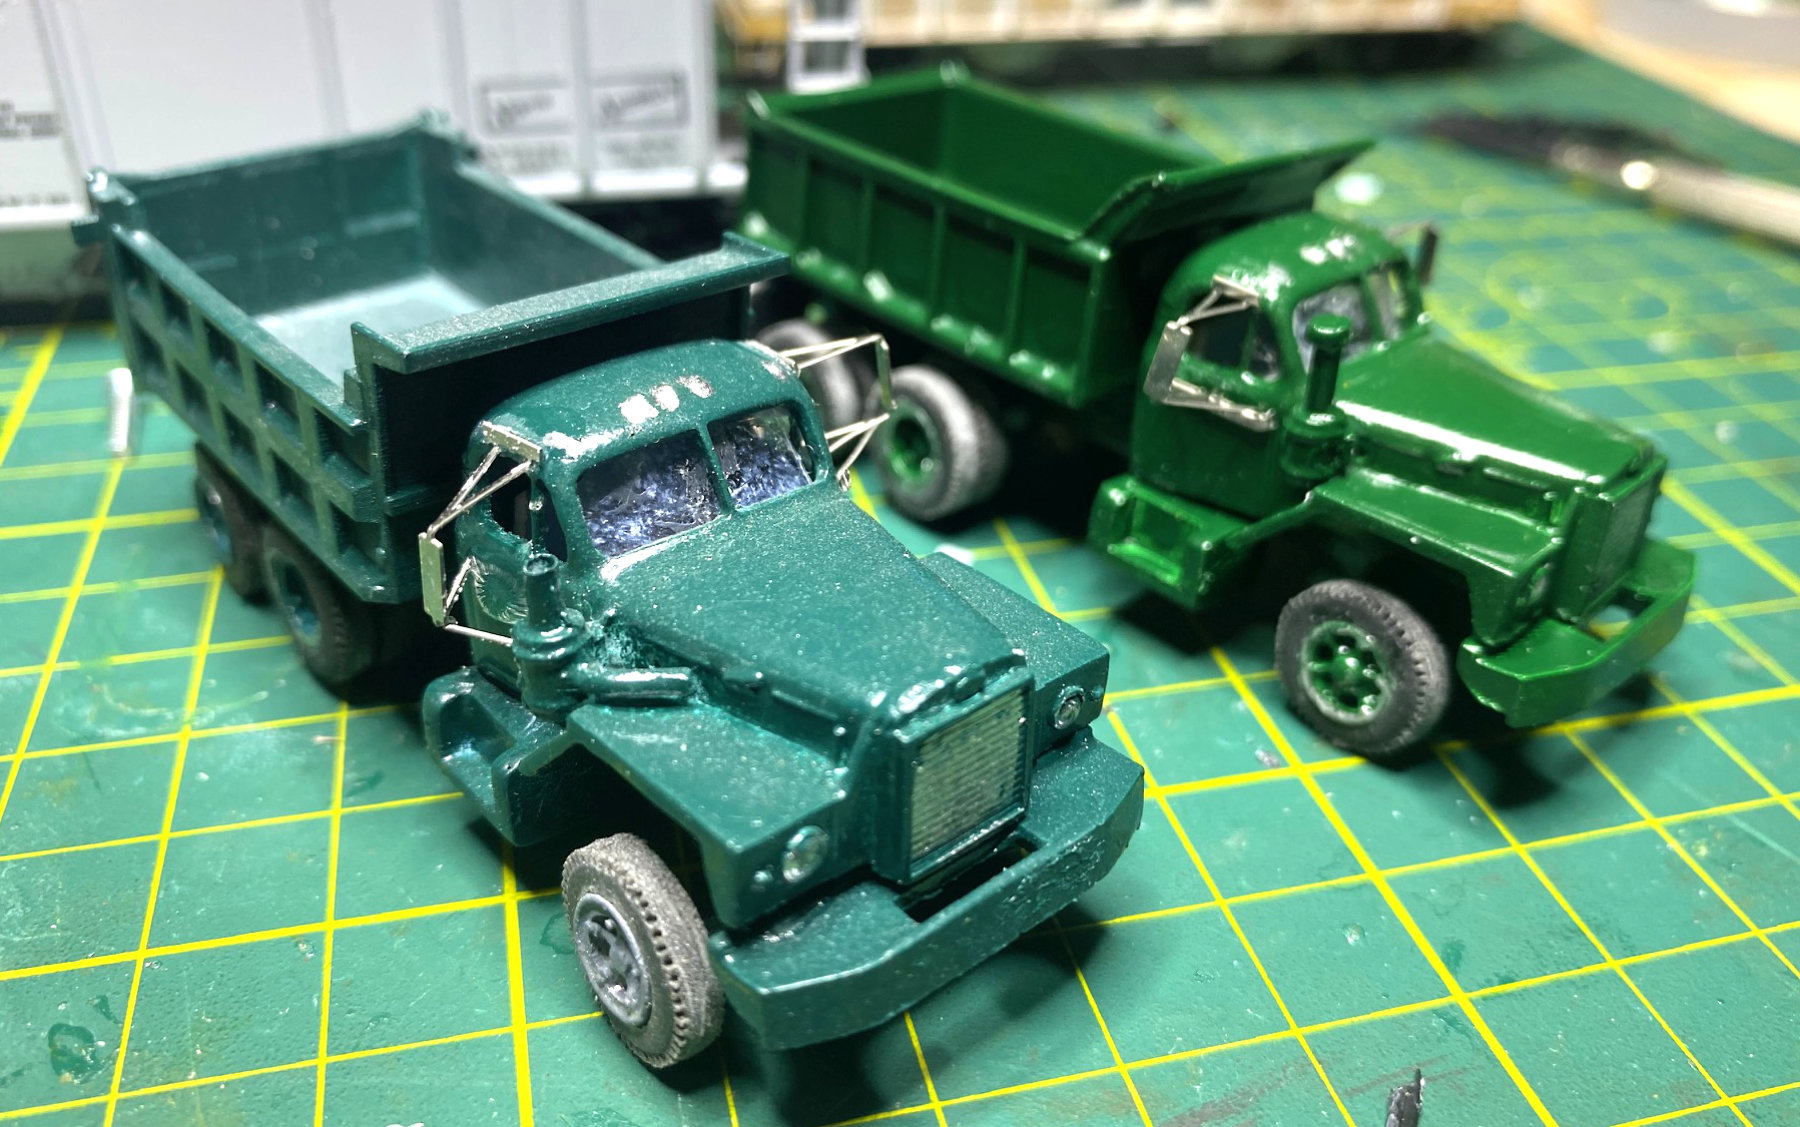
Thank you, Bob Cronin, for sharing your HO scale truck model photos and build techniques! Vehicle models are great detail additions that complement our railroad models.
Subscribe to the Resin Car Works blog so you don’t miss a new model announcement. Add your email address to the Subscribe function at the bottom of the page.
Questions and comments can be posted below. Please follow the instructions so your comment can be posted. All comments are reviewed and approved before they appear. Share the blog link with other model railroaders.
I gotta say, your cleaning routine cracks me up. Spraying each piece with stain remover and scrubbing them with a toothbrush? That’s some serious dedication, my friend. And waiting a whole 24 hours for those pieces to dry? Patience is clearly your middle name. But hey, it pays off because your truck models look absolutely top-notch.
I like Micro Liquitape for gluing clear plastic windows from inside because it doesn’t ooze out at the edges and leave a blob like canopy glue can. The container says it is temporary, but I have yet to have a window come loose.
Elmers Clear School Glue can make very nice windows..here is a link to my blog describing how it’s done…
https://1935to1945homodeller.wordpress.com/2022/11/20/elmers-clear-school-glue/
Cheers
Rick De Candido
Do we want shiny trucks any more than we want shiny freight cars?
Jared Harper
It’s looks like Super glue has been used on the glazing on one of the trucks it’s not suitable as it fogs up the glazing canopy glue is much better as it dries clear
Paul,
You’re right. A rookie mistake. One of the best things about modeling is learning from your mistakes. The two Mack B81 Dump Trucks were my first builds, and I did use CA to glue the windshields. Since then, I’ve been using Canopy Glue for windshields as it dries clear.
Bob Cronin