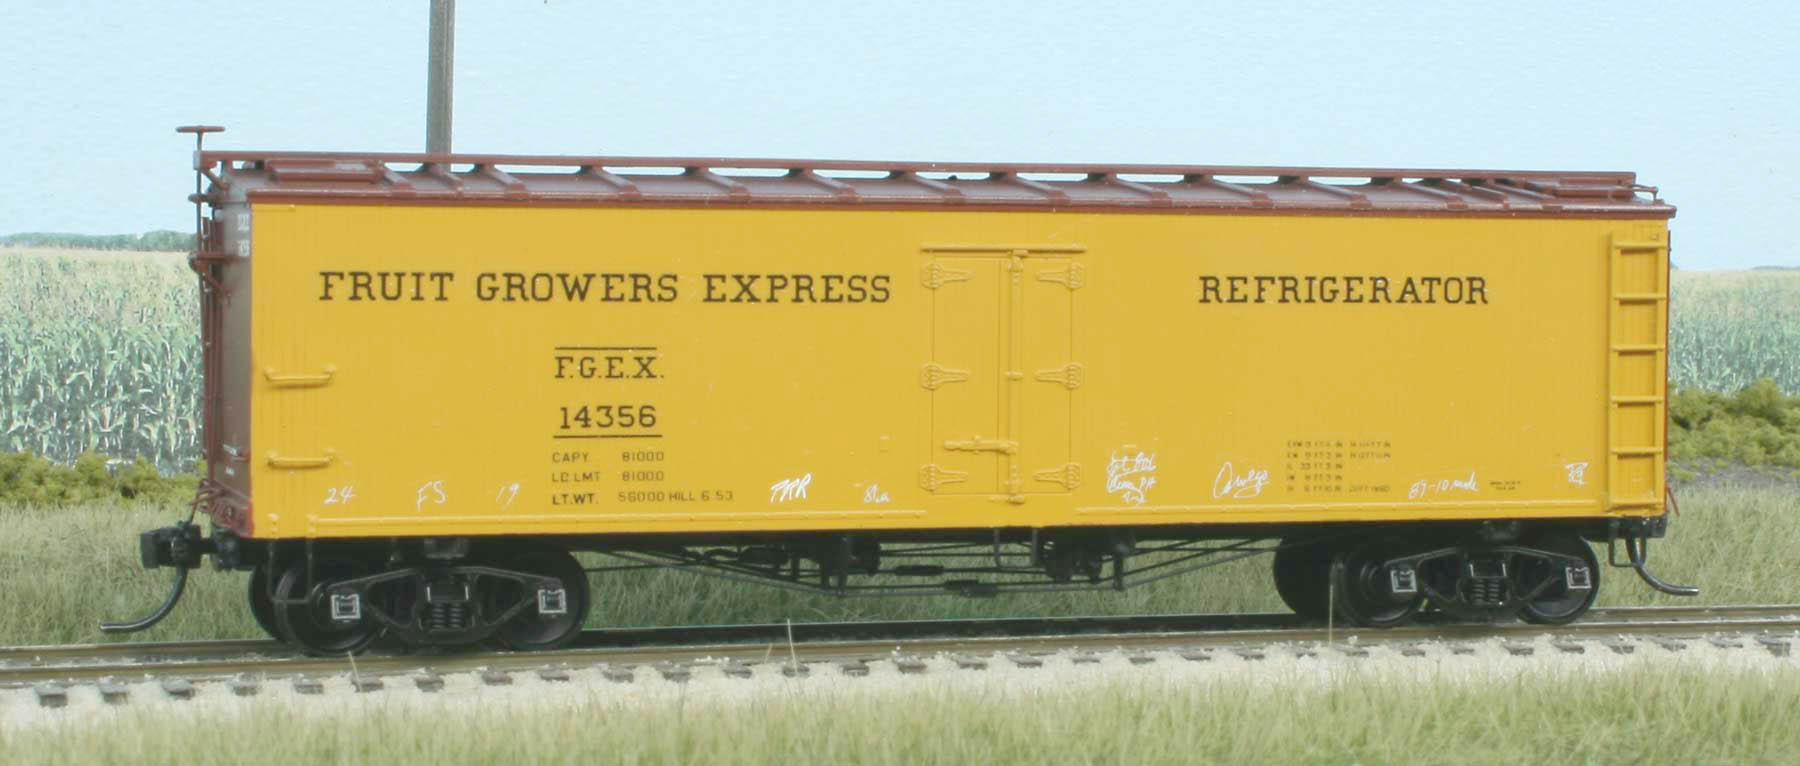
George Toman has tackled a mini-kit to transform an Accurail reefer to follow an early Fruit Growers Express reefer. He sent along notes on assembling the underframe so more people get their kits built. Here’s George!
I was one of the early registered attendees of the 2018 Chicagoland RPM and recipient of the HO mini-kit of details and decals for a FGEX truss rod reefer with a steel center sill. My thanks to Mike Skibbe, Frank Hodina, Ted Cullota, and others for making this mini-kit possible. It is currently available direct from Resin Car Works for purchase.
What follows are a few notes on how I assembled the recommended Tichy reefer underframe part #3030 to the Accurail wood reefer. I did not have the undecorated kit and used a decorated one and stripped the paint. Prototype details for this model can be found on the kit extras page on the Resin Car Works site.

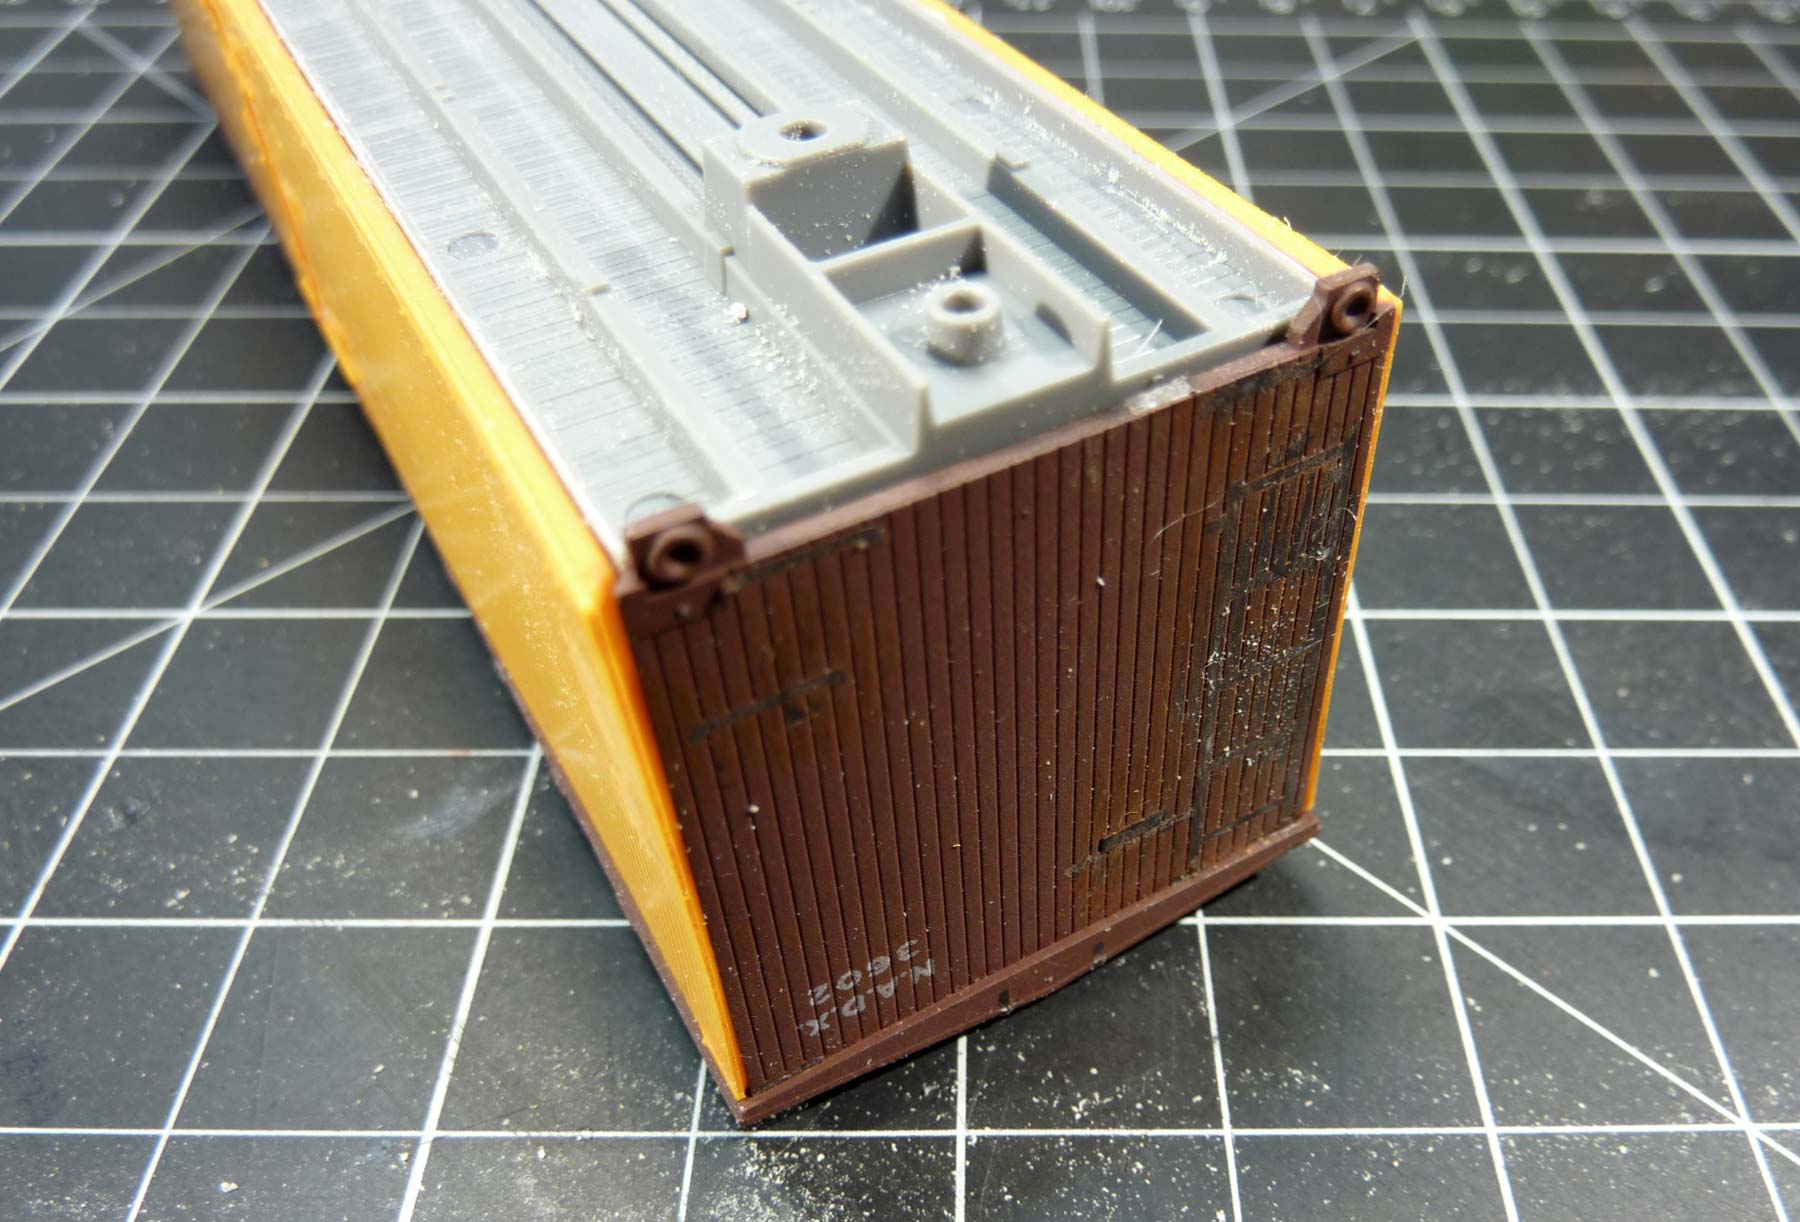
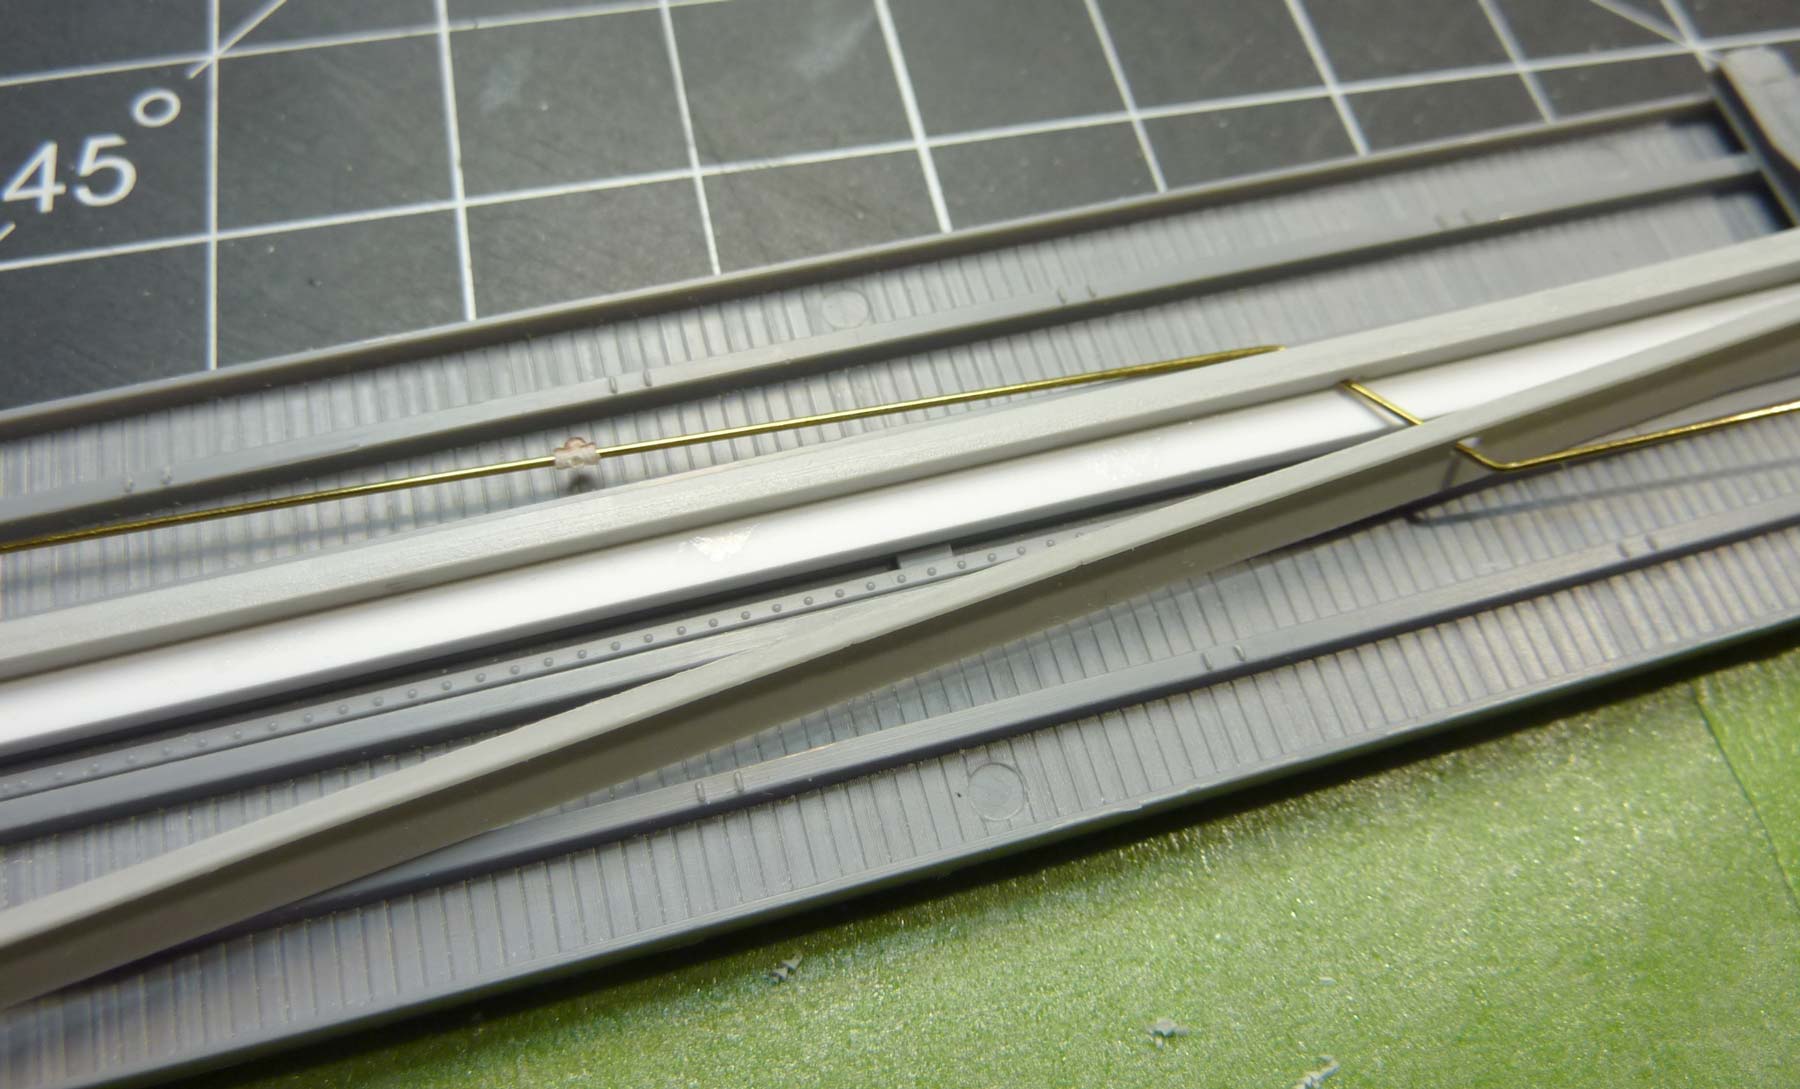
The Tichy reefer underframe is 1.2-inches wide and will need to be narrowed to fit the Accurail carbody, as you can see in the above photo. The cast-on draft gear box also needs to be removed.
The narrow Tichy underframe is held at 90 degrees and sanded to remove 0.0175-inches from both side sills. Remove an equal amount from both sides. Frequently measure your work to ensure accurate removal of material.
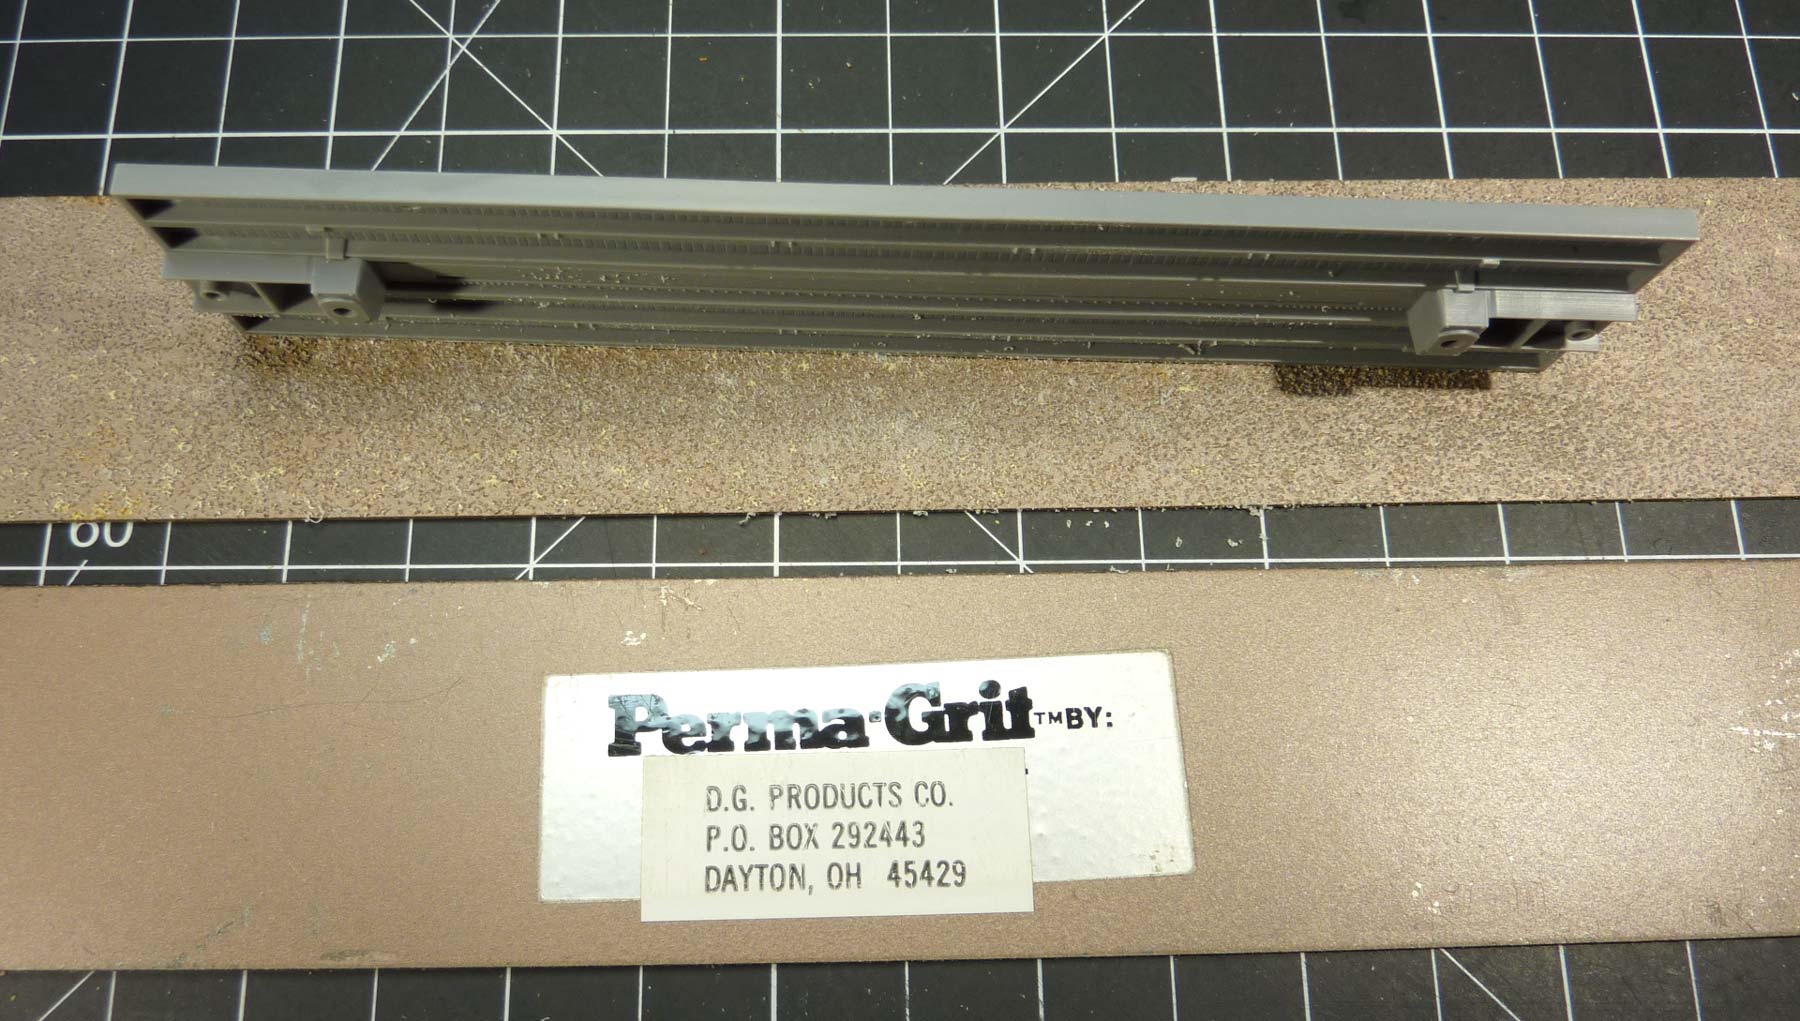
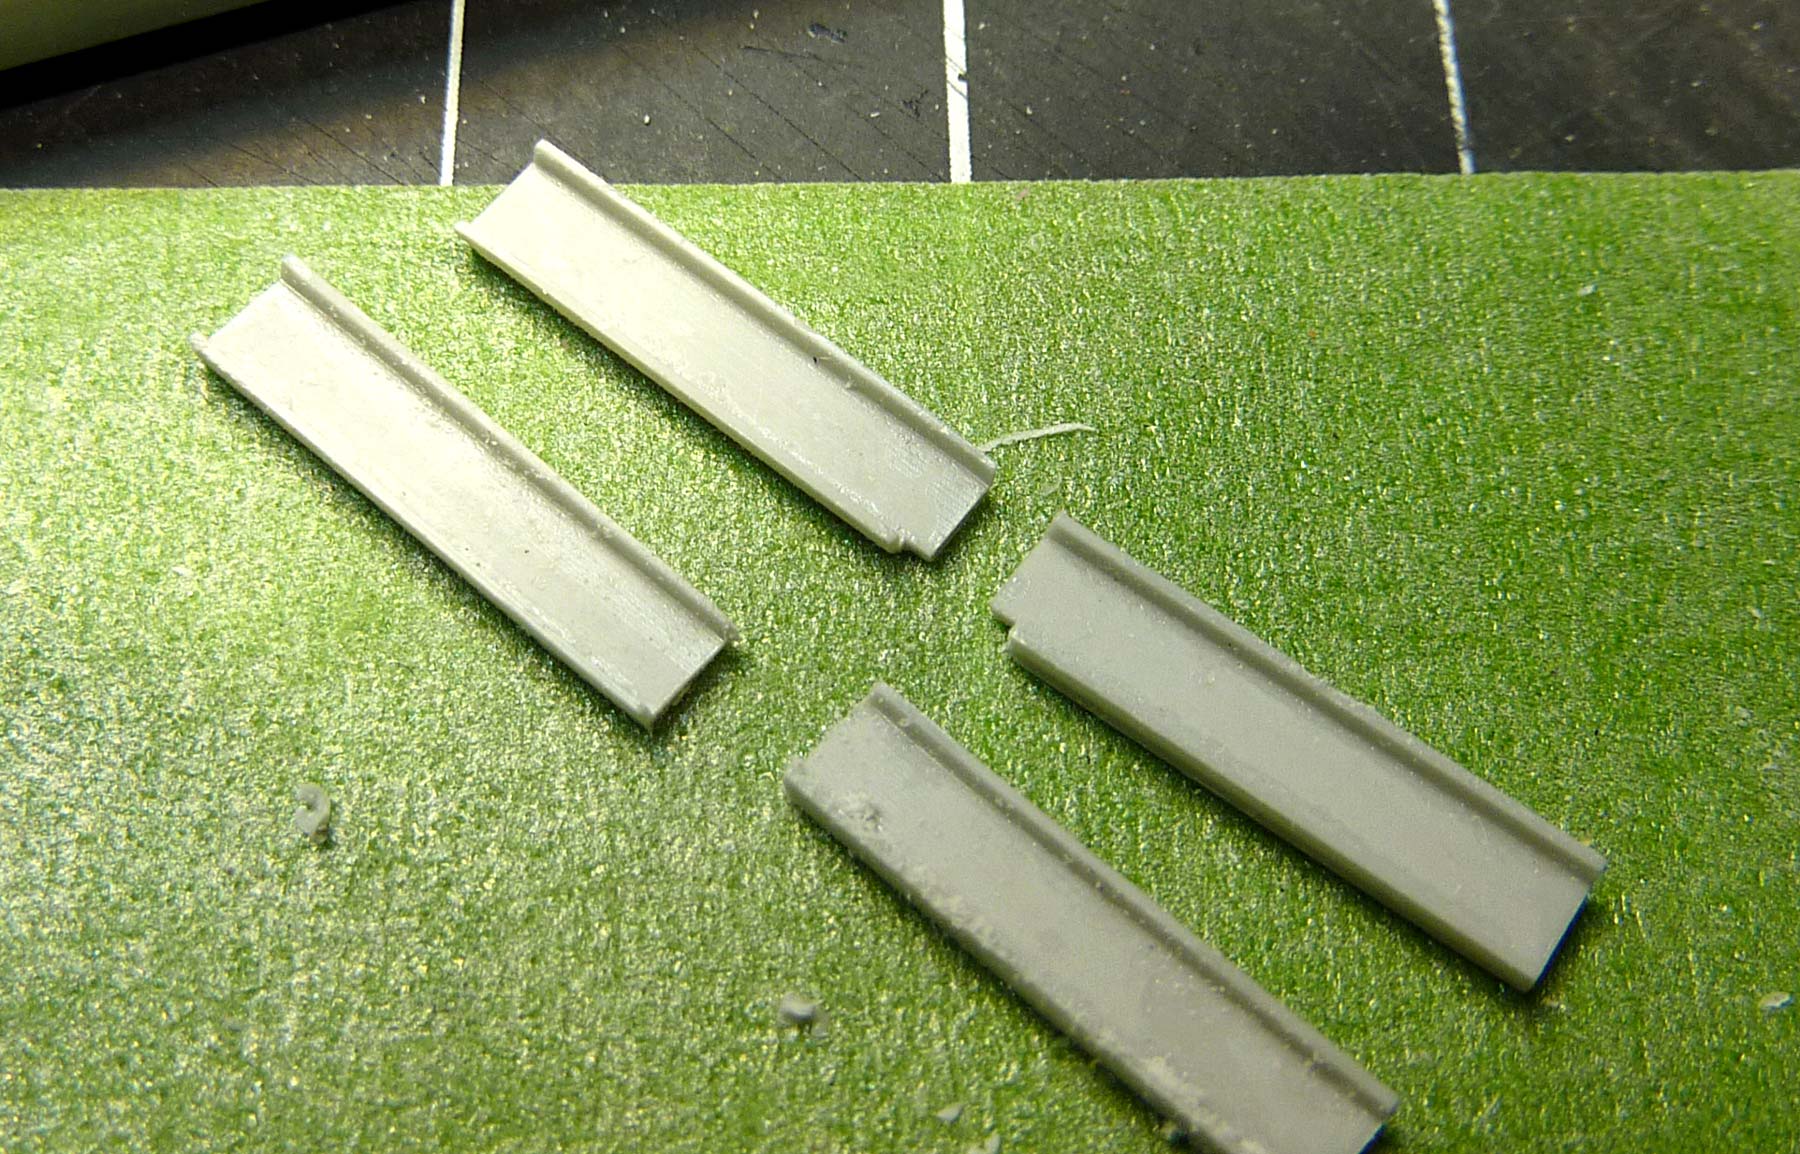
I used these very old Perma-Grit sanding blocks in both course and medium grit. A Nicolson 16-inch mill file was also handy to quickly remove and finish my underframe.
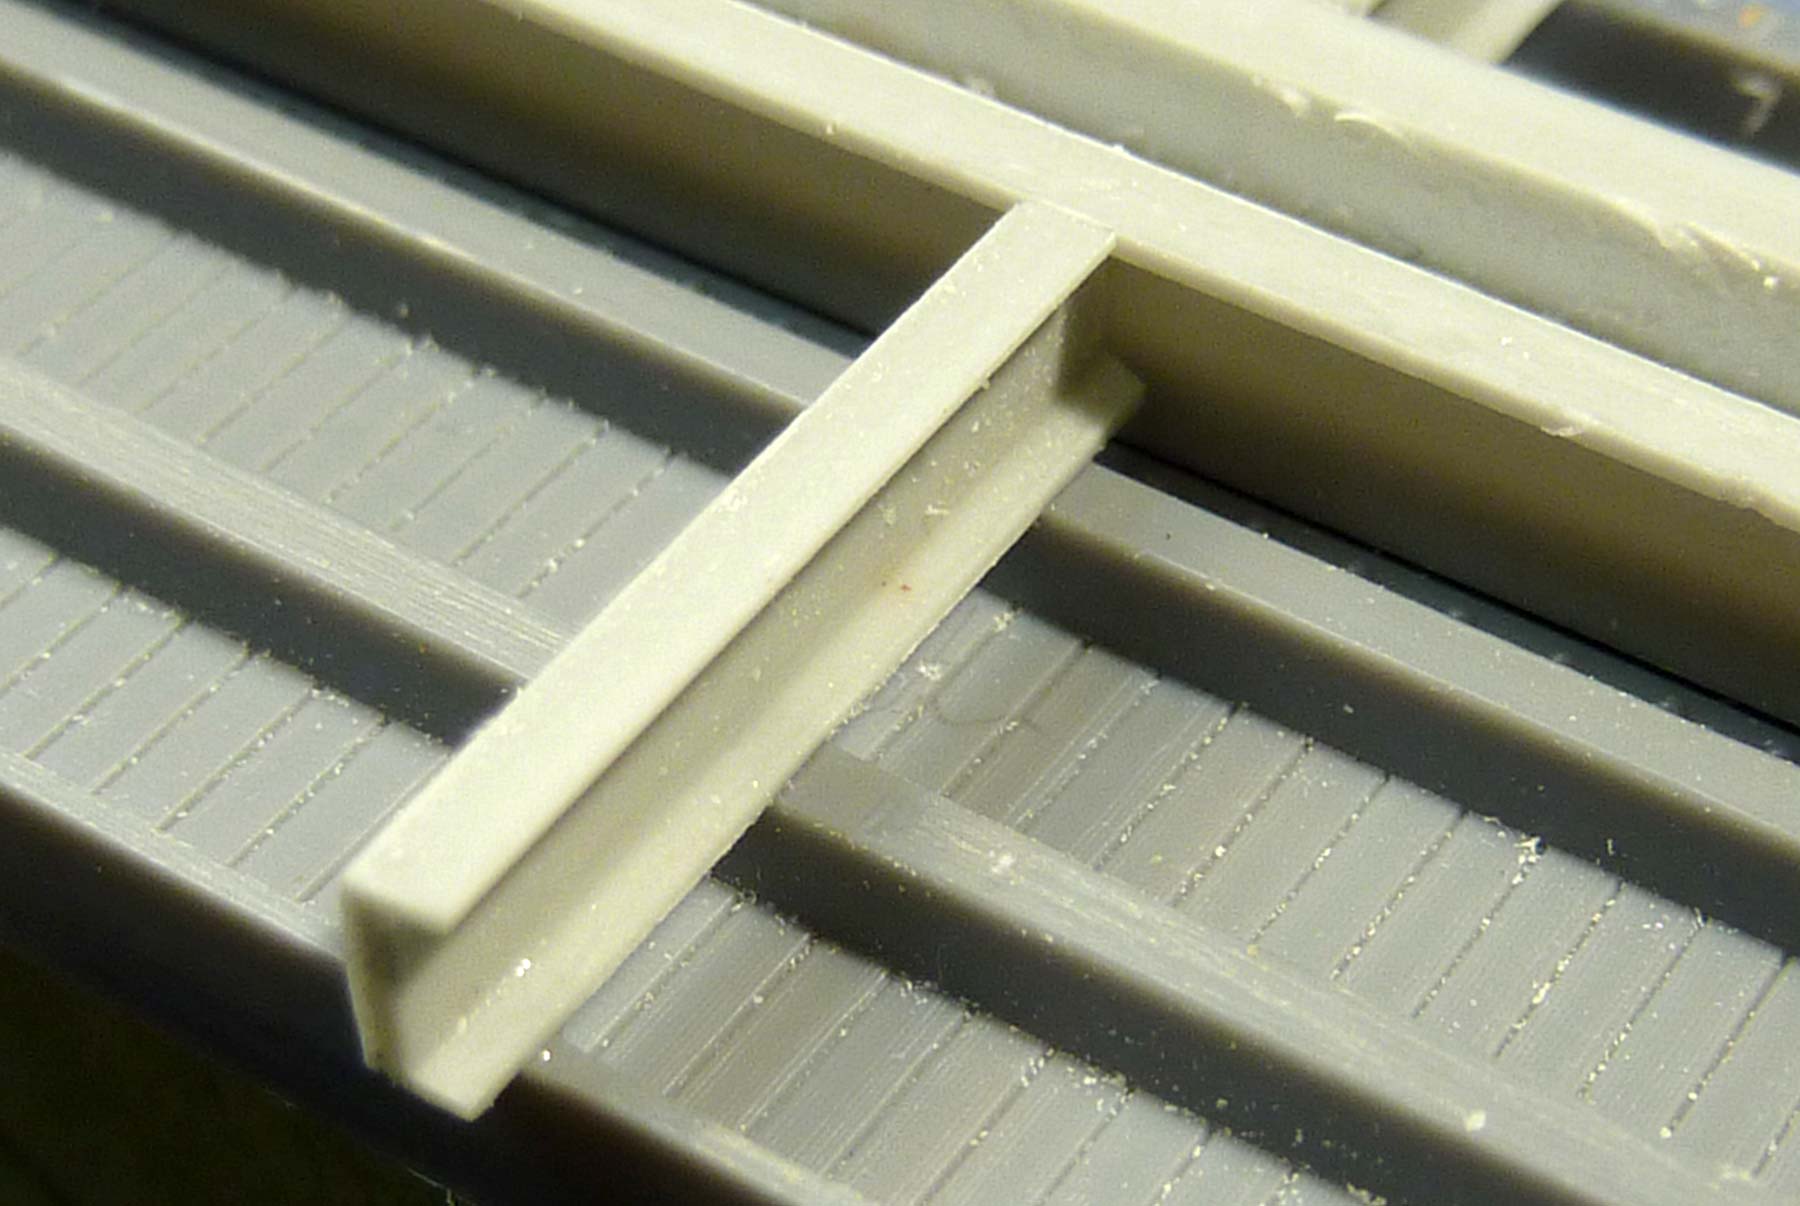
Here’s the narrowed underframe being test fit to the Accurail car body. I also removed the cast-on grab irons, as seen on the car end.
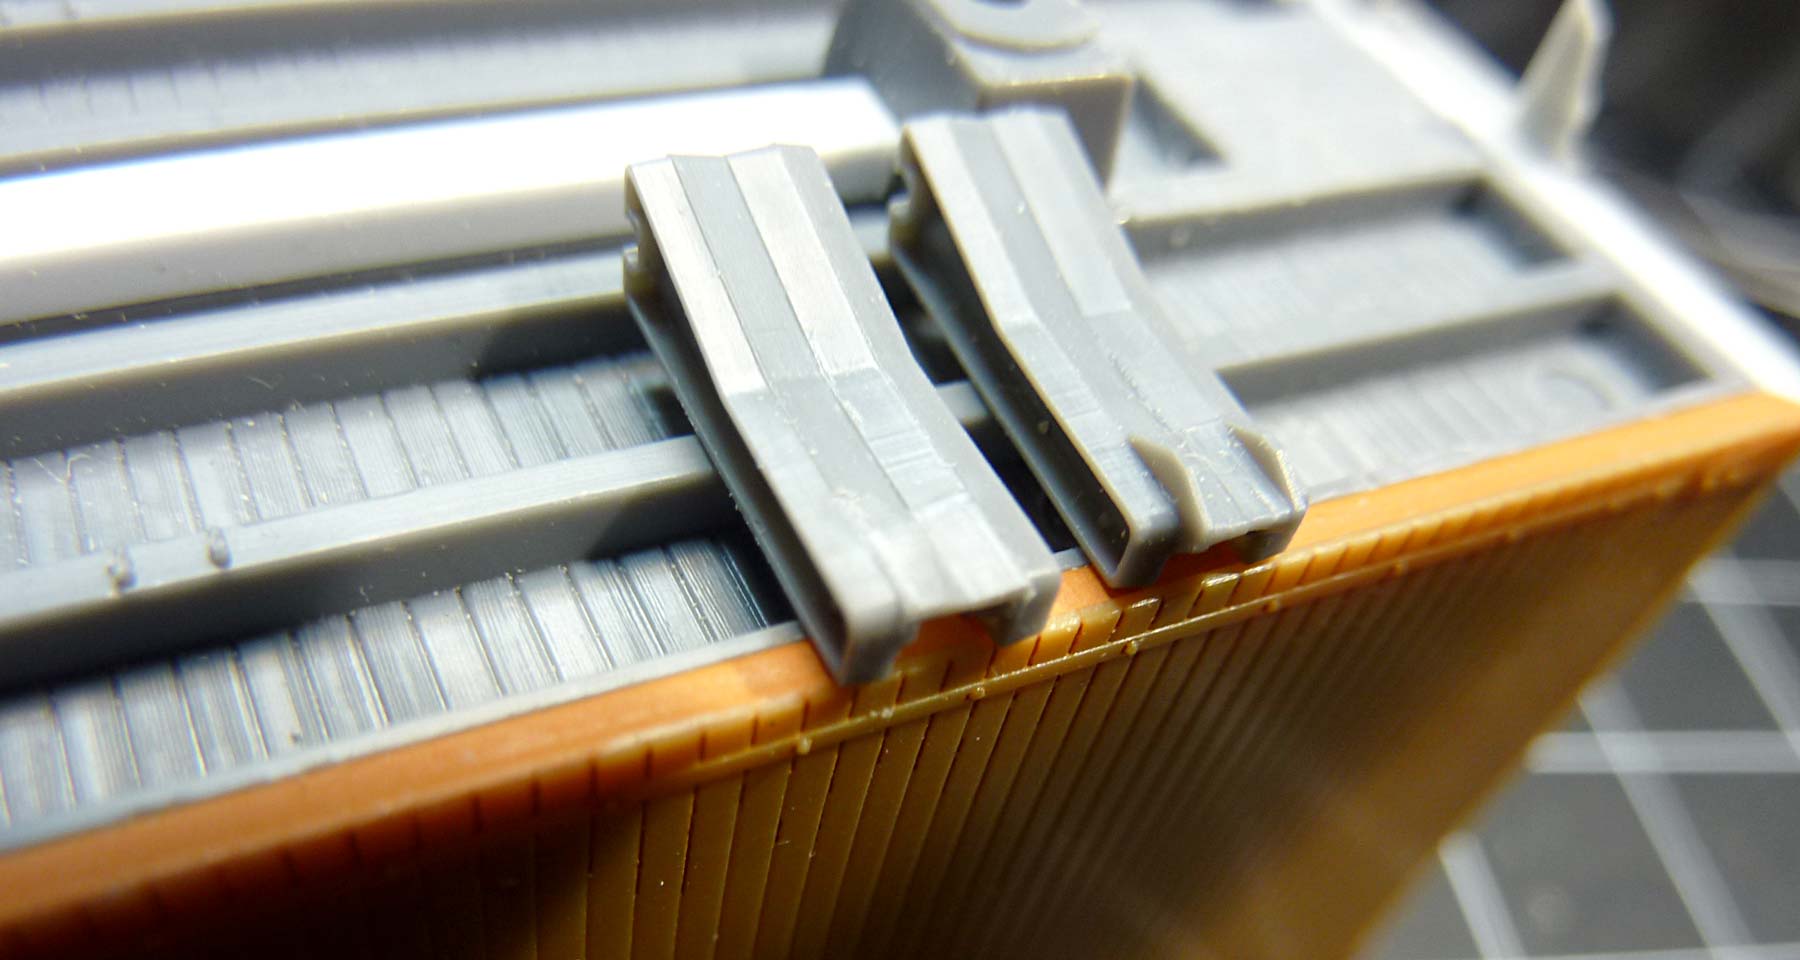
The Tichy bolster castings need to be modified. The detail is trimmed off the one at the left to better match the prototype. At this point, I’ve installed the 0.080 x 0.100-inch styrene piece between the bolsters and the cast-on draft gear was removed.
The Tichy underframe is not yet glued to the Accurail car body. I want to install the details and paint the underframe before it is fixed into place.
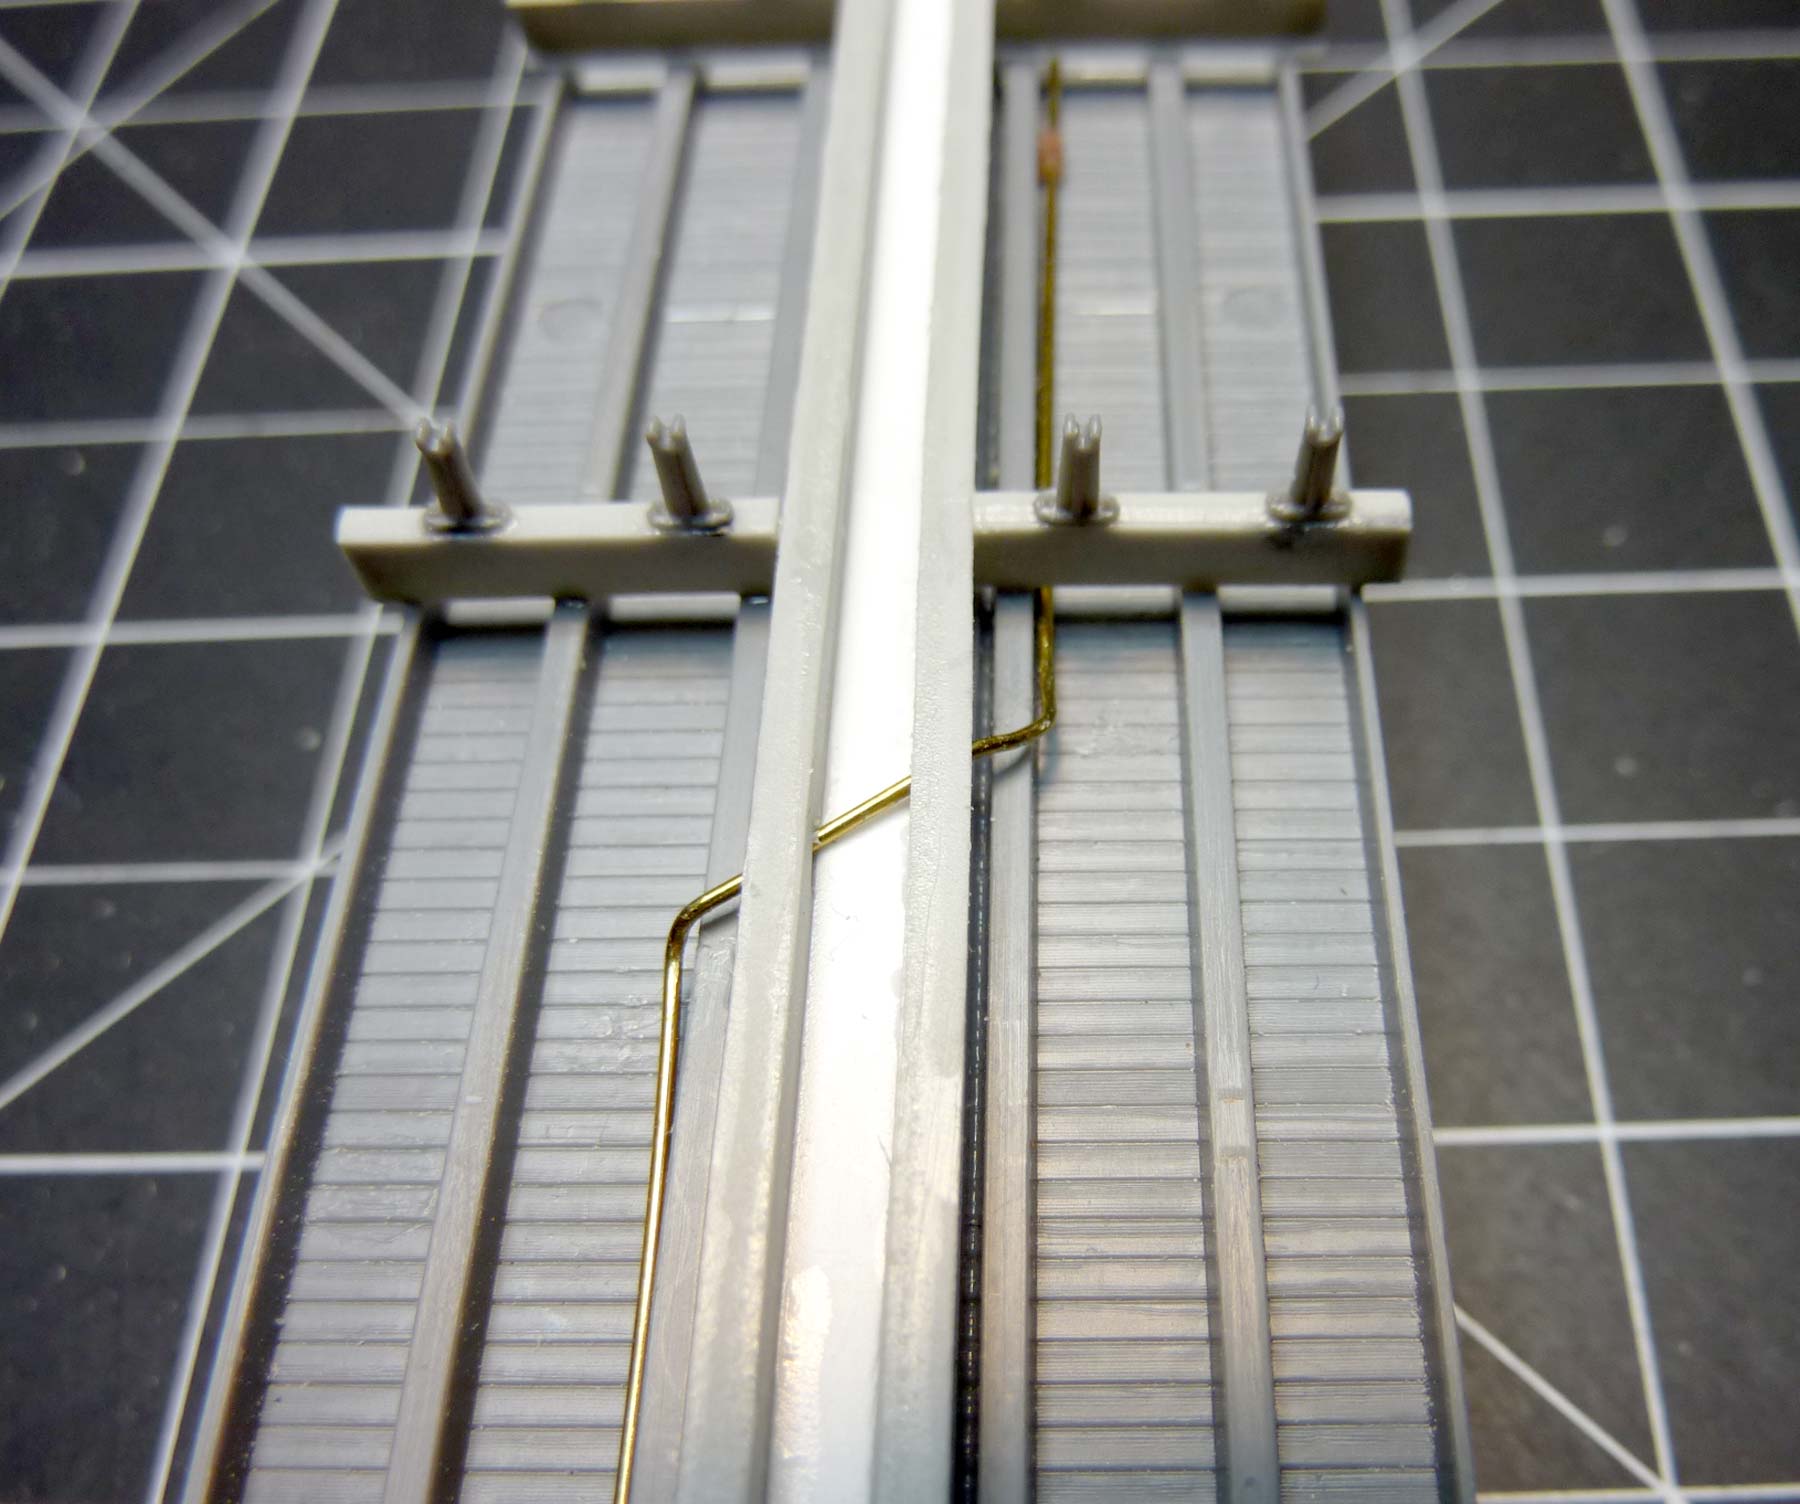
I installed the trainline next using 0.019-inch diameter wire. Note how is passes through the resin center sill but not yet glued into place. These hole locations were taken from the Tichy parts that are not used in this build.
Two pieces have been notched in the corners to fit against the center sills.
I installed the resin C-channel needle beams next. These parts support the queen posts.
Needle beams are installed. Note the nice fit against the center sill.
These resin C-channel needle beams face toward to the car center and are located four feet from the center line of the car.
Here the progress on the underframe with the resin C-channel needle beams and Tichy long queen posts (part#3074) installed.
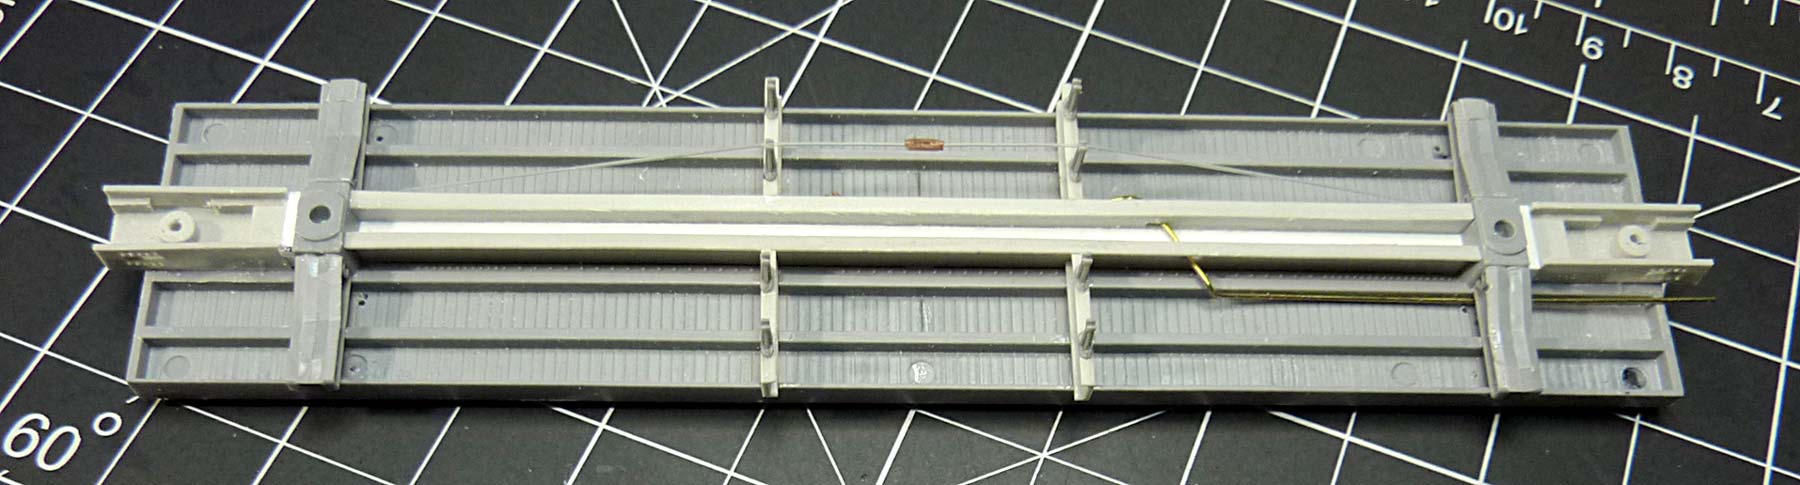
The queen posts are installed on the needle beams with brass wire used for the truss rods. It’s best to add the brake hardware before installing the truss rods.
I hope these notes help you assemble the FGEX reefer mini-kit. This is part of a planned presentation I’m developing for the 2019 RPM Chicagoland to be held October 24-26, in Lisle, IL. I’ll present complete details of this work with additional prototype photos and another option for scratch building a slightly different underframe. I’ll see you there!
George Toman
Where would we be without this kind of inspiration? Many thanks to George Toman for sharing his tips and techniques to move a mini-kit towards completion. If you have one of these min-kits, get started on building the reefer! Bring your work to the 2019 RPM Chicagoland so we can all see it.
Questions and comments can be posted below. Please follow the instructions so your comment can be posted. All comments are reviewed and approved before they appear. To subscribe to this blog, add your email address to the function at the bottom of the right column on the main page. Share the blog link with other model railroaders.