
After completing the UTLX Class X-3 tank car recently, blog manager Eric Hansmann decided to build another freight car type that he had not built before. Here are his notes on building the latest Westerfield Models kit, the S-40-1/2/3 Pressed Steel underframe stock car (kit #12522).
The prototype for this Westerfield kit dates to 1905 and is a variation of a Harriman Common Standard box car design. As per the Westerfield prototype data sheet, these cars had steel fish belly side sills and center sills that were developed by the Pressed Steel Car Company. They also had a steel truss superstructure that would be unchanged through the service life of these cars. The S-40-1 class was first built in 1905 and only Union Pacific subsidiaries received this car class. 493 cars were originally built and installed on the Oregon Short Line and the San Pedro, Los Angeles, & Salt Lake. Overall, 5440 cars were built following the basic design but with specific car class differences. As with many Westerfield kits, it’s important to review the prototype data to determine which version of the model you desire. Prototype images of these cars are hard to find, but this image on the EL-NPS Steamtown photo archive offers a partial view from May 31, 1913.

After reading the instructions, prototype data, and jotting down notes, it was time to begin by cleaning the basic castings. The sides of a stock car are slatted and the flash needs to be removed before moving forward. This was my first stock car experience and the flash removal was more than I expected. The backs of the castings were carefully sanded by placing them on a fine grit sand paper and moving the casting across the abrasive paper. Use care so as not to damage the delicate steel truss components.
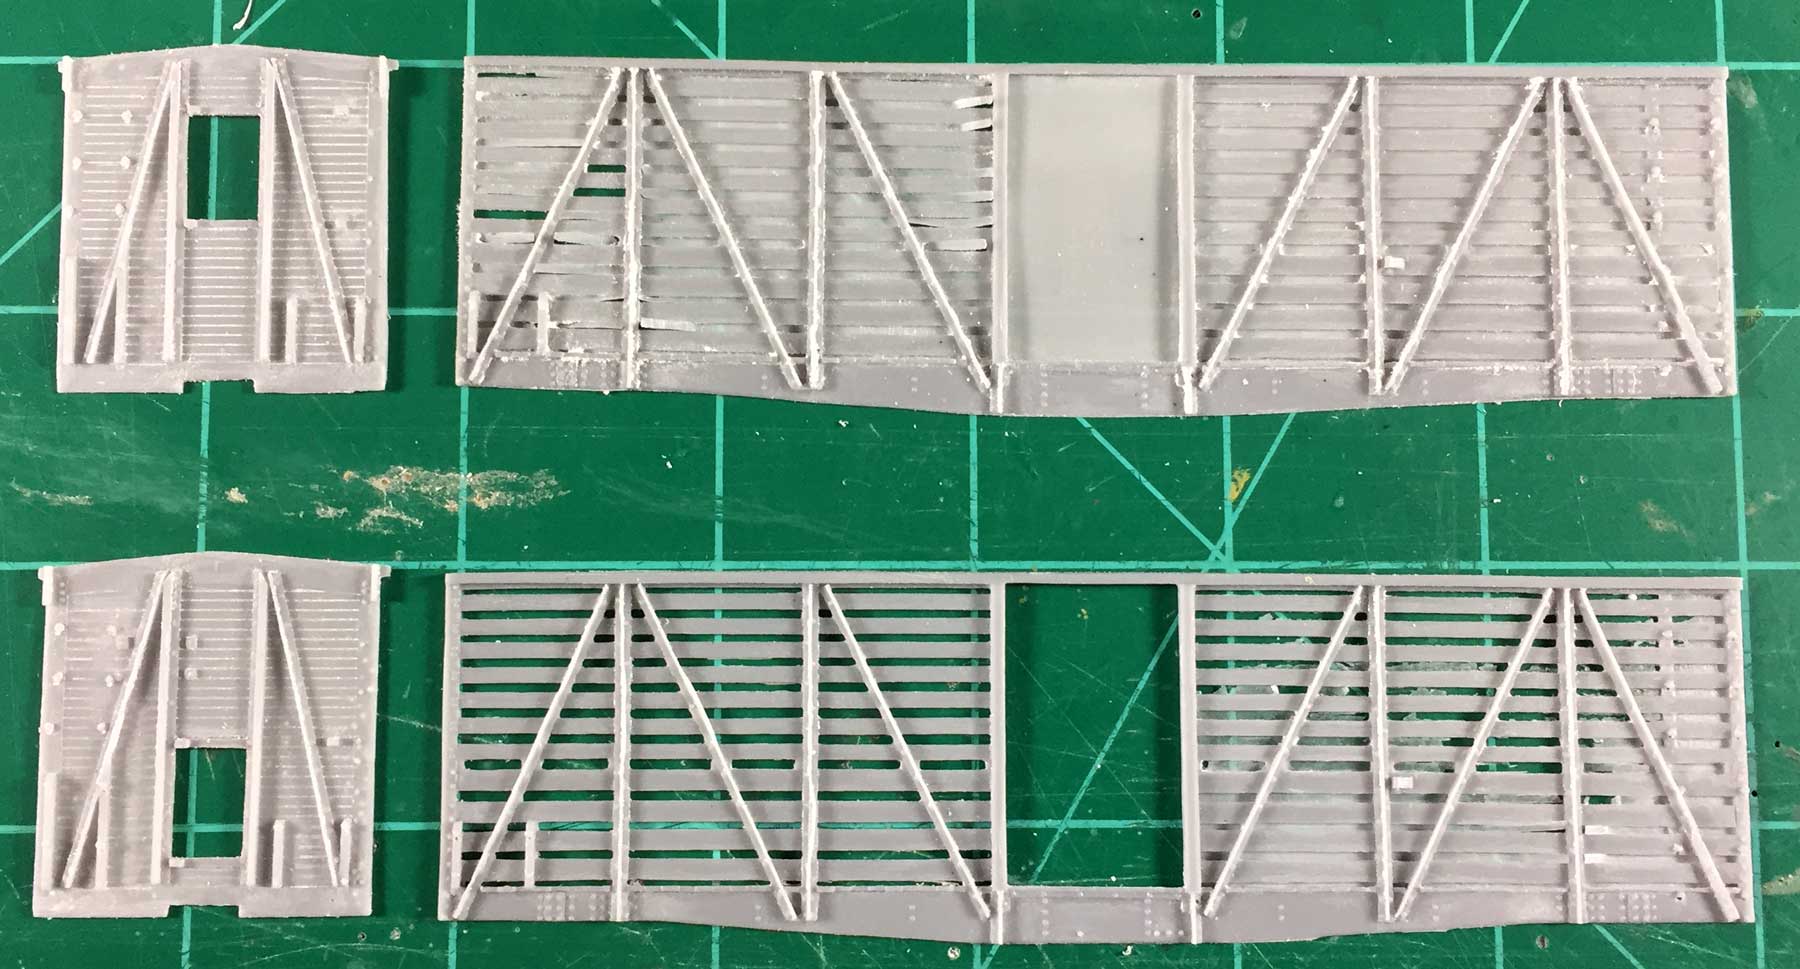
Every few passes, the casting is turned to keep the sanding even. Not all flash will be removed and much will need to be carefully sliced or scraped away using a #11 X-Acto blade or a single edge razor blade. The side pieces were carefully sanded using a NWSL Sander to ensure a right angle at the roofline and to match the length.
After removing the flash, the major components were washed and dried. Holes were drilled for all grabs and hardware was installed on the end components. I prefer installing grab irons and other details before assembling the sides and ends into a box.
This kit is a double-deck stock car, so there were more steps to consider as the construction moved forward. A support rail for the second deck needed to be installed on the back of the car sides. Additionally, the edges of the second deck need to fit into the spaces between slats on the car sides. It is much easier to trim and sand the second deck edges to fit the spaces before the car sides are installed. I marked the B end of the second deck by notching the end.
After prepping the car sides and ends, underframe cross members were installed along with the car weight.
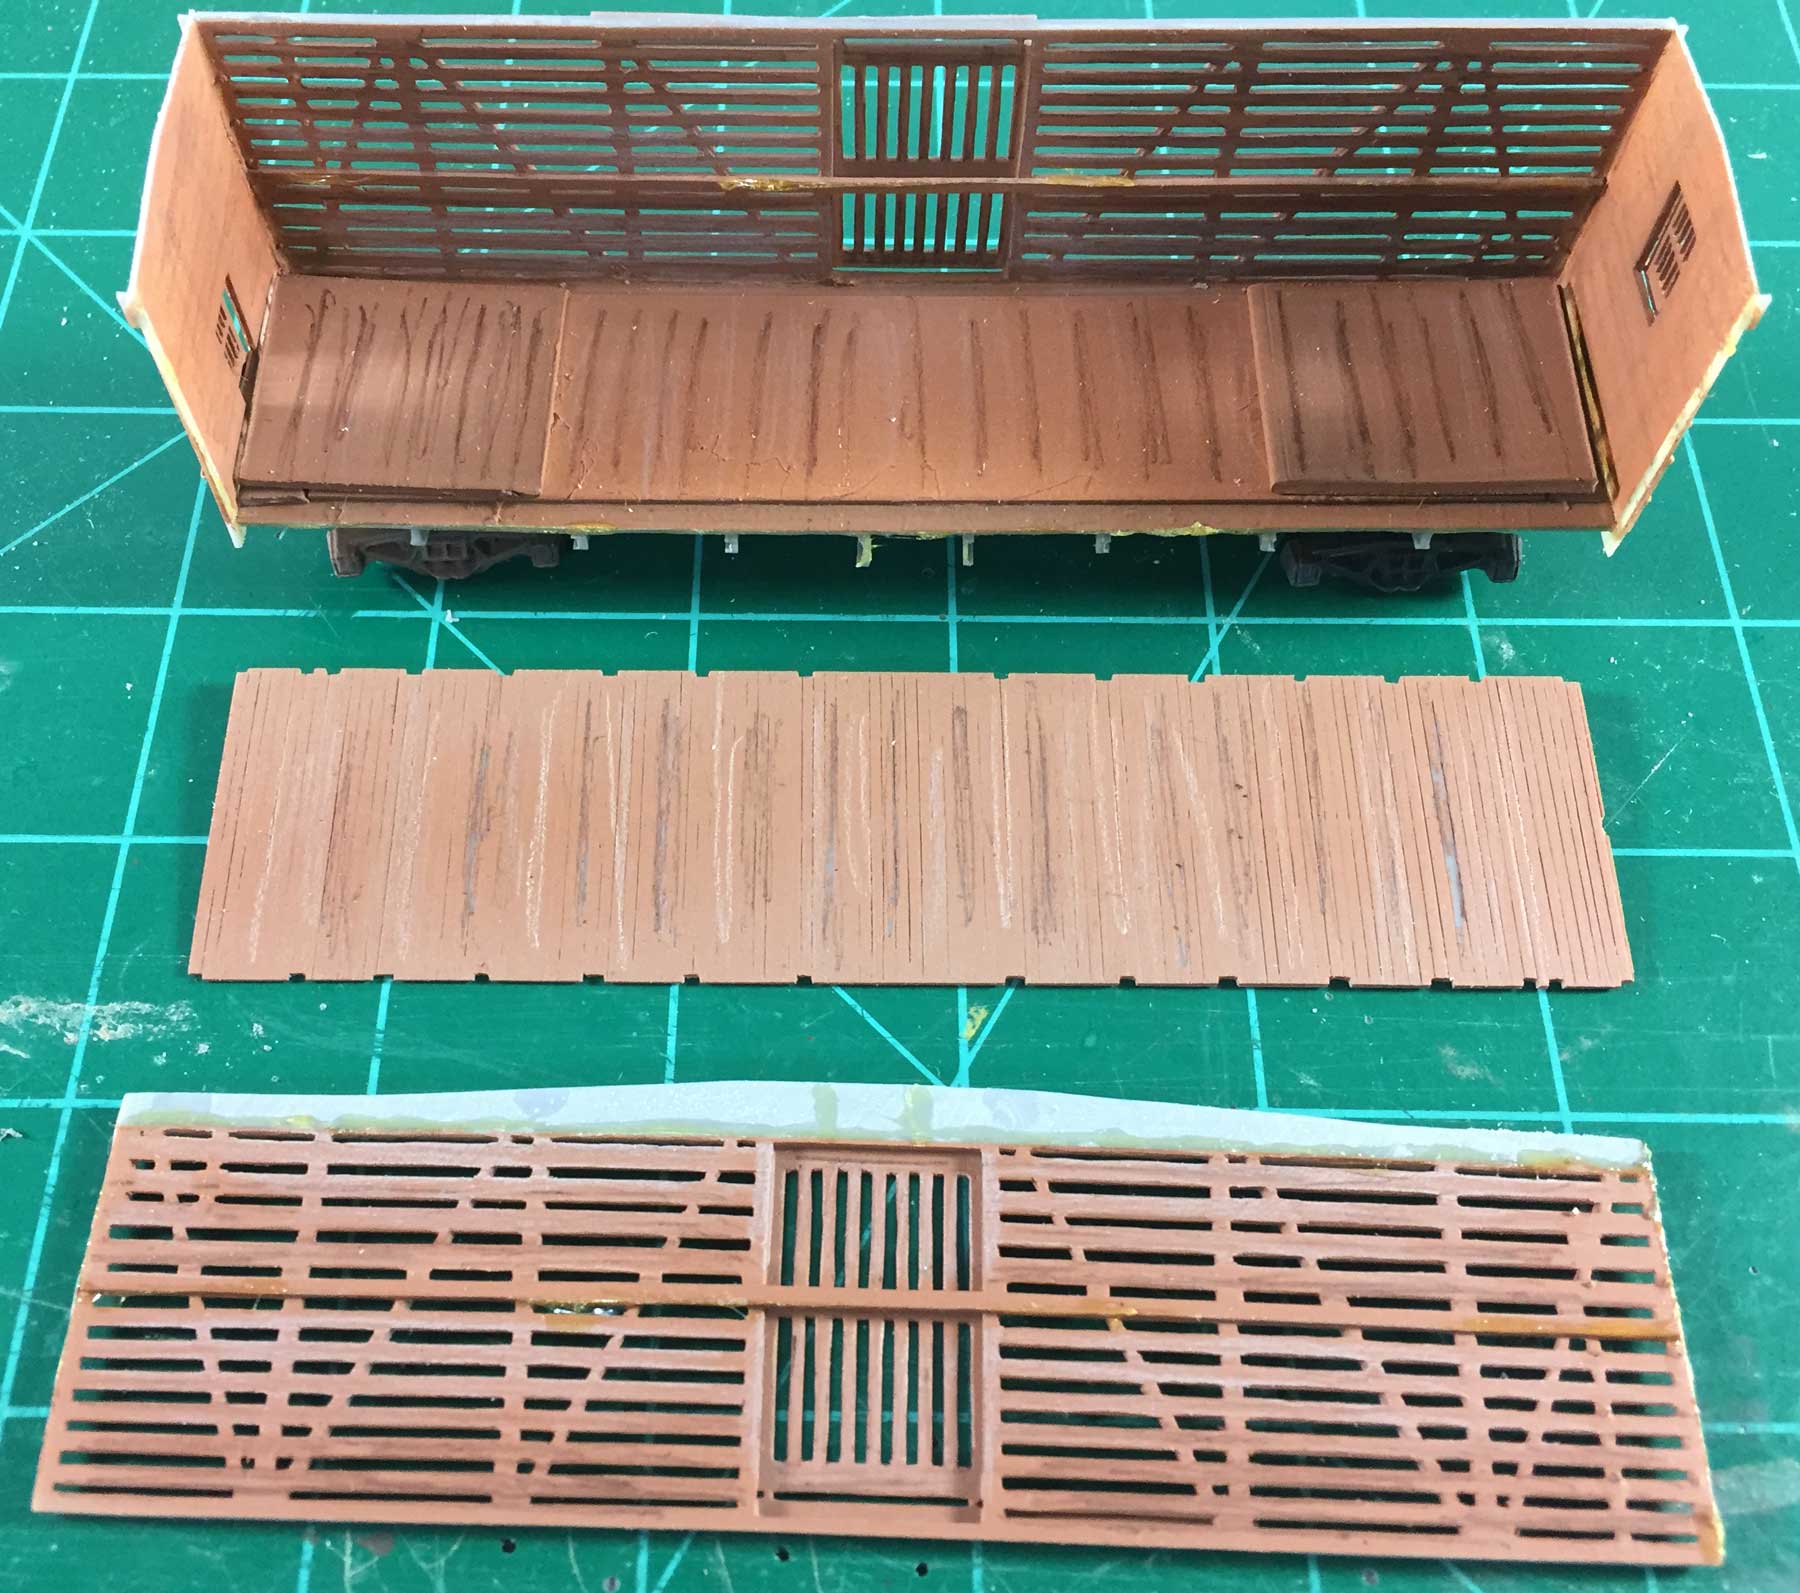
The sides and ends are built around the underframe. With the airy nature of a stock car, I decided to paint the interior before installing the second deck and second car side. After the paint was dry, Prismacolor pencils were used to vary the interior appearance. This was probably not necessary, but I did not know what to expect of the end product.
If you plan to paint the car interior, install the side and end doors before painting. The instructions direct the door installation a couple of steps after a suggestion to paint the interior.
Once the interior is painted, construction proceeds with familiar steps and details. The one-piece roof casting needed minor trimming to fit between sides and ends. The one-piece nature of the roof is a welcome departure from other kits.
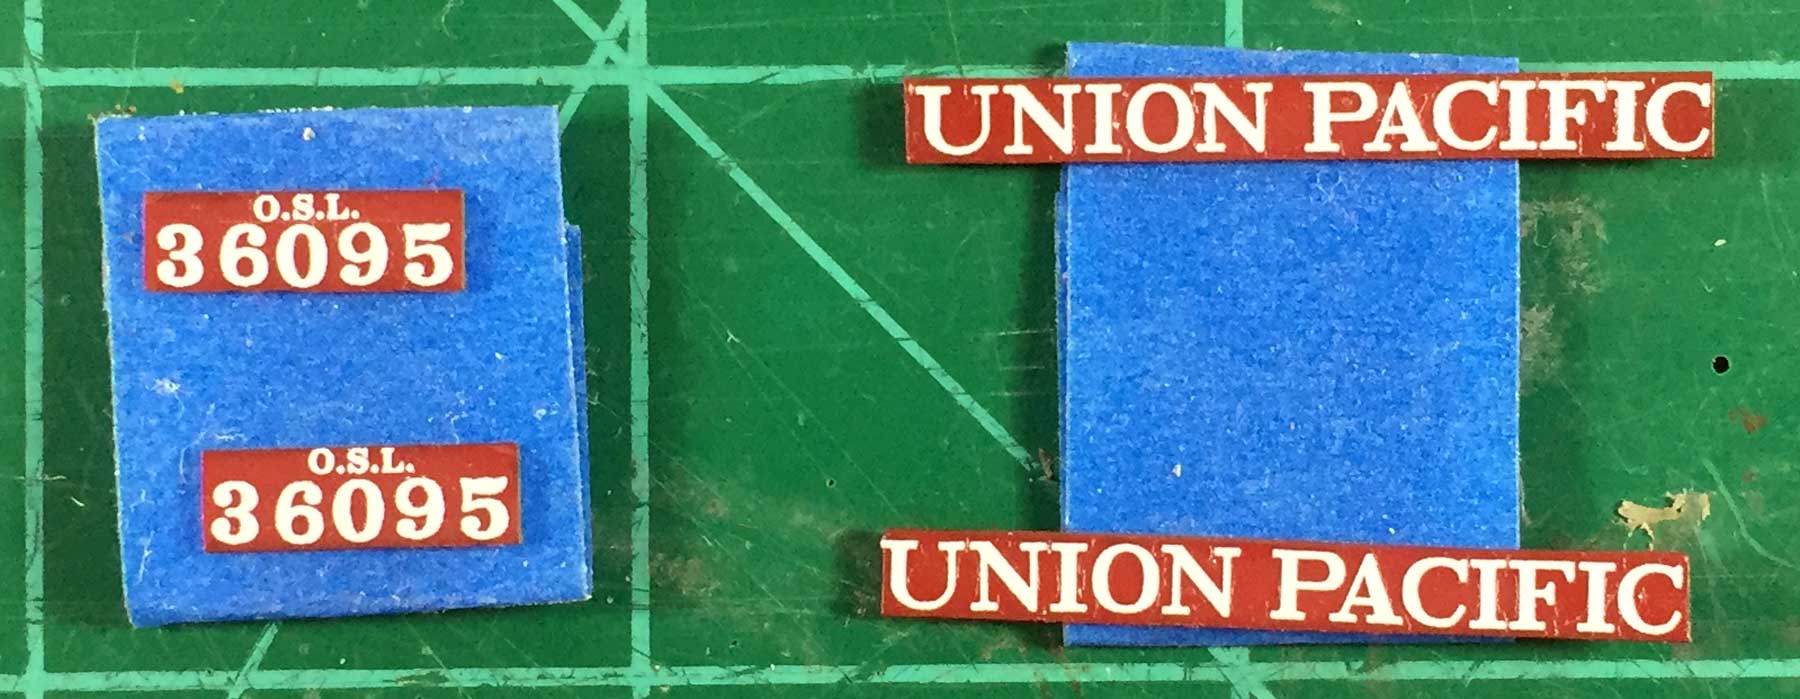
At this point, my model was ready for the paint booth. I forgot to install the letter boards before painting the model, but this ended up working in my favor. It was easier to apply the letter board decals separately and install the finished parts after the other decals were applied.
I painted the model with Acrylicos Vallejo Model Air Rust (71.080) with a few drops of Model Air Scarlet Red (71.003). A drop or two of Liquitex Flow-Aid was added and the paint was mixed in the paint cup with a small spatula. The Model Air line does not need to be thinned. An Iwata Eclipse HP-BCS airbrush with a 0.5 mm needle and nozzle cap combination was used with 25 psi from the air compressor.
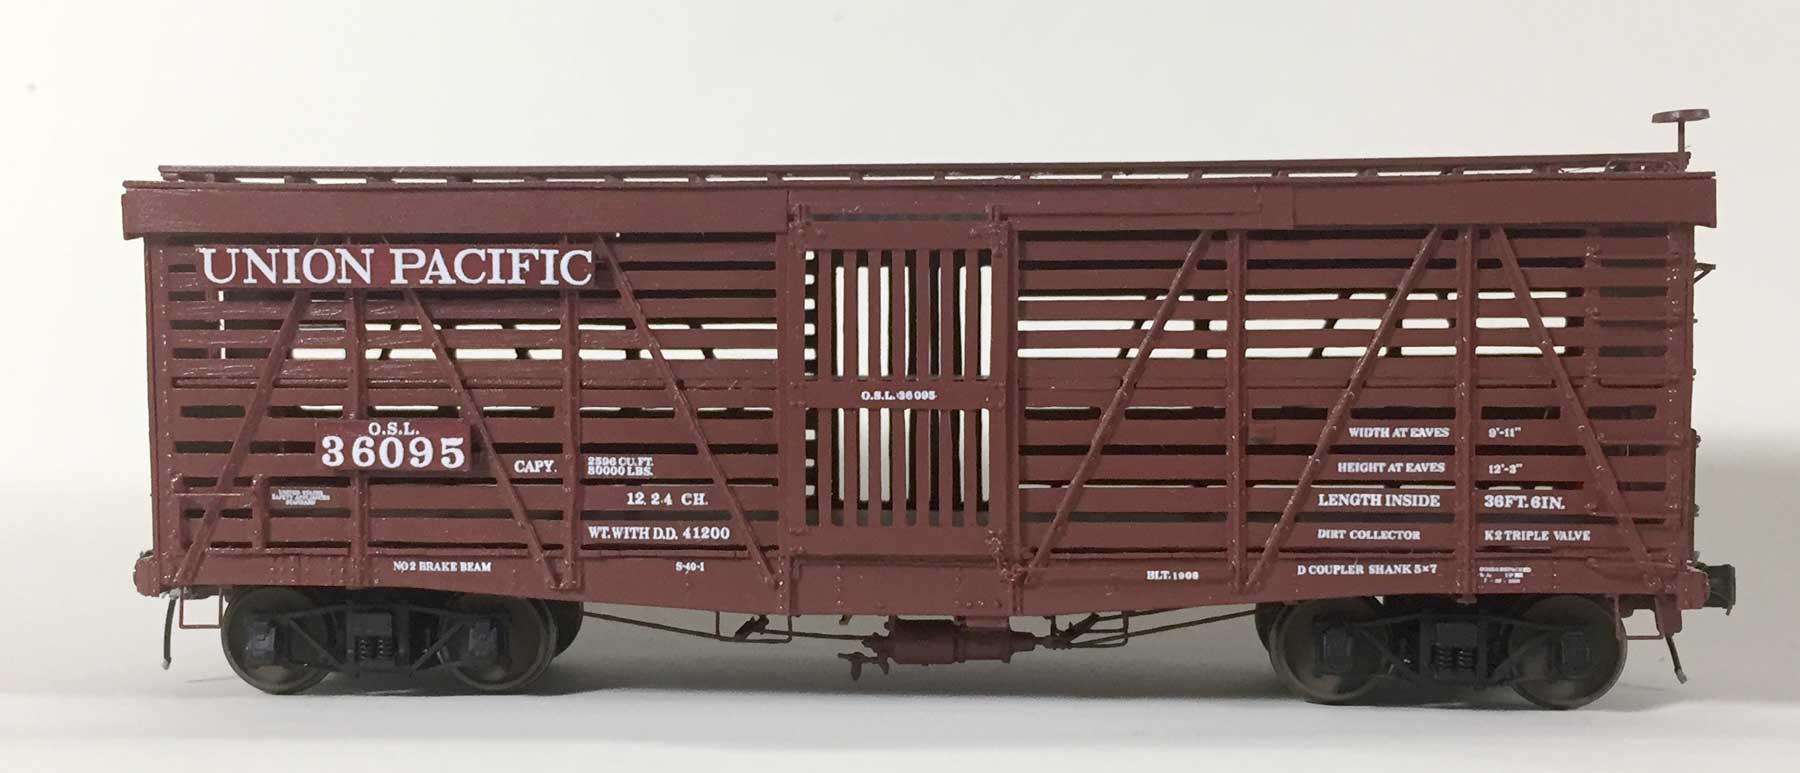
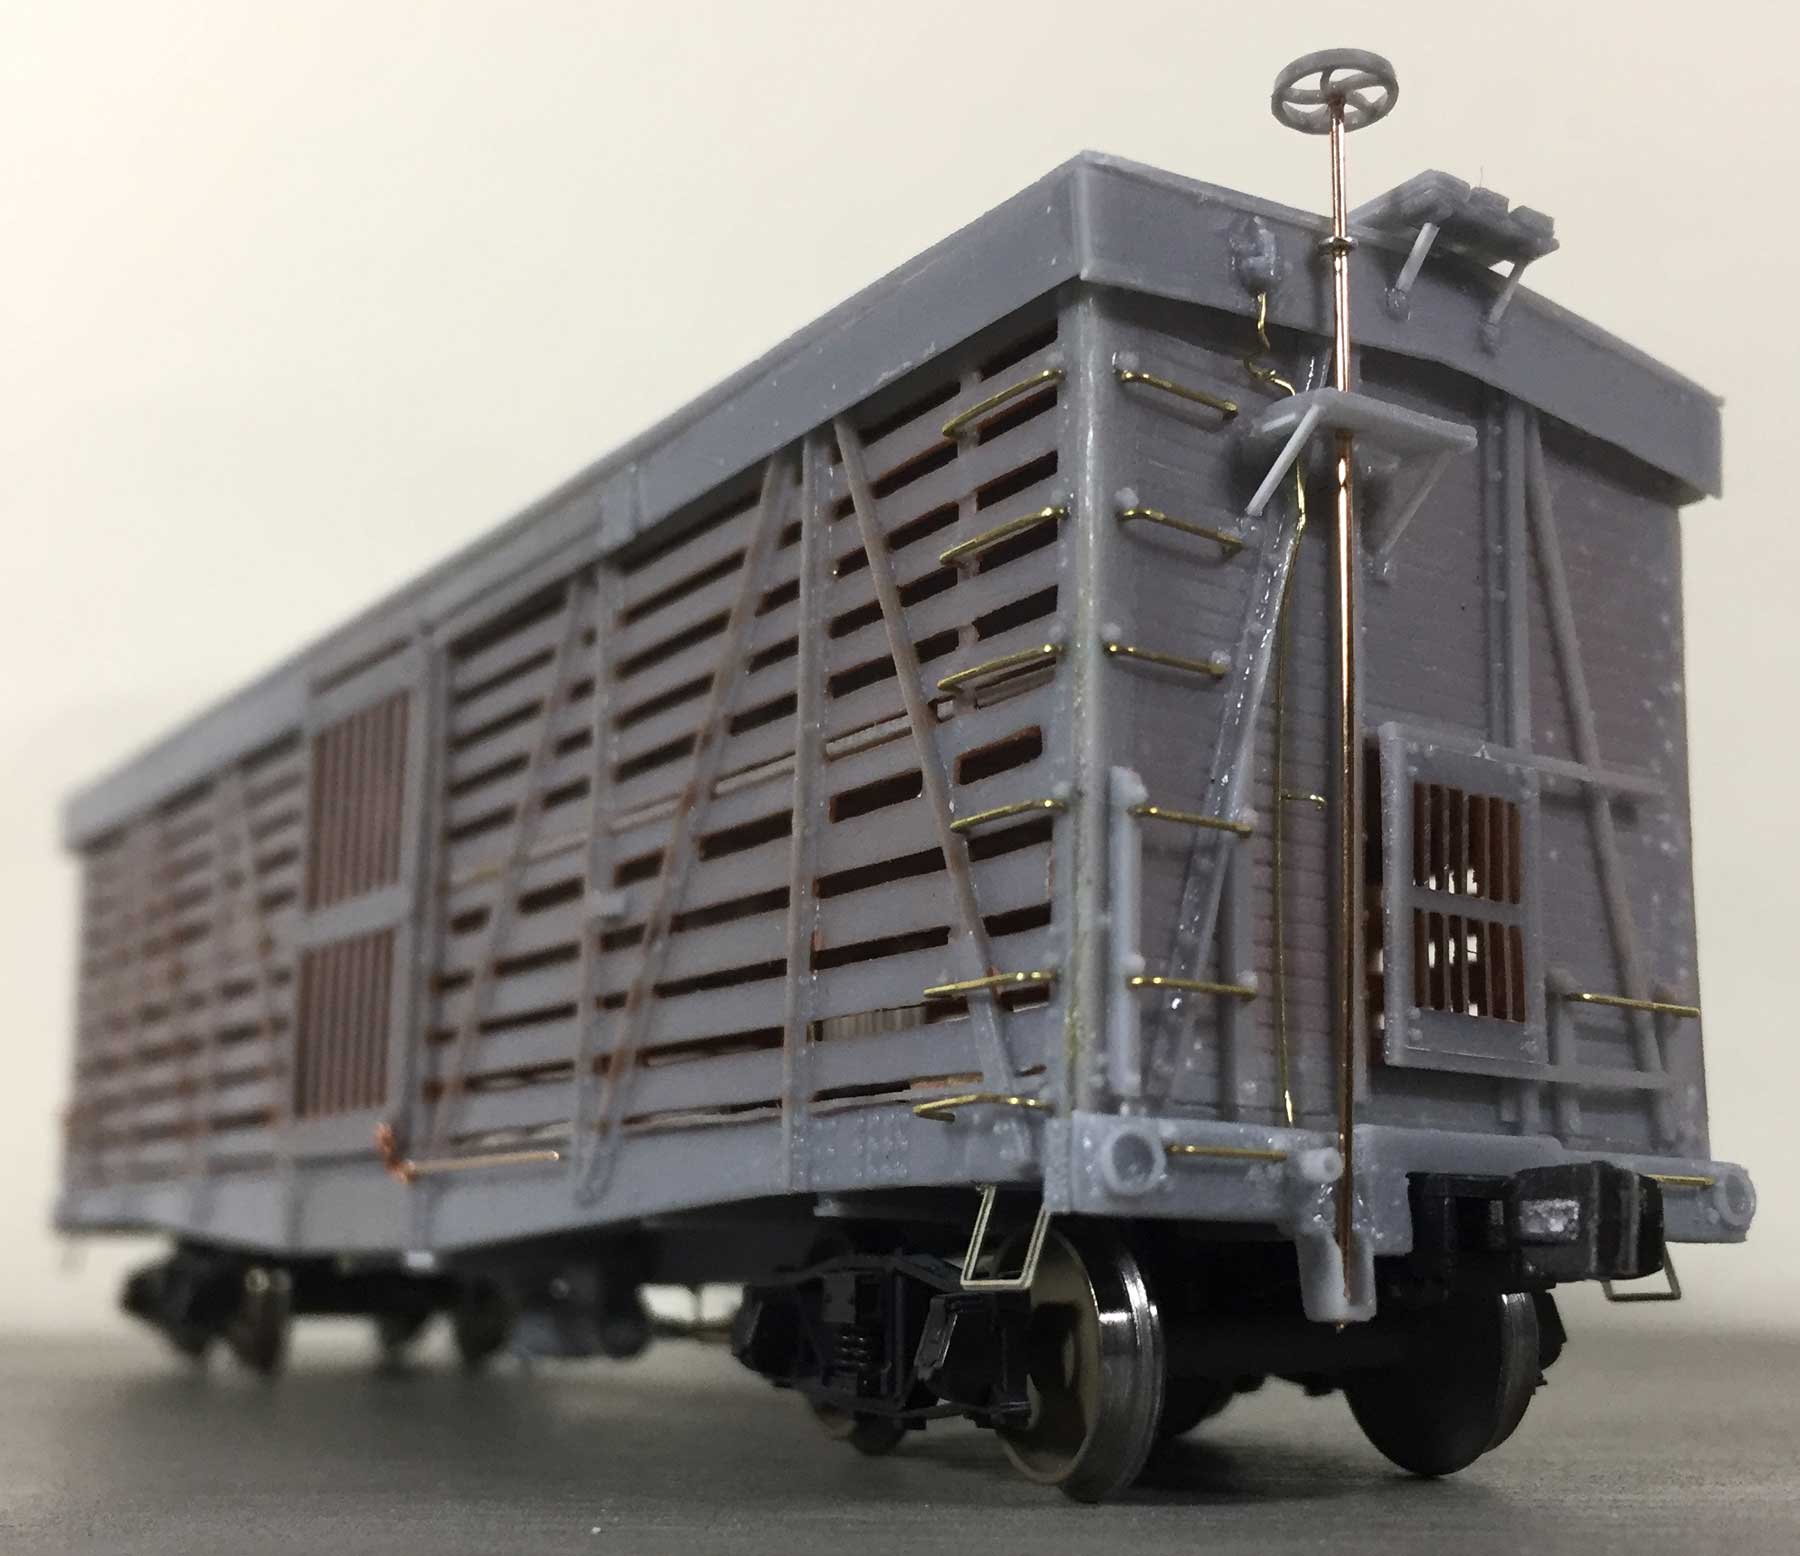
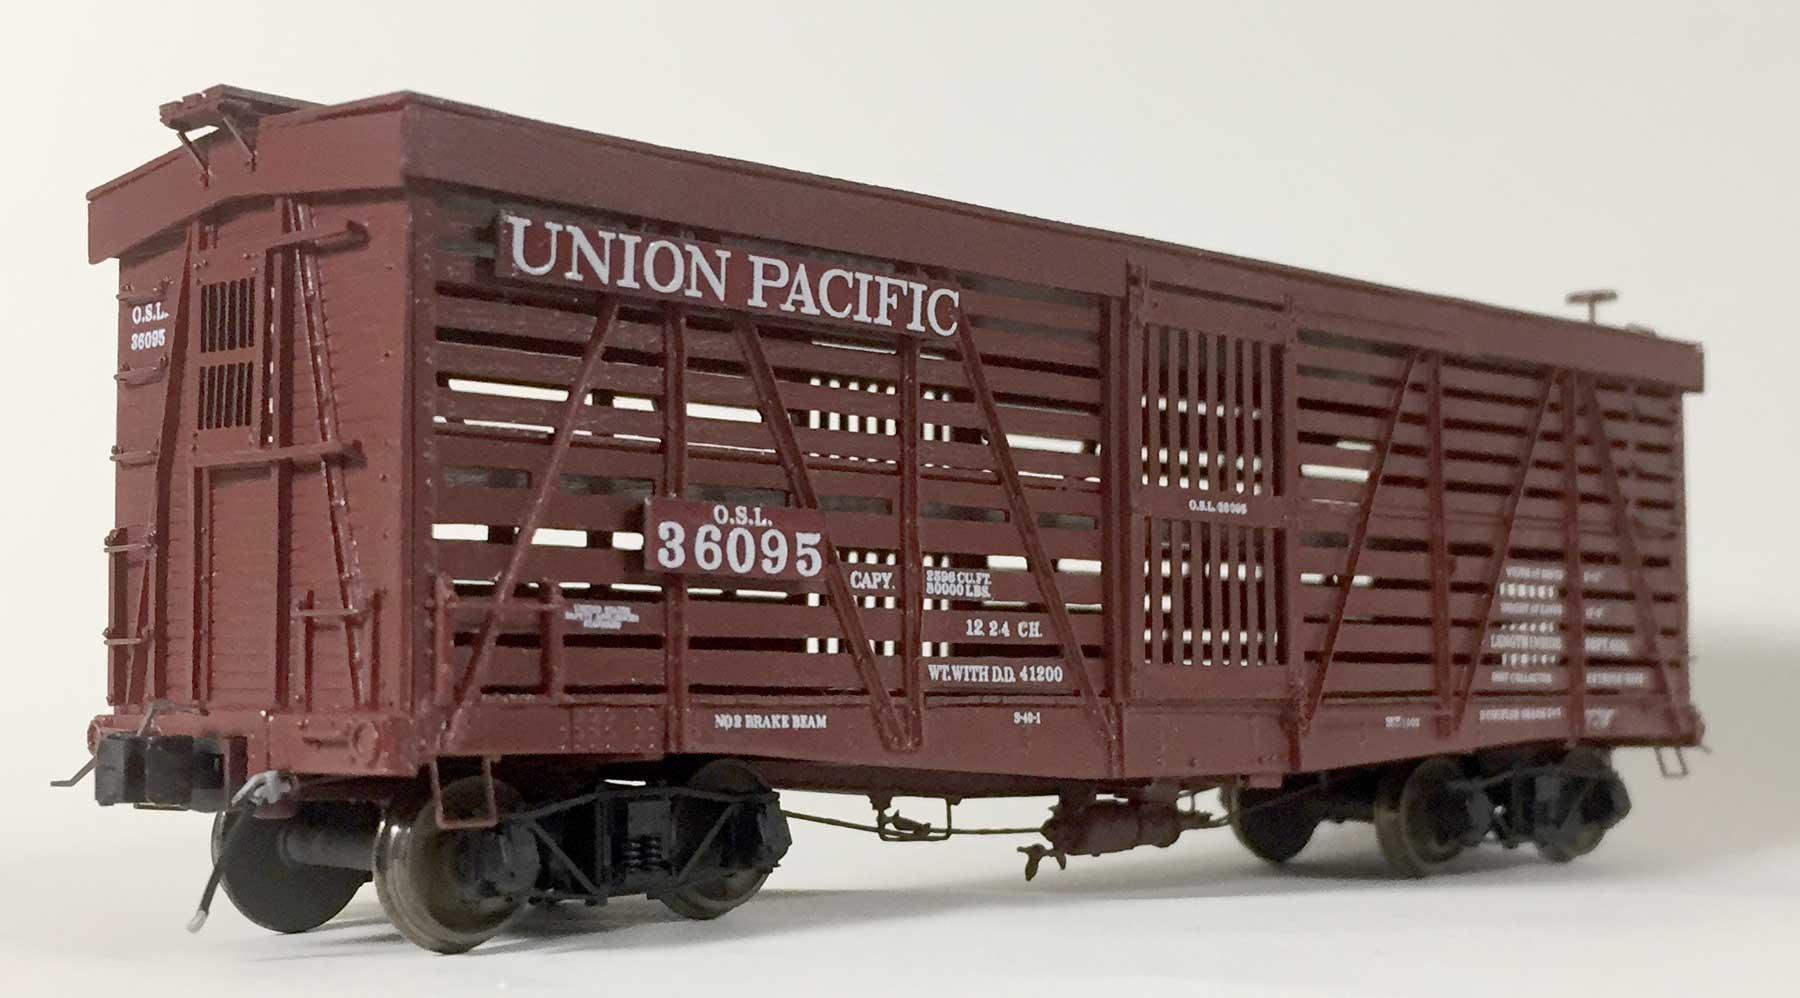
A few components of this kit were different from other Westerfield kits. The one-piece roof casting was noted. Etched metal parts were supplied for sill steps and the Carmer uncoupling levers These fine parts are more robust than resin version and are a welcome addition. The decals were very crisp and Dick Harley supplied official Union Pacific lettering guides on his Smugmug site. Decal work was much easier as the digital files could be enlarged to read very small print.
I enjoyed building this model but I did make a mistake or two. First, I installed the wrong piece for the side fascia to the right of the door. I apparently used the road name letter board but did not realize this until after the model was painted. I was wondering why the fascia was short for the space. I also did not quite install a car side correctly on the underframe. This isn’t as noticeable as the fascia, which I know some readers have already spotted. But that is how it goes with some kits. Hi-Tech Details air hoses were installed after the model was painted.
I’ve built about thirty resin freight car kits and I believe there is a small construction error in each one of them. On a positive note, I don’t think many of the errors have been repeated more than once. The errors don’t discourage me from tackling another kit. I learn something new with each kit build and enjoy watching the models in action on my layout. The satisfaction of building the model is one of the best parts of the hobby.
Questions and comments can be posted below. Please follow the instructions so your comment can be posted. All comments are reviewed and approved before they appear. To subscribe to this blog, enter your info for a comment and check the last box to notify of new posts by email. Share the blog link with other model railroaders.
Eric, great work on a very nice looking model!
You show us your full know how and experiences of model building and super detailing with this fine stock car. Congratulation!
Eric,
That’s one beautiful stock car and a nice explanation of the build! I’d sure like to build one, but this one is a little too old for my time-frame.
On my last few stock car builds, I have been adding “loads”. Just a few plastic cattle look like a full load as you can’t get a full view of any of them. It does require that you finish the car and leaving a side off before adding them, but the effect is worth the effort.
Looking forward to seeing you and some of these models later this month.
Jim
Nice work Eric. Looks mighty fine even if you admit not perfect, especially this being your first stock. Thanks for sharing.
I have about 15 resin stock car kits you can assemble for me. 8>)
Eric, That is one great looking Stock Car. Thanks for sharing
George Toman
Neat car. Too bad it’s just a trifle too modern 🙂
HA, HA, HA!!!! – Eric
Well for me it would be a brand new car in September of 1905.
Now, would a new car have made it to southern Minnesota?
And if so, what would be a number for that car?