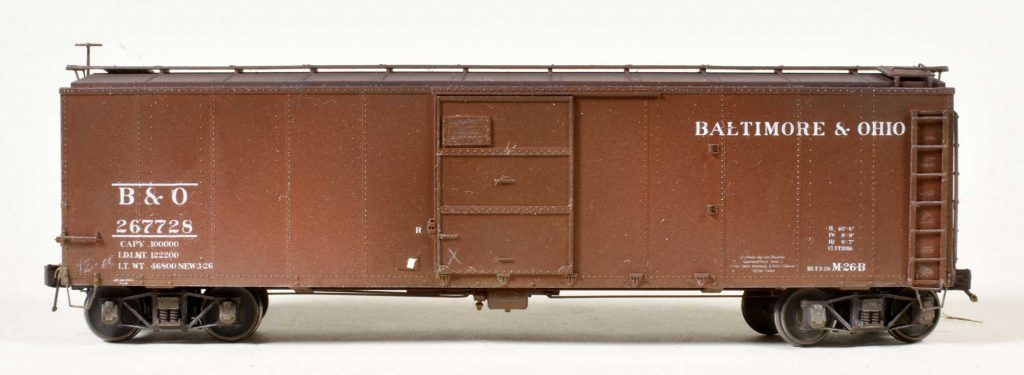
It’s time for me, RCW web guy Eric Hansmann, to make a blog post. I’ve had several of these Red Caboose HO scale plastic boxcar kits in my stash for years. I needed more Baltimore & Ohio boxcars for my 1926 fleet, so it was time to build a couple. I started these earlier in 2021 and just finished weathering them, eight months later.
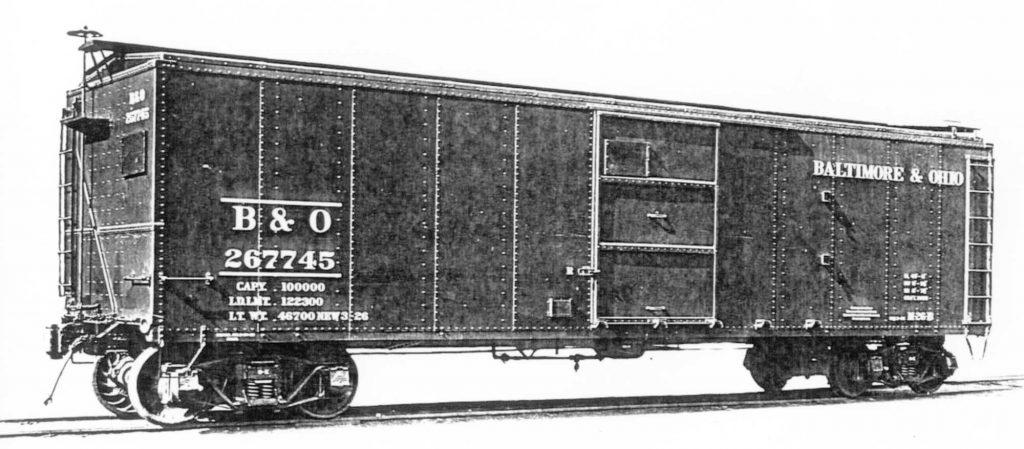
The fine article on the 1923 ARA proposed-standard all-steel boxcars in Railway Prototype Cyclopedia Volume 18 has lots of inspiration for this project. The prototypes had a few body styles. I only had kits for the Type 2 body style. This limited my B&O prototypes to 1000 of the M-26b subclass cars built in early 1926 and numbered in the 267000 series.
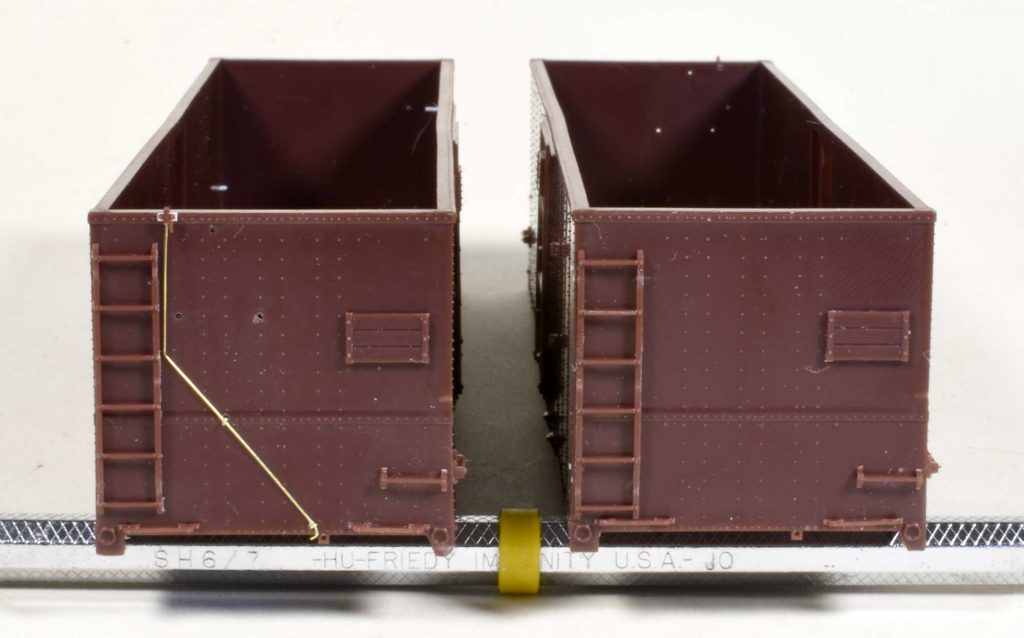
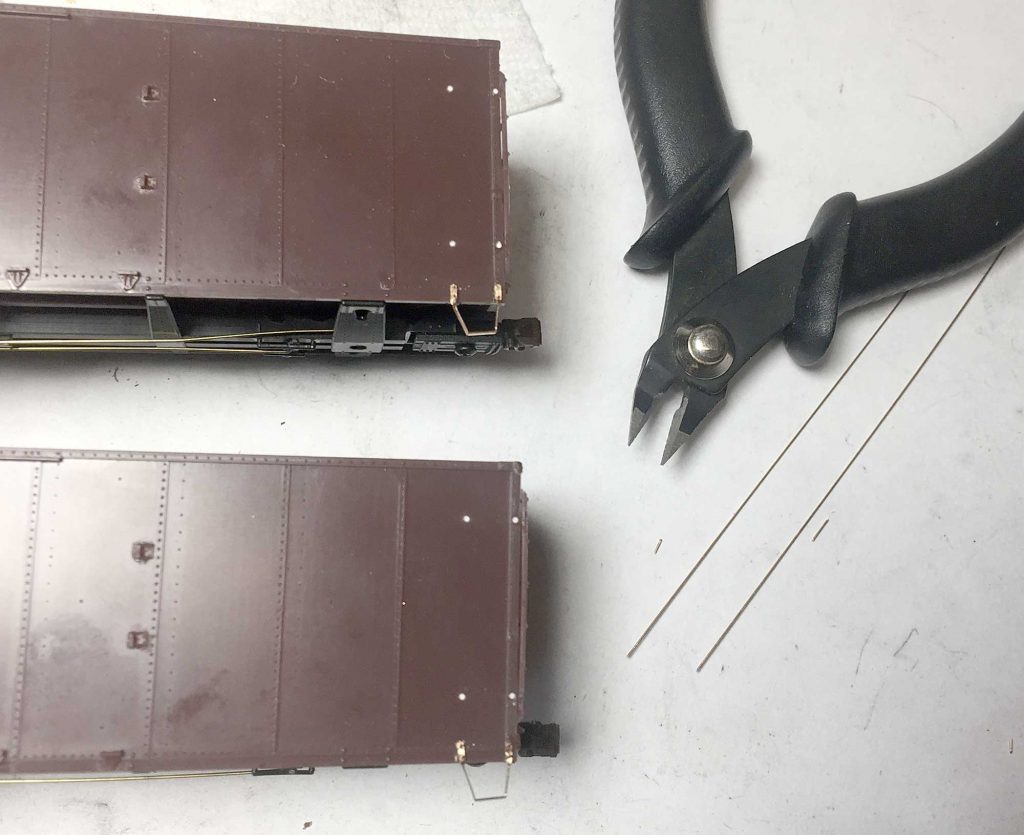
There were several details to alter from the kit. I filled holes for the side ladder parts and for the second grab iron on the left end of the car sides.
Holes were filled with styrene rod which was trimmed and sanded down to the surface. I drill through the detail part holes for better parts fit. A motorized drill makes quick work of this step. Next, I installed the doors and related details.
I replaced the bulky kit supplied retainer line with 0.008-inch diameter brass wire. Small hooks pin the line onto the car end. I make those using the same wire.
The underframe details were installed following the KC brake system instructions but substituting 0.0125-inch diameter brass wire for the brake rods. Accurail Proto:HO couplers and gearboxes were installed, too.
At this point, I needed to think through assembly steps. It is much easier to install the Yarmouth Model Works etched metal sill steps before installing the ladders. These steps will be pinned to the sill using wire. It’s best to remove any rivet detail on the sill where the sill steps are installed. The details fit and look better when attached to a flat surface.
After bending the steps to shape, I position one on the sill to mark an attachment pin hole. The hole is drilled, wire inserted, and the step set into place. The other hole locations are marked and the step is removed. The other holes are drilled, the step is hung onto the first wire pin again, and the other pins are set. Cyanoacrylate glue (CA) is applied to the attachment points, making sure the step isn’t drooping further under the car. Once the CA has set, the excess wire is trimmed away with flat cutters.
You might be tempted to drill the holes with the sill step hanging on the first wire. Go ahead and give that a try. The drill bit might catch on the etched metal piece and twist it into an interesting form. Take you time installing these details.
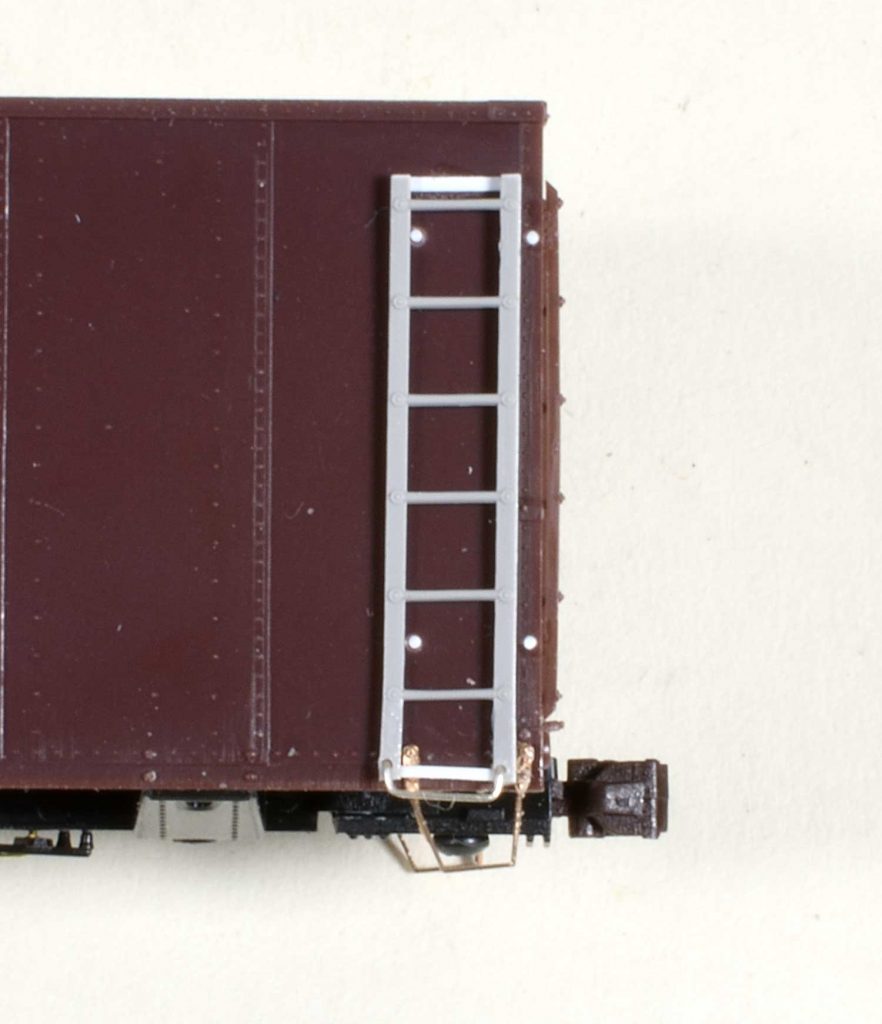
The B&O ladders on the car side are different from the kit supplied parts. They are also positioned slightly left of the kit location. I found ladders in my parts stash that were a better match. After cleaning flash from the parts, they needed to be altered, of course. Mounting straps across the back of the stiles are at the top and bottom. A drop grab replaces the bottom rung. Yes, more fun stuff!
The ladder castings were longer than needed. Install the drop grab before trimming away the excess or the extra rung. I left the grab iron legs long to use in mounting the ladder to the car. You may decide on a different route. You can shave off a bolt head from the excess ladder and glue it to the ladder stiles above the grab iron legs.
After installing the grab iron, I glued 1×2 styrene strips at the top of the ladder assemblies for the strap. These were trimmed flush to the outside of the stiles. I noticed the bottom strap would interfere with a sill step attachment, so I added the lower strap after the ladder was installed. At some point, I think I heard the voice of Bill Welch encouraging me forward.
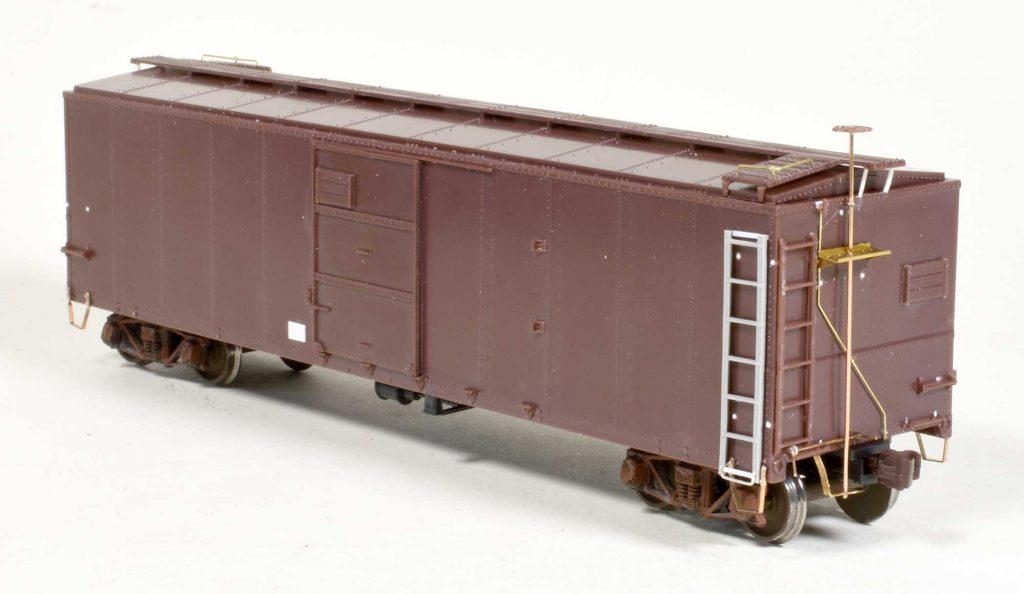
With the ladders and details installed on the car sides, I moved onto the B end details. The B&O used their own brake step design on these boxcars. B&O car superintendent John Tatum designed a number of hardware pieces. This Tatum brake step shows up on a number of B&O freight cars. It was also mounted higher than where the kit brake step. Holes were filled again before details were added.
National Scale Car has produced the Tatum brake step as an HO scale etched metal part. They are easy to bend into shape and install. There are four in a package. I pinned these into place on the car ends using the same process as the sill steps.
With the brake steps in place, the vertical brake staff was added. I made an L-shaped saddle for it using leftover material from an etched metal parts fret. It’s just to the left of the coupler gearbox.
Somewhere in the timeline, the car weight, roof, running board, and running board supports were fit into place. The models were now ready for the paint shop. I sprayed them with Vallejo primer before spraying the car color.
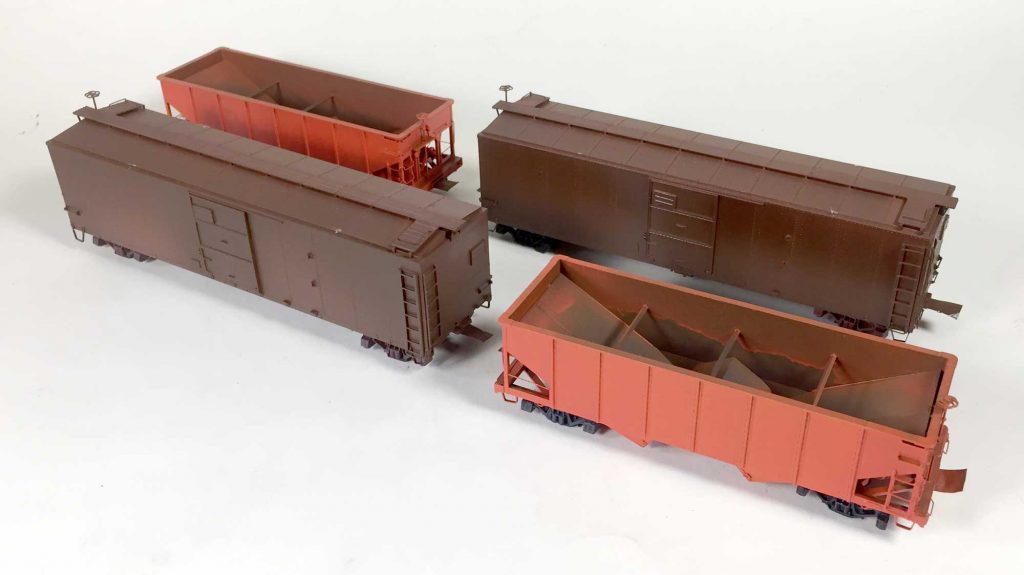
Here are the M-26b boxcars with a couple of Pennsy GLa hoppers shortly after the new paint has dried. The boxcars were painted with Vallejo burnt umber with a few drops of Vallejo aged white added to lighten the tone.
Decal art was created by Dave Parker following a builder photo. He printed sets using a Ghost White cartridge in an HP color laser printer. You need to change out the black toner cartridge for the Ghost White to print your own white decals. The art was printed on Tango Papa decal paper. I sprayed a gloss coat onto the models using Pledge Revive It! Floor Gloss, a.k.a. Future, to prep for the decals.
After the decals were set, a gloss coat sealed the work. I sprayed Model Master clear acryl flat tinted with a couple drops of Vallejo burnt umber to prep for the weathering layers.
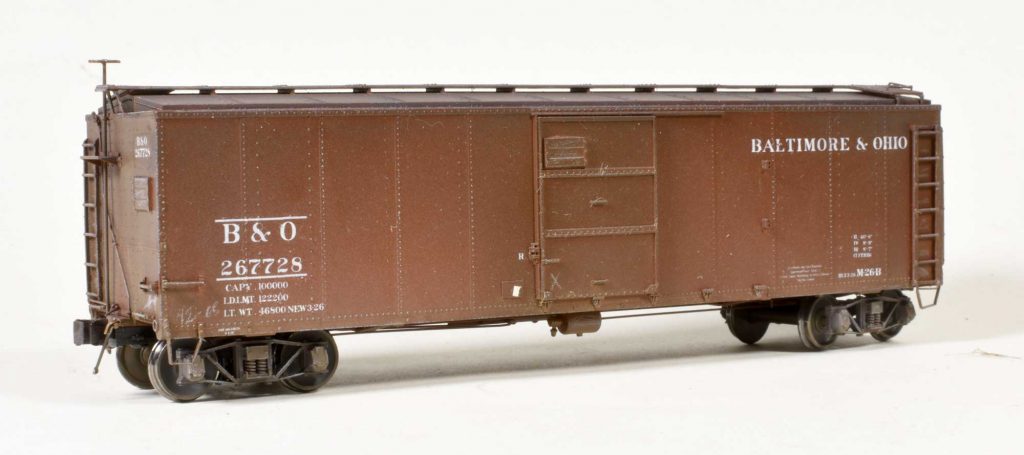
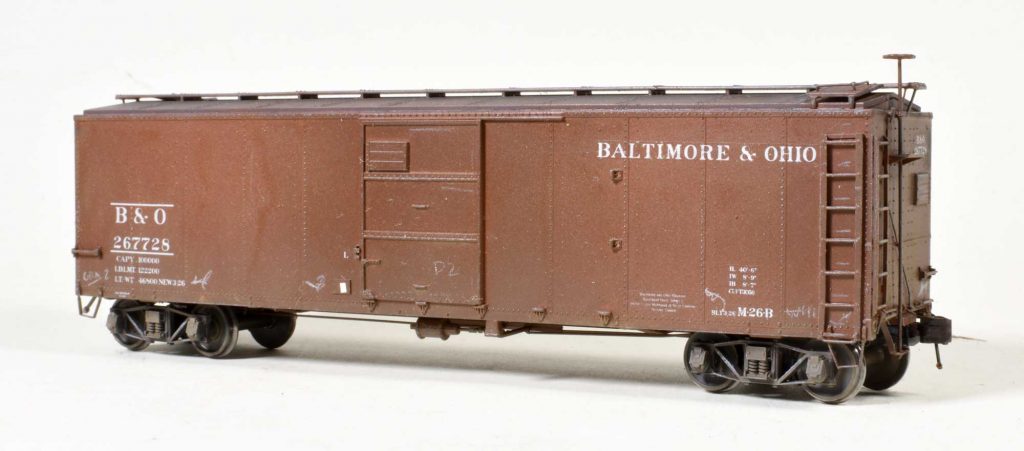
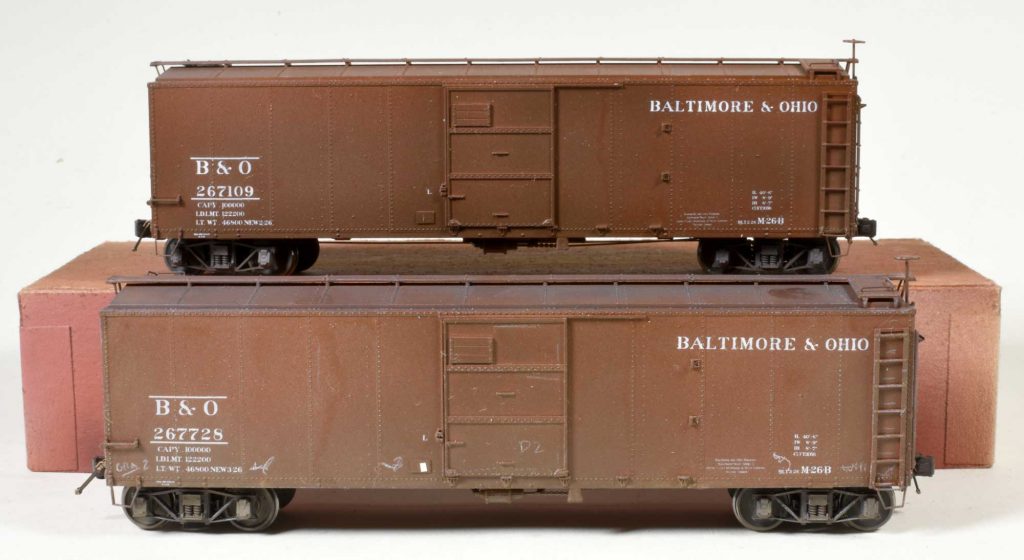
I decided to lightly weather these cars. Yeah, I know the term “light weathering” sounds like an oxymoron coming from me. The models have built dates of February and March 1926. They should have traveled some miles before my November 1926 modeling focus.
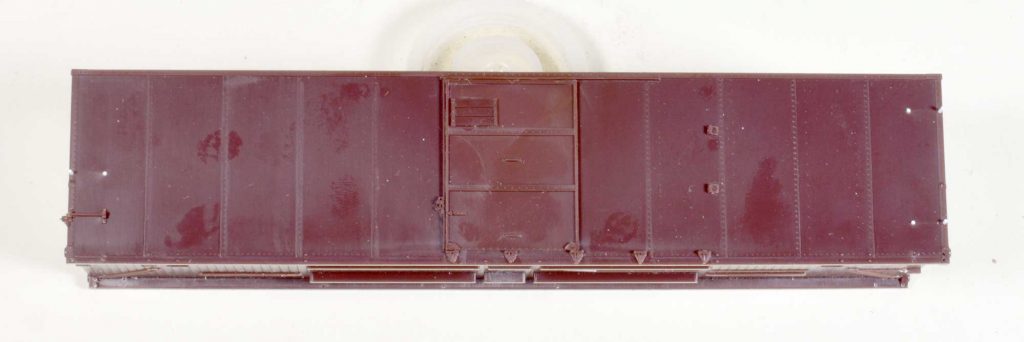
Pan Pastel raw umber was applied along the side sills with lighter applications randomly daubed onto the sides. The ends received a bit more plus the wheel splash. Neutral gray extra dark was applied to the roof surfaces and to the upper reaches of the car sides and ends. I used a micro brush to scrub the color into the ledge between the car sides and roof.
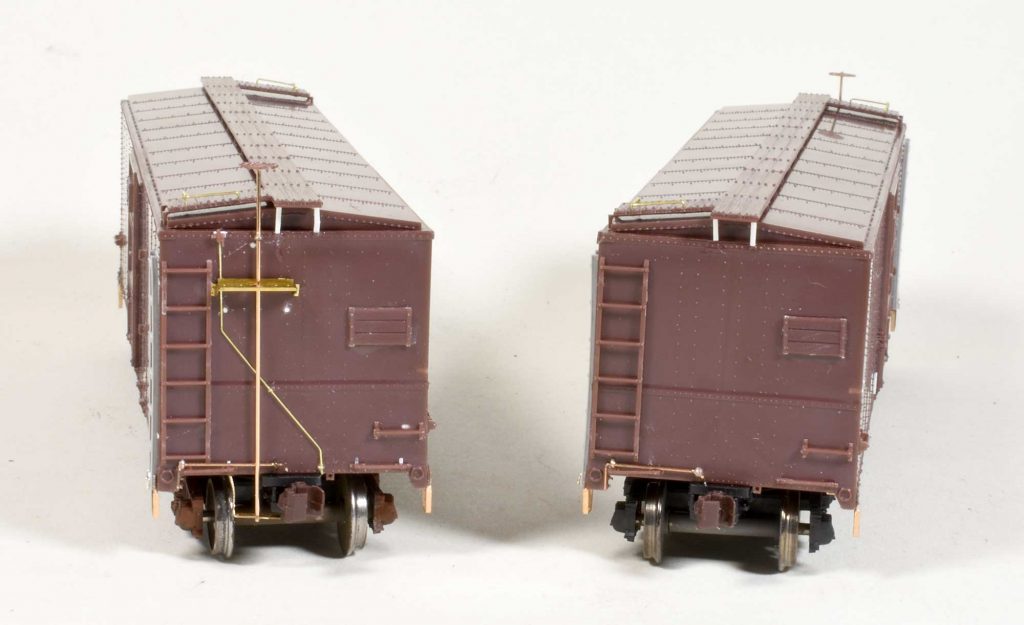
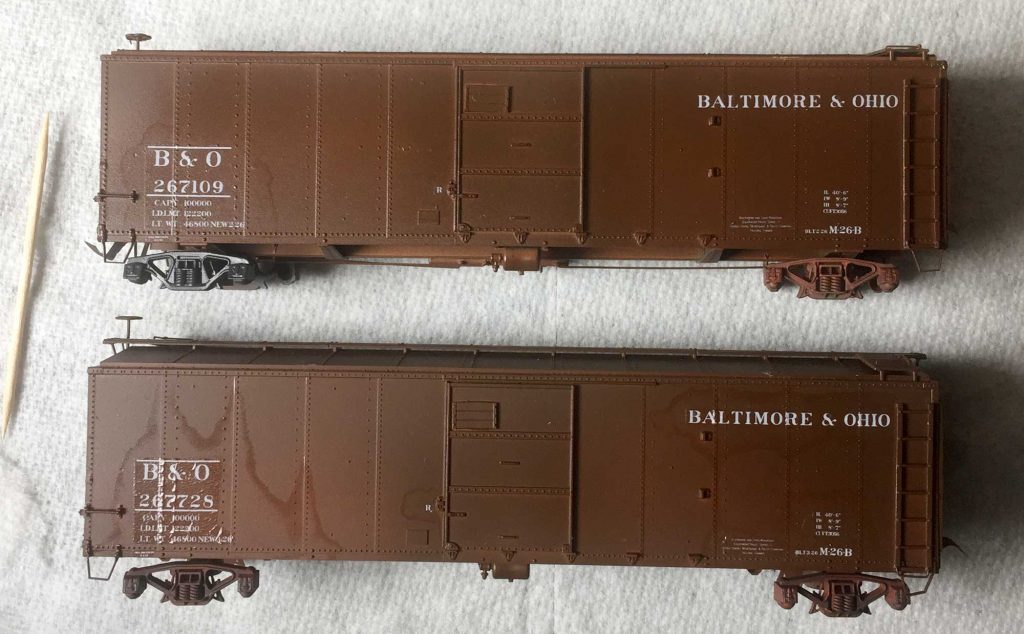
A 10% cool grey Prismacolor pencil was used for the chalk marks. I usually use this for highlighting edges but decided to use a 30% warm grey Prismacolor pencil this time around. I like the softer tone more than the lighter grey. The above photo shows weathered and unweathered models together. It’s a great look at how a little weathering can enhance the work.
These Red Caboose kits follow prototypes built for several railroads with quantities that numbered over 40,000 in service. The Pennsy and B&O were the dominant owners with their X29 and M-26 classes. It’s an essential boxcar for any modeler focused from the mid-1920s into the early 1960s. As mentioned, RPCyc Volume 18 is a great resource to model prototypes built for other lines.
I don’t often share my work on the RCW blog as my models have an earlier focus. If pre-WW2 prototypes interest you, visit my DesignBuIldOp blog for more. – Eric H.
Questions and comments can be posted below. Please follow the instructions so your comment can be posted. All comments are reviewed and approved before they appear. To subscribe to this blog, add your email address to the function at the bottom of the right column on the main page. Share the blog link with other model railroaders.

Nice work!
Nicely Done Eric! They look great.
I always enjoy reading and learning from your articles
Many thanks, George! I tip my hat to your work, too! – Eric H.
I use a different method of installing YMW sill steps. I’ve found that the less you have to handle them, the fewer you will break. I drill out all mounting holes while the steps are still on the fret. After bending the steps to shape and preparing the car surface as Eric describes, I glue the sill step mounting pads to the car with thick, extra fast setting CA, then let it cure for two hours before drilling the holes for the mounting pins. I insert the pins and secure them with thin CA from the back of the sill. After the CA has cured, I cut off the protrusions on both sides of the sill. I find this method much easier and safer then the handling steps Eric describes.
Thanks for the tip, Nelson! I’ll have to try that as I build a couple Pennsy X29s and two B&O M-26a boxcars. – Eric H.
Excellent work as usual, Eric!
Thanks,, Brian! It will be great to see them on a layout, someday… – Eric H.