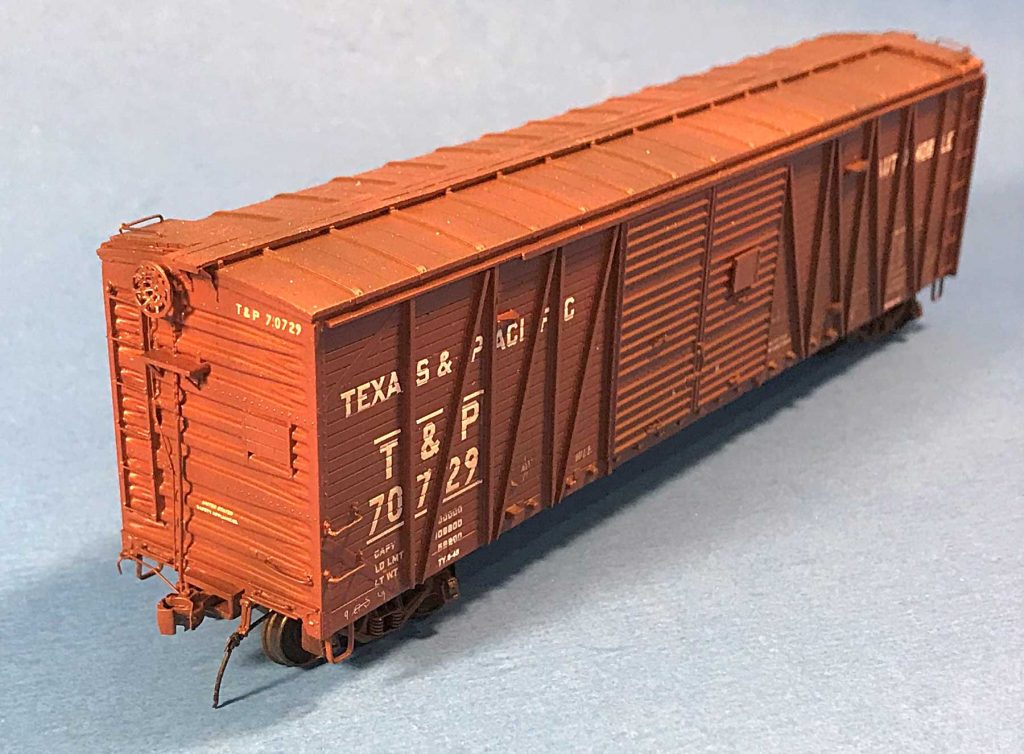
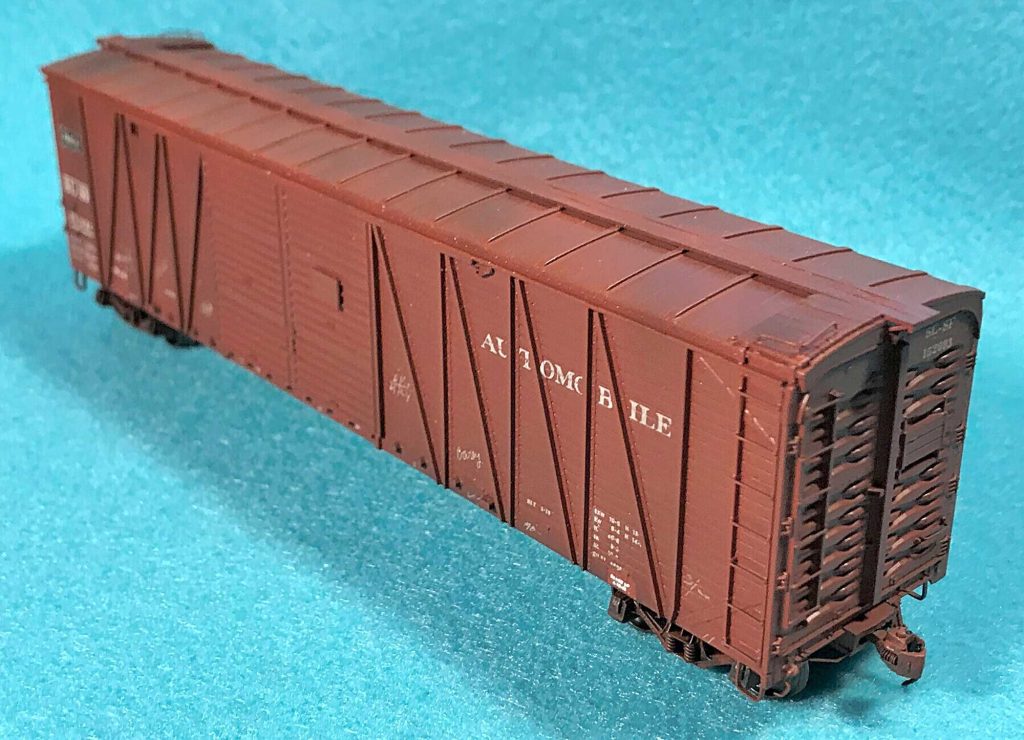
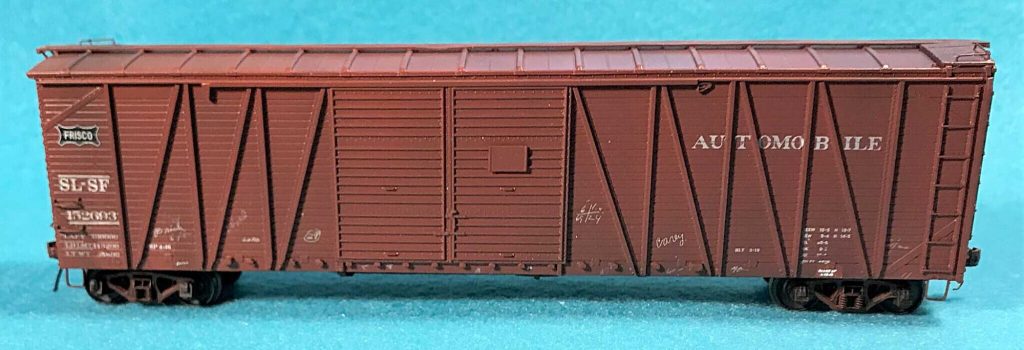
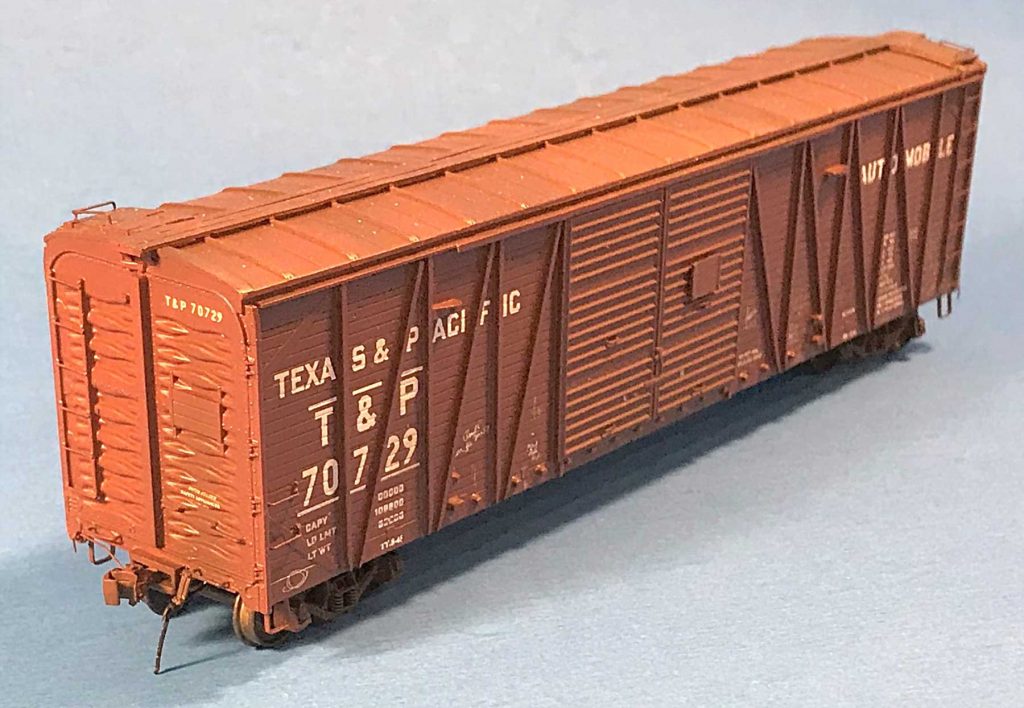
Fenton Wells has been busy working on several pandemic projects. Here’s his overview on a couple classic.
Back in the early 1990s Model Die Casting released a series of 50-foot, single-sheathed automobile boxcar kits. There were seven different kits with various door and end combinations. I pulled a couple from my kit stash and made a few upgrades.
These cars looked good right out of the box. Several articles on 50-foot, wood-sheathed boxcars were published in the following issues of Rail Model Journal (RMJ). Richard Hendrickson authored a few of the articles, with a couple devoted to enhancing and upgrading these models. Many thanks to the Trainlife site for posting these mags.
- July 1989 – part 1 (an overview starting on page 44)
- October 1989 – part 2 (page 41)
- July 1995 – parts 3 & 4 (page 16)
- July 1996 – parts 5 & 6 (page 11)
The MDC cars all had radial roofs and inverse 3/3/3 Dreadnaught ends. The chart above compares key details for three prototype cars I chose to model. Refer to the RMJ articles for details on cars you might chose to bash.
Walthers introduced a version of these cars shortly after the MDC models came to market. The Walthers cars have a peaked roof so the modeler can do about any version of these cars.
Of course, you should consult prototype photos see what upgrades these cars received. Some were rebuilt with 15-foot door openings and others were rebuilt with single doors. Many of these changes in the original cars depended on the years in service.
I actually had these cars on my layout back in the 1990’s. I had done some rudimentary upgrades but didn’t know enough to be prototypical with my efforts. I ended up selling them off.
Fast forward to 2020 and Speedwitch Media‘s Prototype Railroad Modeling, Vol 3. Bill Welch authored a piece on upgrading the MDC boxcars. The models were finished in Bill’s inimitable style. I was hooked or inspired. I found some MDC kits on eBay and got started.
These are simple upgrades and following the Hendrickson articles in RMJ or the Bill Welch article in Prototype Railroad Modeler can keep you on track.
Key steps
- Remove the side sill from the car body.
- Remove the grab irons from the ladders and remove the two cast-on grab iron from the left end of the car side. I used Plastruct 0.010-inch diameter rod (90850) for the ladder stiles. I installed wire grabs and NBW‘s at the other ends and the car ends, after drilling all the holes.
- The Frisco car had regular 3/3/3 dreadnaught ends on the B end, so I cut the inverse MDC end off and replaced it with a regular 3/3/3 end from my parts box.
- The only thing I wished I had done was to replace the diagonal braces that are cast into the car body with 0.005-inch thick styrene sheet. Bill apparently felt that it wasn’t necessary in his article so that’s my story and I’m sticking to it.
Paint and decals finish these projects. I used Westerfield decals for both cars as they had most of the correct lettering. It got me to the “close enough” stage.
Thank you, Fenton, for sharing your model upgrades. A little time and effort can make these plastic models follow interesting prototypes.
Questions and comments can be posted below. Please follow the instructions so your comment can be posted. All comments are reviewed and approved before they appear. To subscribe to this blog, add your email address to the function at the bottom of the right column on the main page. Share the blog link with other model railroaders.


One detail that you and MDC left off is the lower door guides!
It just requires adding a .010 x .040 plastic strip on top of the door guide pins cast into the car sides.
Evergreen 102 is what I used.
Nice looking cars Fenton; and thanks for your explanation of what upgrades you made as well as the source materials; I need to find a few of these kits!
That’s really a nice looking pair of cars. Nice writeup as well. I appreciate the links to the articles in RMJ