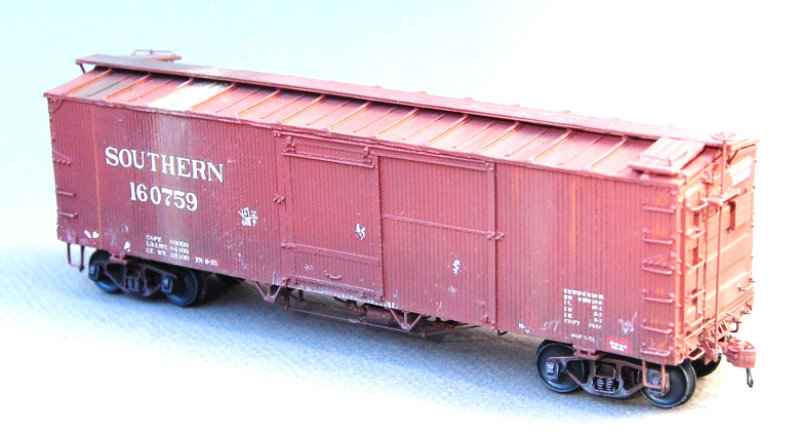
Fenton Wells kitbashed a cool Southern Railway box car and sent details and photos. Here’s his latest model building story.
As most modelers of the transition era know, the Southern had thousands of 36-foot double-sheathed box cars with steel underframes and truss rods. Small as they were the railroad didn’t fill their cars, so they served the railroad through the early 1950’s.
What many modelers might not know is that Southern had 500, 40-foot steel underframe (SU) box cars (160500-160999) built in 1923. These cars were for automobiles and had a ten-foot door opening with two-part doors. There were many small automobile manufacturers in the Southeast during the 1920’s and 1930’s. However, as automobiles grew box cars became unusable as auto carriers. Most of the cars were converted to general service box cars and the door was changed to a six-foot opening.
These cars lasted until 1956 although most were probably not in revenue service as a change to AB brakes was required. In 1953, my era there were only 33 cars left and 26 of those had six-foot doors. As a Southern fan, I had to have one. I invoked my modeler’s license procedures.
I contacted Andrew Dahm at Westerfield Models and he put together parts for me to start the project. My first thought was to scratch build the sides and use Westerfield roof, floor and ends. Here are the key Westerfield part numbers.
- 1 #4151 Kit
- 1 pair #4151 sides
- 1 #12101 40-foot frame
- 1 #12101 40-foot Hutchins roof and running board
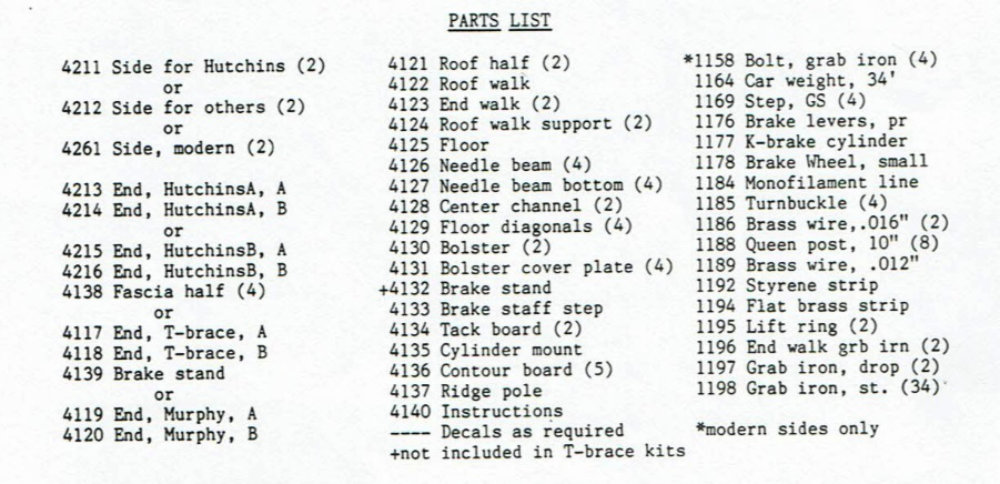
Above is Westerfield Models 36-foot SU box car kit parts list. It helps Andrew if you use the part numbers when ordering.
Car sides
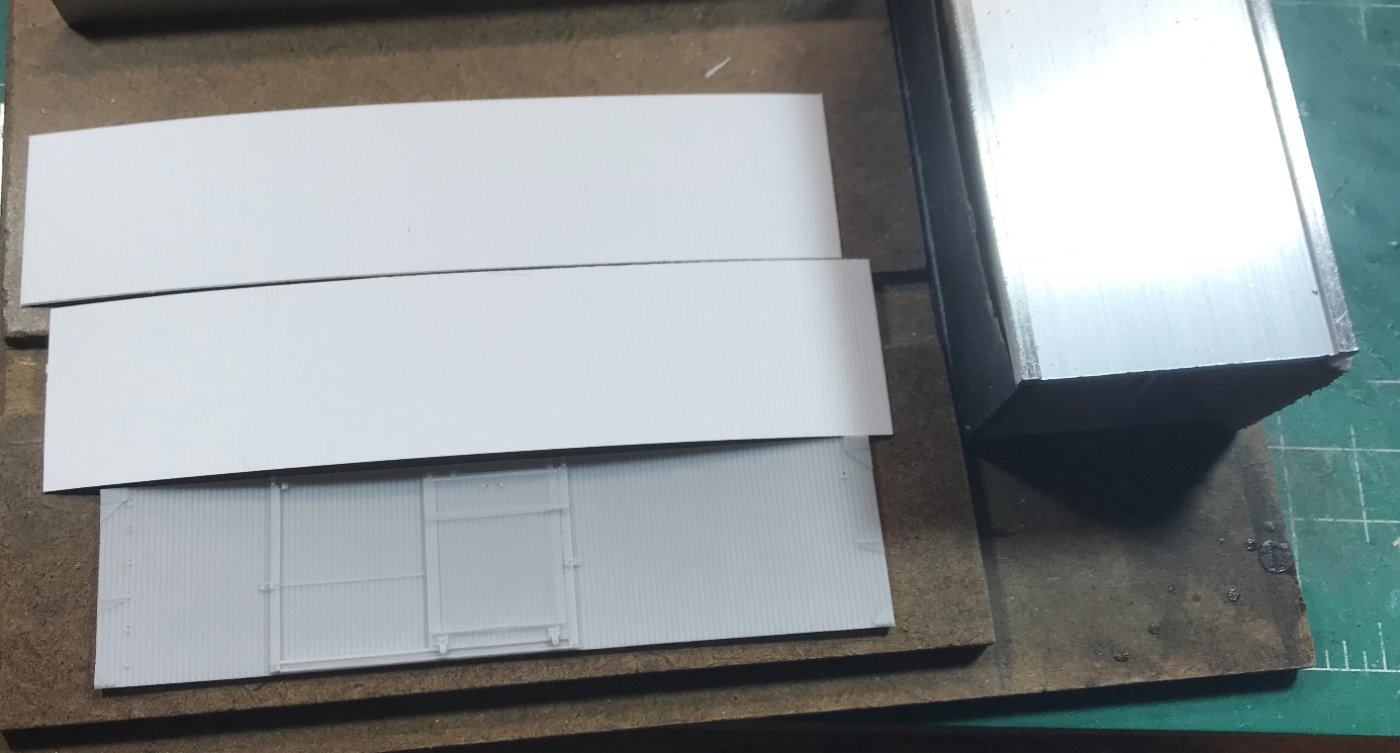
I had an extra 36-foot SU kit and was looking at the sides and felt I couldn’t do as good a job with the side details as the Westerfield car sides. The above photo shows my original scratch built car sides with the Westerfield sides. I ordered car sides from Andrew and cut them up to make 40-foot car sides.

The photo above shows the new sides cut and glued together. I ended up making three sides to get two that worked for me. I also found the resin car sides have slightly different thicknesses, unlike plastic injection molded car sides. If I were to do another car, I would glue them together differently with the outer sides on a flat service rather than the inner sides. I did a lot of sanding and scribing new board grooves to account for the different thicknesses of the car sides.
I also measured the sides to match the roof and floor castings. This is critical for the next assembly steps.
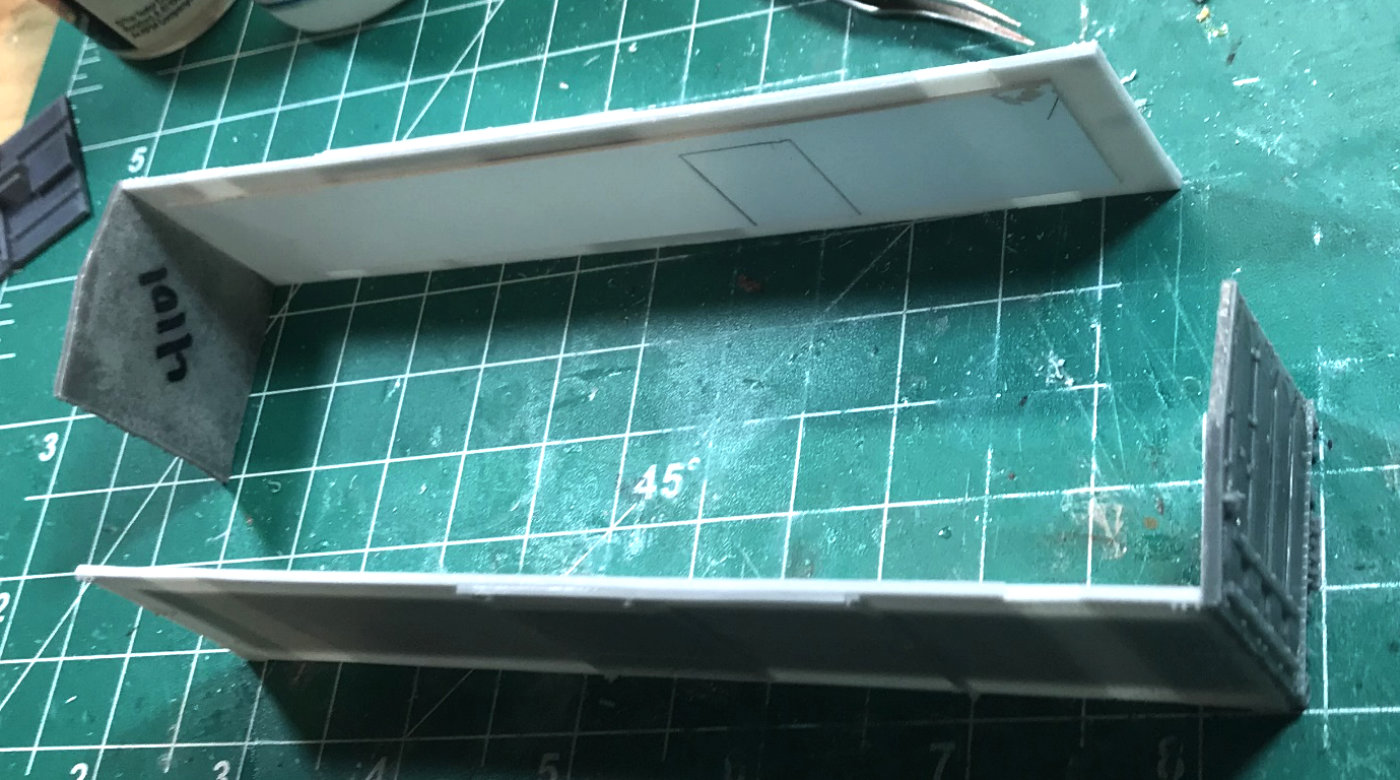
After I added the door handles, grab irons, and other details to the car sides, it was time to assemble the sides and ends into a box. Assemble an end and side at a 90-degree angle, then assemble the other end and side so you have two sets. This eased assembling the parts with square corners. I try hard to get these angles right so the model looks good.
Underframe details
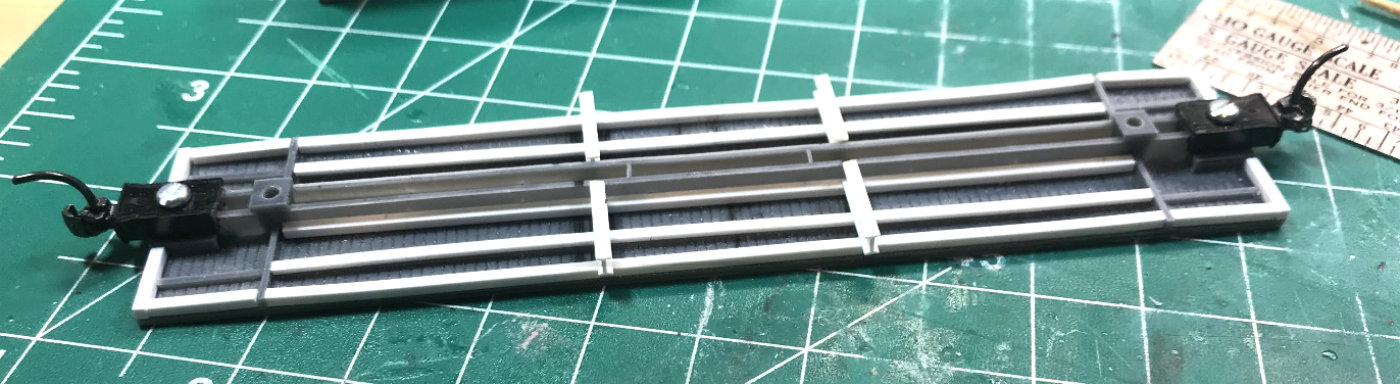
Now I proceeded to the underframe. I used Evergreen 1/8-inch I-beam (No.274) for the cross bearers and Tichy queen posts and turn buckles from my parts inventory. I drilled holes in the I-beam to mount the queen posts. I usually use monofilament fishing line for truss rods but couldn’t find it in my stash. I borrowed some from another Westerfield kit in inventory and ordered more.
In the photo above, I used Evergreen 0.40 X 0.40-inch strip to add the outer edge of the car floor and 0.30 X 0.30-inch strip for the stringers.
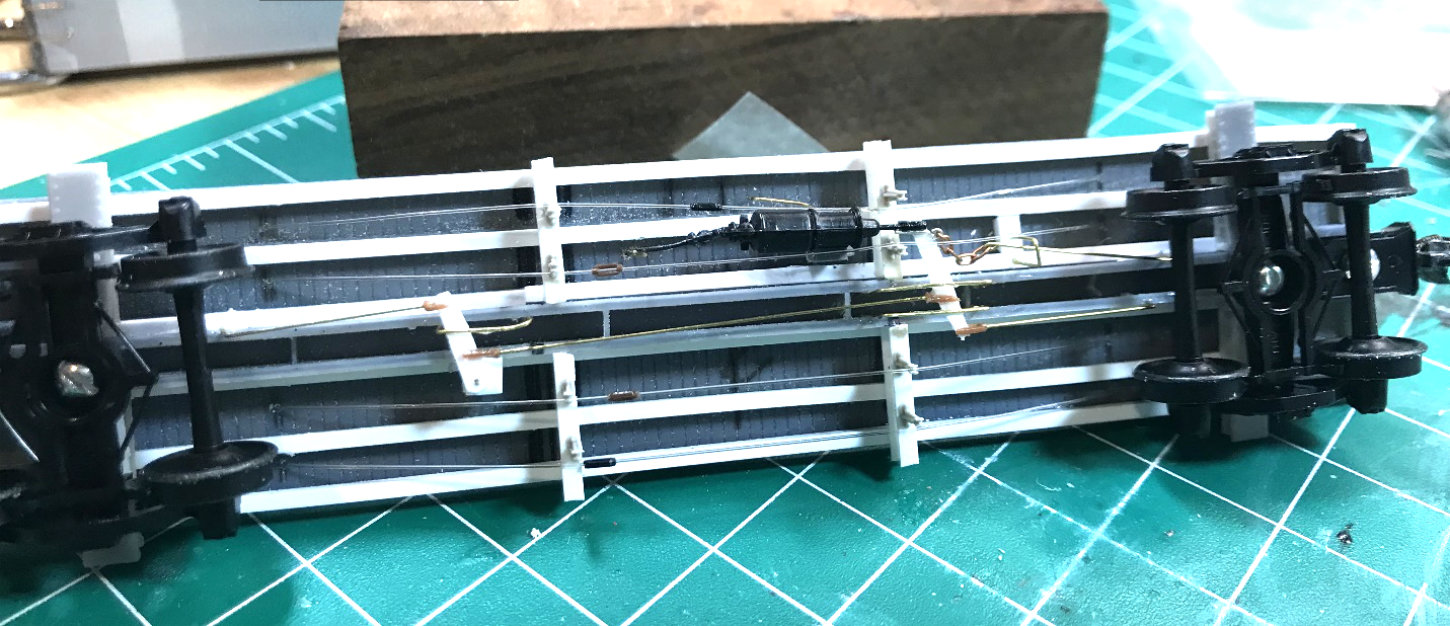
After I installed the brake rigging, I strung the truss rods and fastened them inside the floor of the car. The truss rods look crooked in the photo above because I pulled them tight without putting them over the queen posts. When the car is ready to be painted, I’ll pull them onto the queen posts for proper placement.
I glued the turnbuckles centered between the queen posts. I know there are more realistic ways to add turnbuckles so the center area is open. I’ve done that and don’t feel it’s worth the effort.
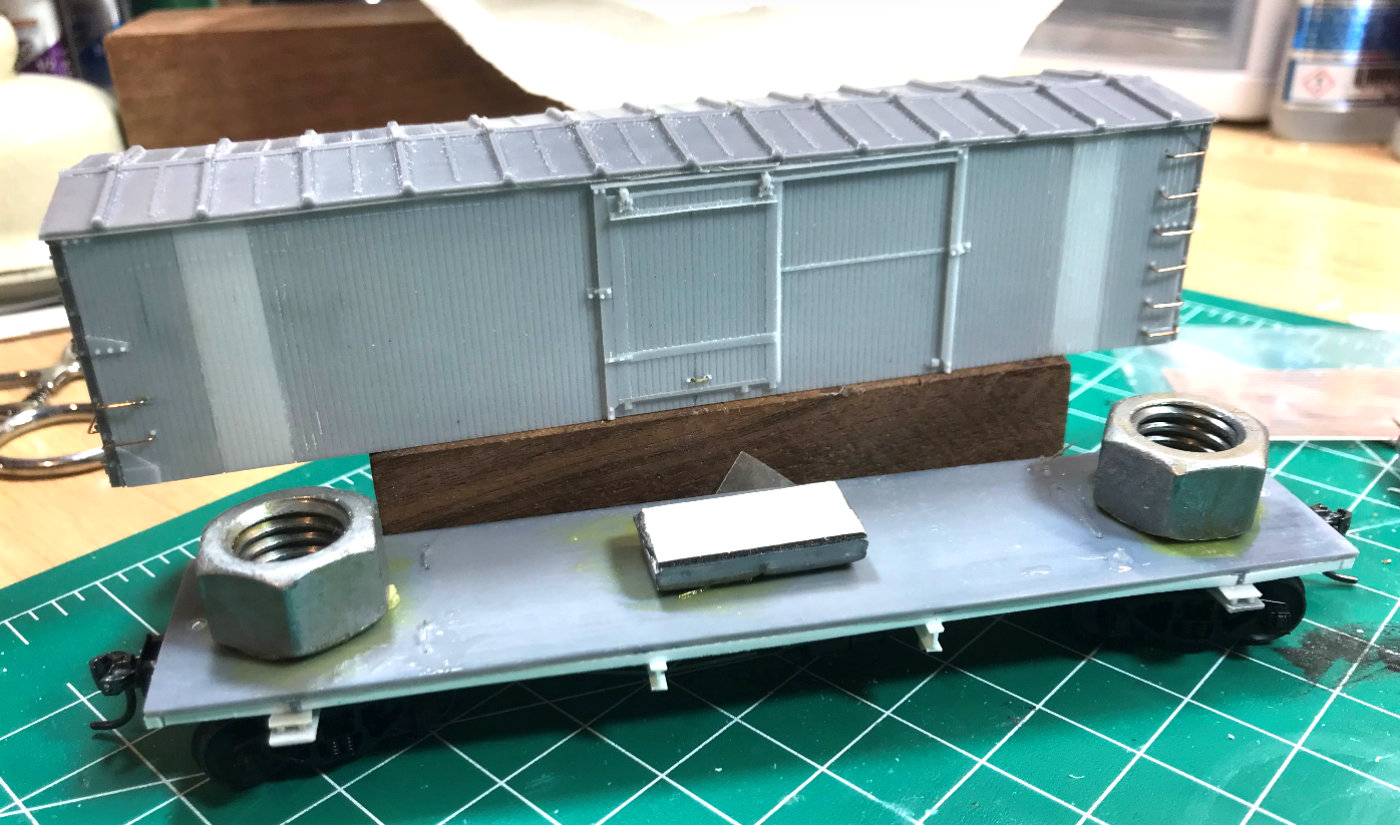
I added weight and the car was ready for final assembly and paint.
Finishing
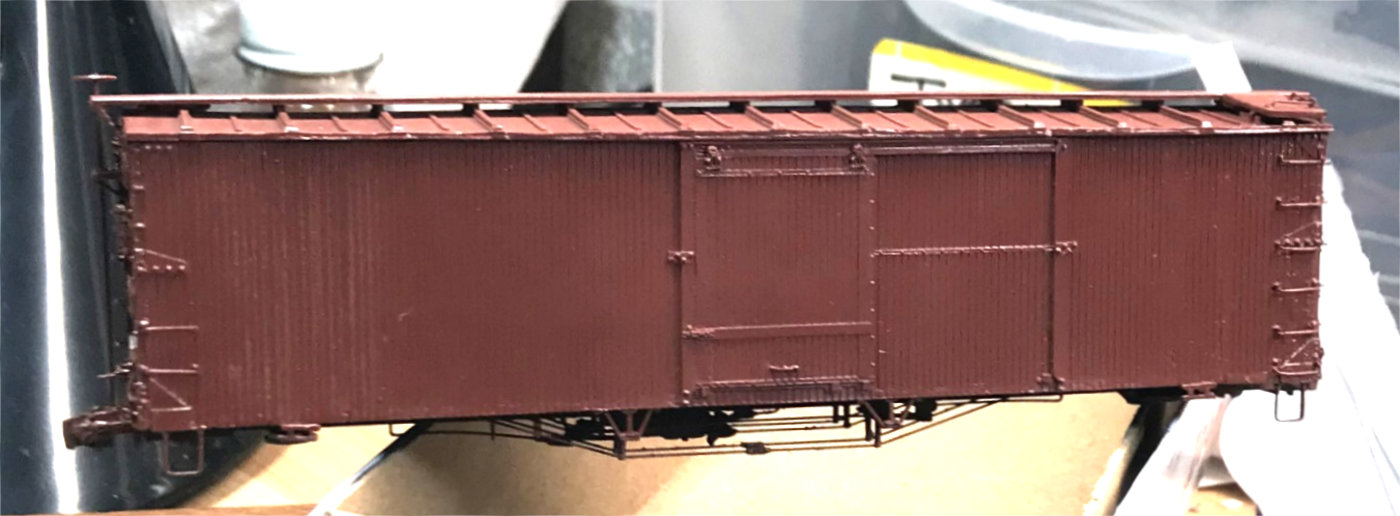
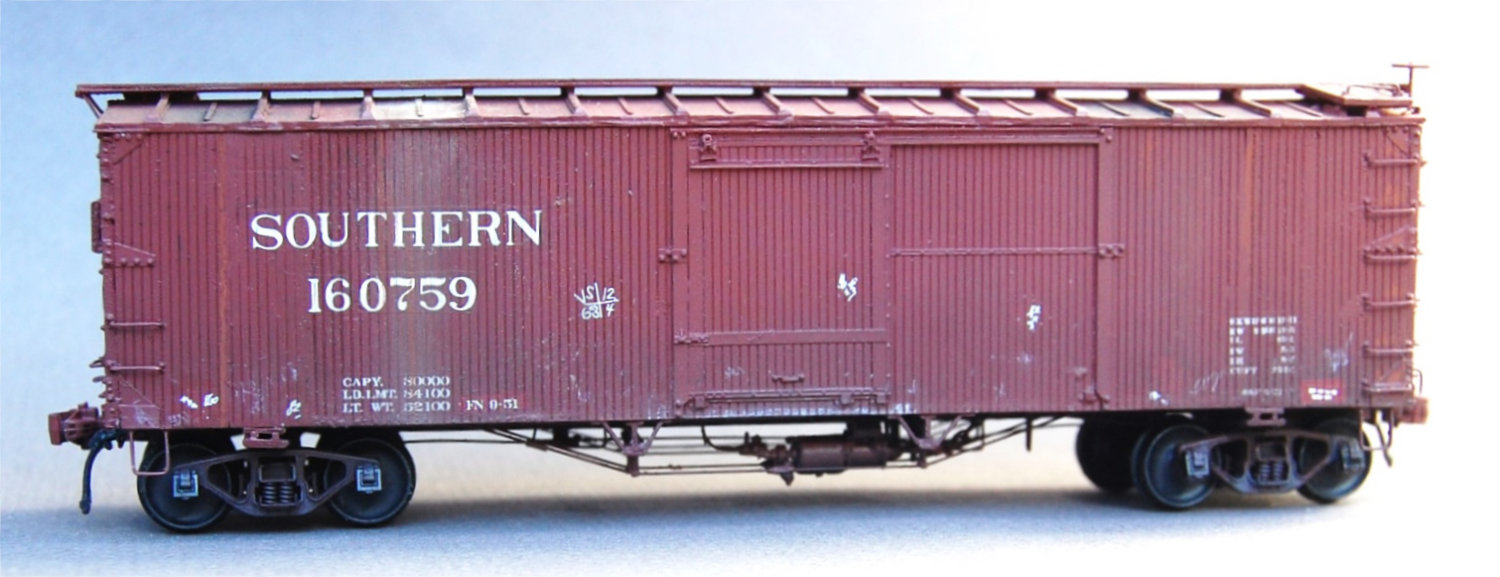
Here’s the completed car body ready to decal. I used about a 50-50 mixture of Floquil Southern Freight Car brown and Oxide Red.
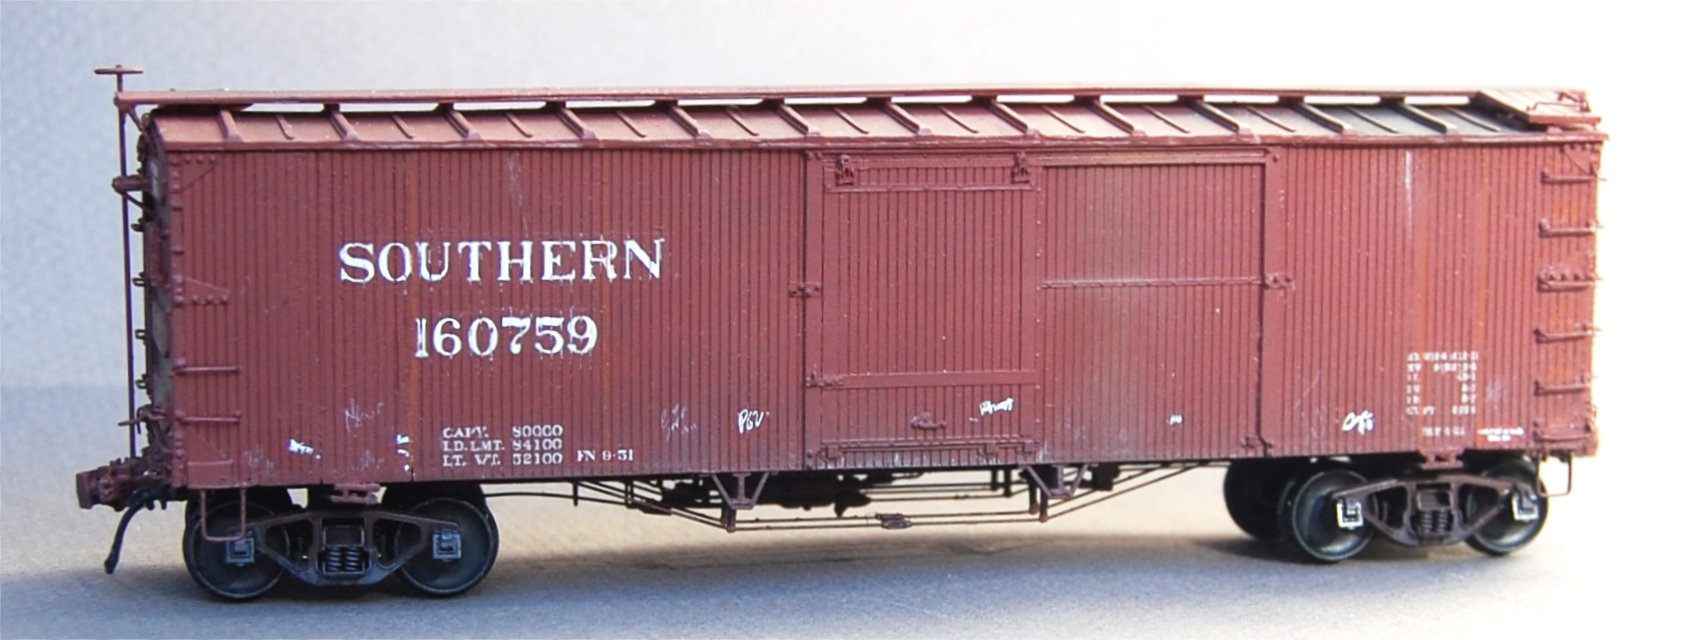
The car finished up nicely and I added Tangent air hoses. I used a combination of Westerfield Southern and Atlantic Coast Line decals along with my own Southern decals printed by Rail Graphics years ago.
This was a fun project to build a model of an interesting prototype. Many thanks to Andrew Dahm of Westerfield Models for help to make this model happen.
Fenton Wells
Thank you, Fenton Wells, for sharing your work to build a wonderful Southern box car model. We hope this inspires modelers to look beyond what is in the kit box to follow an interesting prototype. The GM&O also had similar box cars. Prototype photos are featured in another blog post.
Subscribe to the Resin Car Works blog so you don’t miss a new model announcement. Add your email address to the Subscribe function at the bottom of the page.
Questions and comments can be posted below. Please follow the instructions so your comment can be posted. All comments are reviewed and approved before they appear. Share the blog link with other model railroaders.
Another great work of art, Fention. This is a well written and instructive article.
Thank you,
Jack