John Golden in Germany has been busy perfecting a simple weathering technique called salt weathering. We think you’ll find this technique useful, especially for weathering freight car roofs. Click on the images to review a larger size. Here’s John to explain.
About ten or so years ago I was online looking at armor modeling websites and came across an article that described a weathering technique called salt weathering. Since then I’ve tried it on a few models and the results are remarkable.
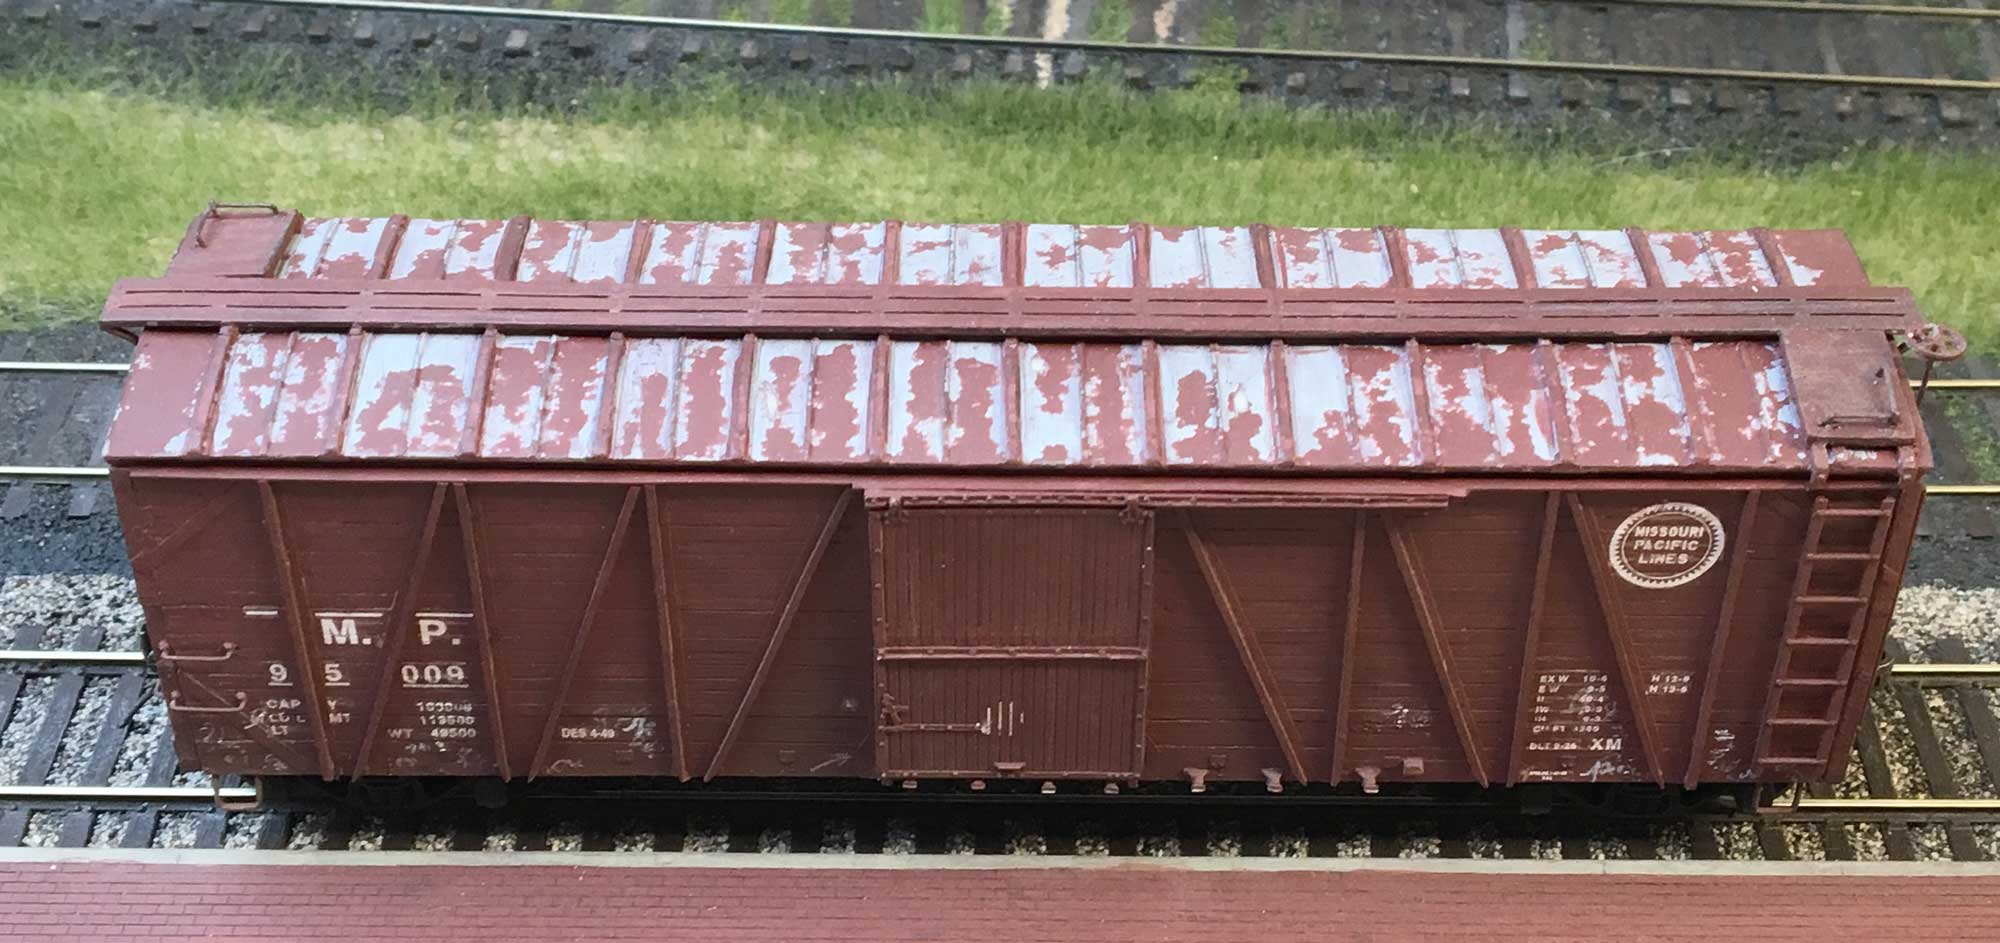
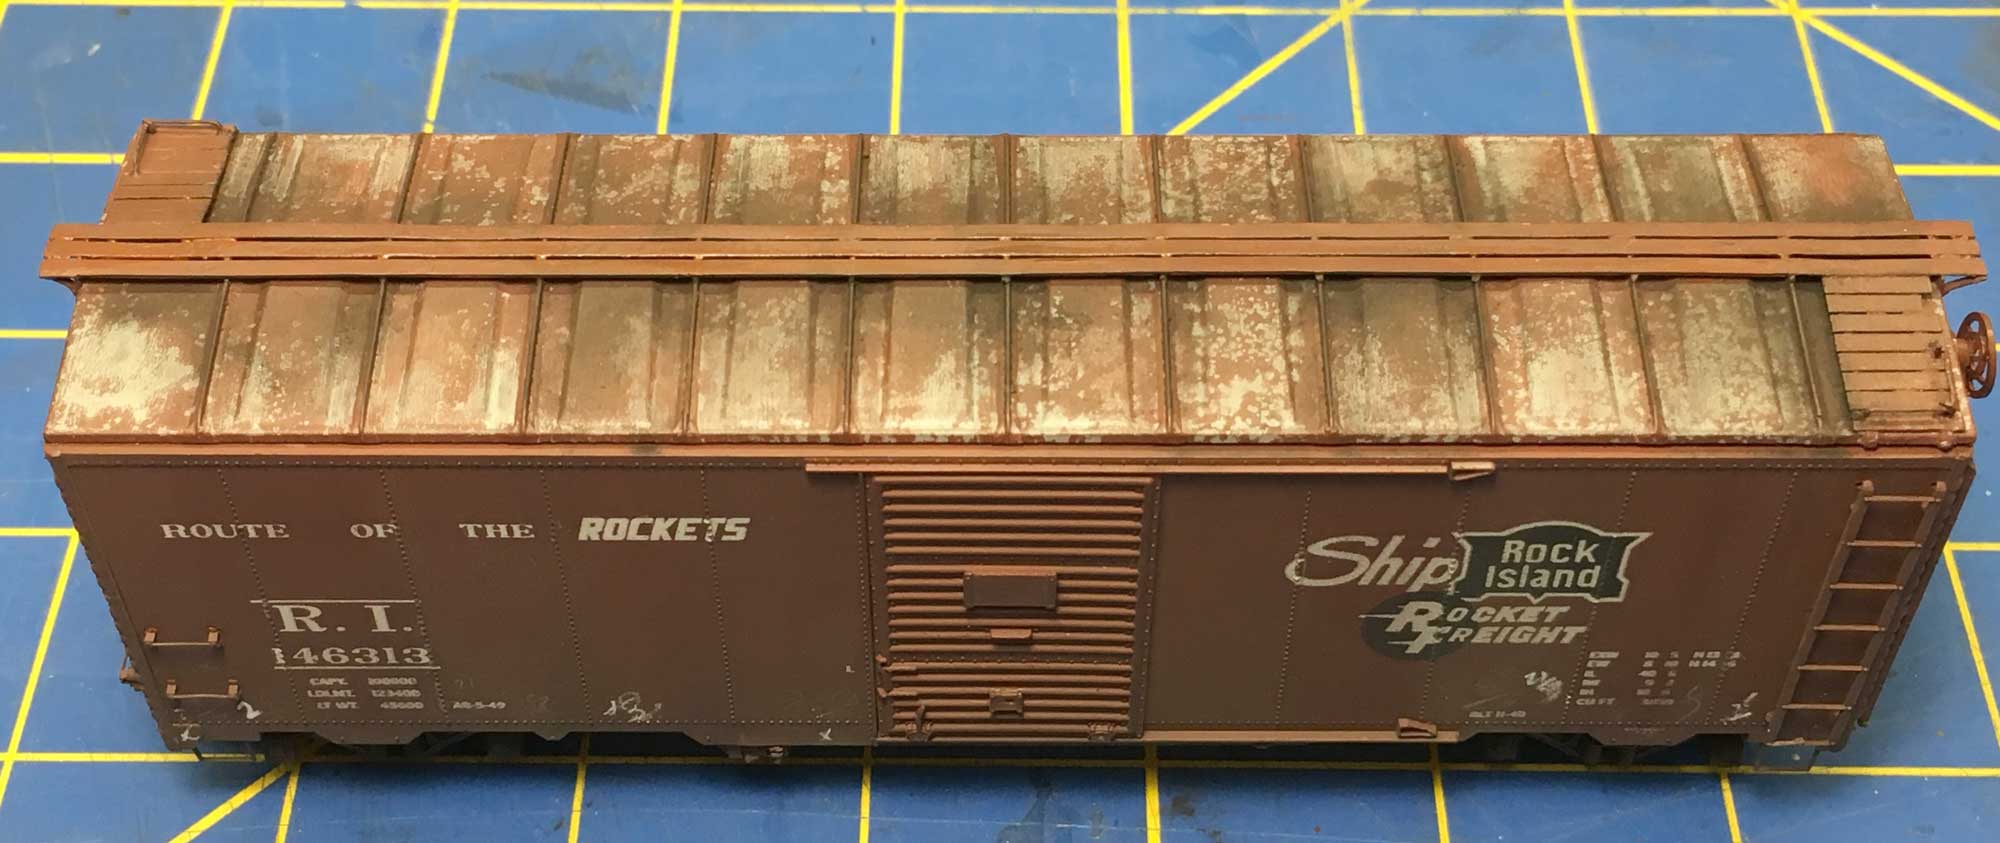
The lead image illustrates the salt weathering technique to simulate paint peeling off the galvanized metal roof on this Sunshine Models 80-series kit of a Missouri Pacific 90000-series single-sheathed boxcar.
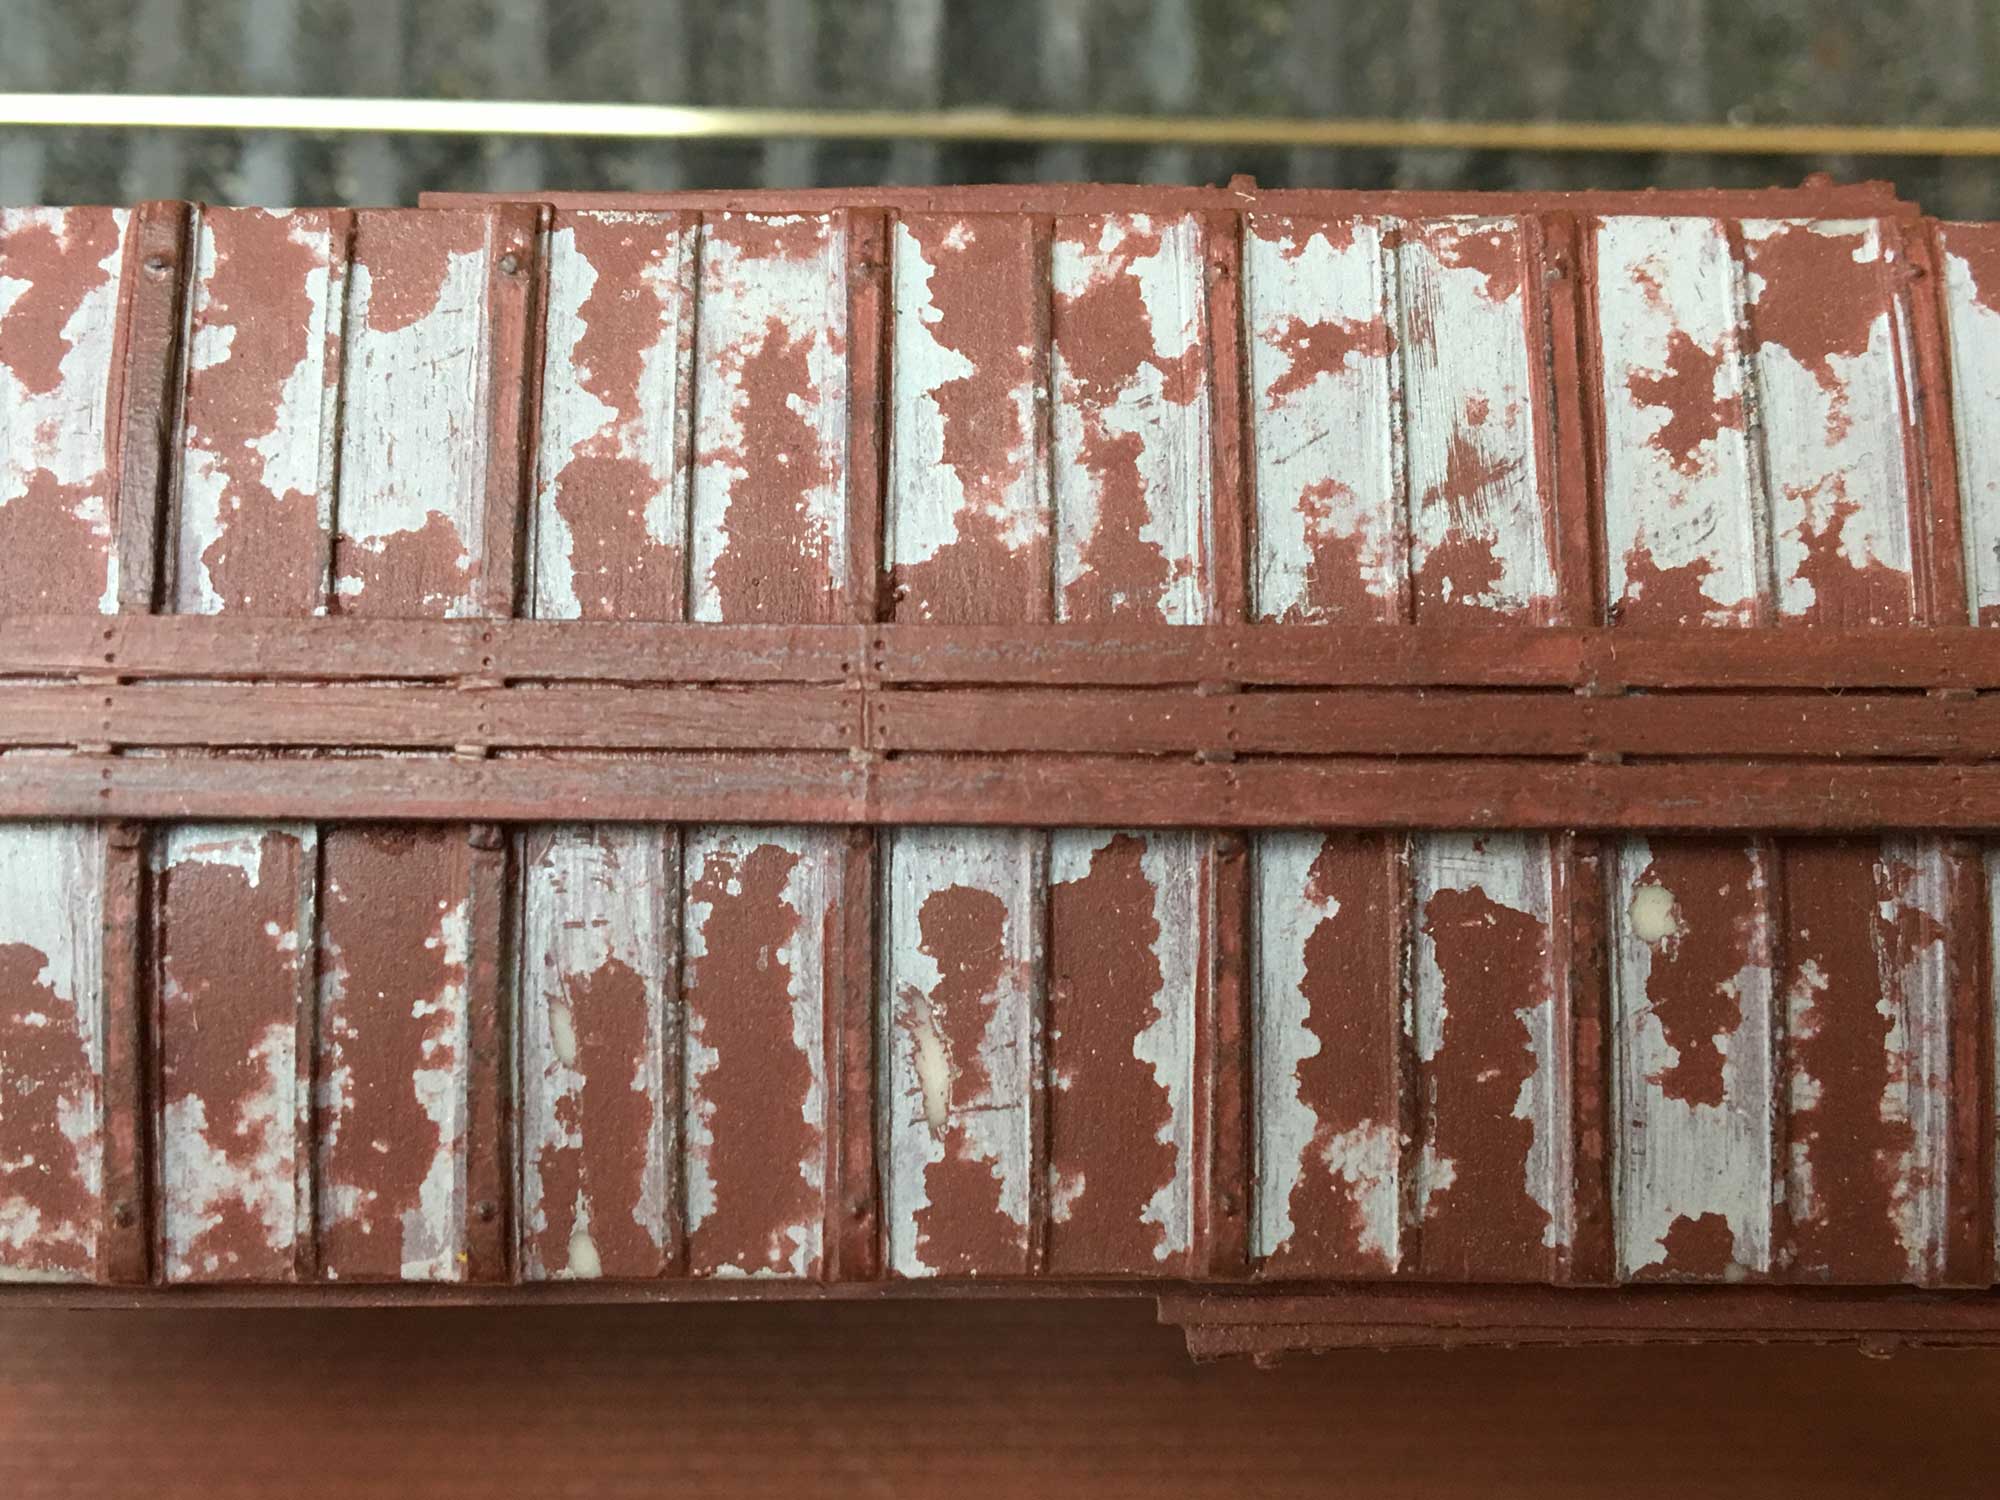
Here’s a close-up of the roof.
So…what is salt weathering? It is a method used to simulate paint chipping using table salt. I’ll demonstrate the steps below using the roof casting from a Sunshine Models Milwaukee Road single-sheathed box car.
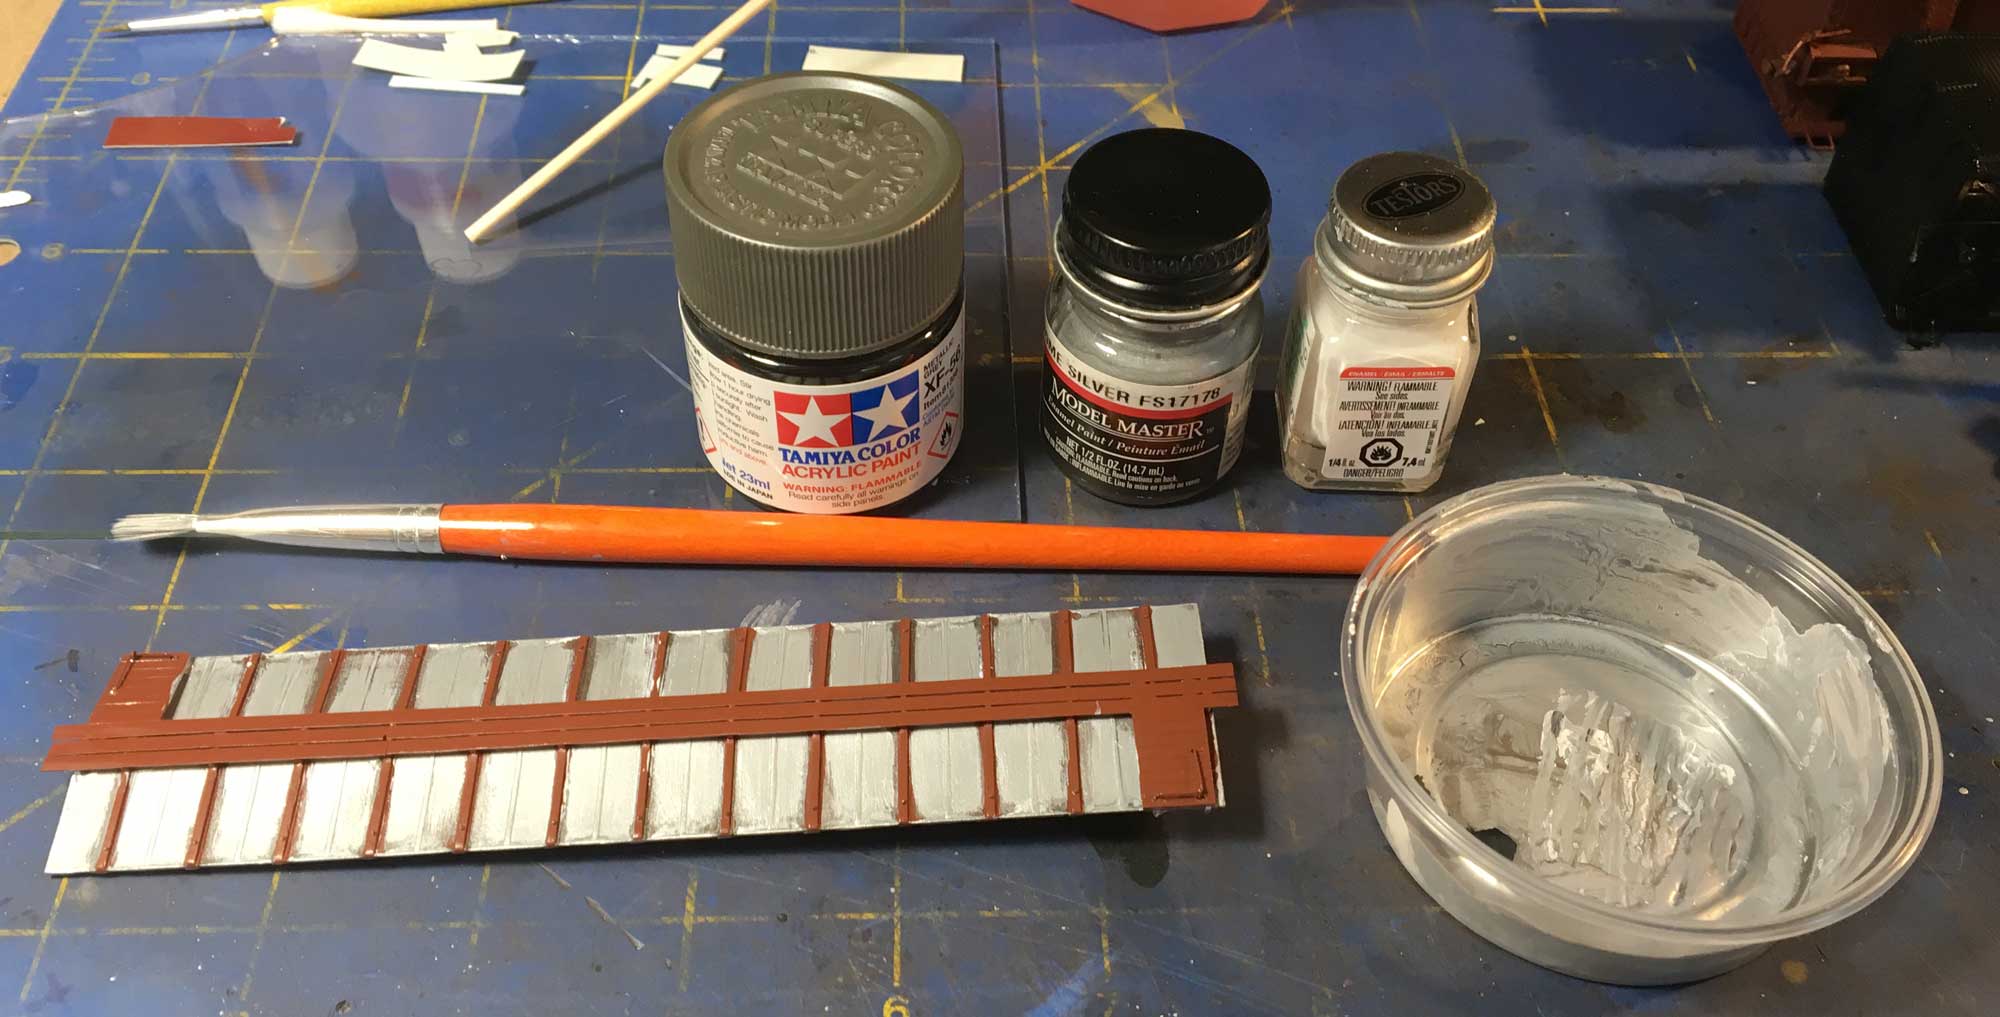
Step 1 – First, paint the roof with an underlying rust or galvanized color that you want to show through. I call this the base layer. On the Missouri Pacific car, the base layer was a homemade mix of 80% white and 20% silver to simulate galvanized steel sheet. I used that same mix on the roof casting shown in the photo above.
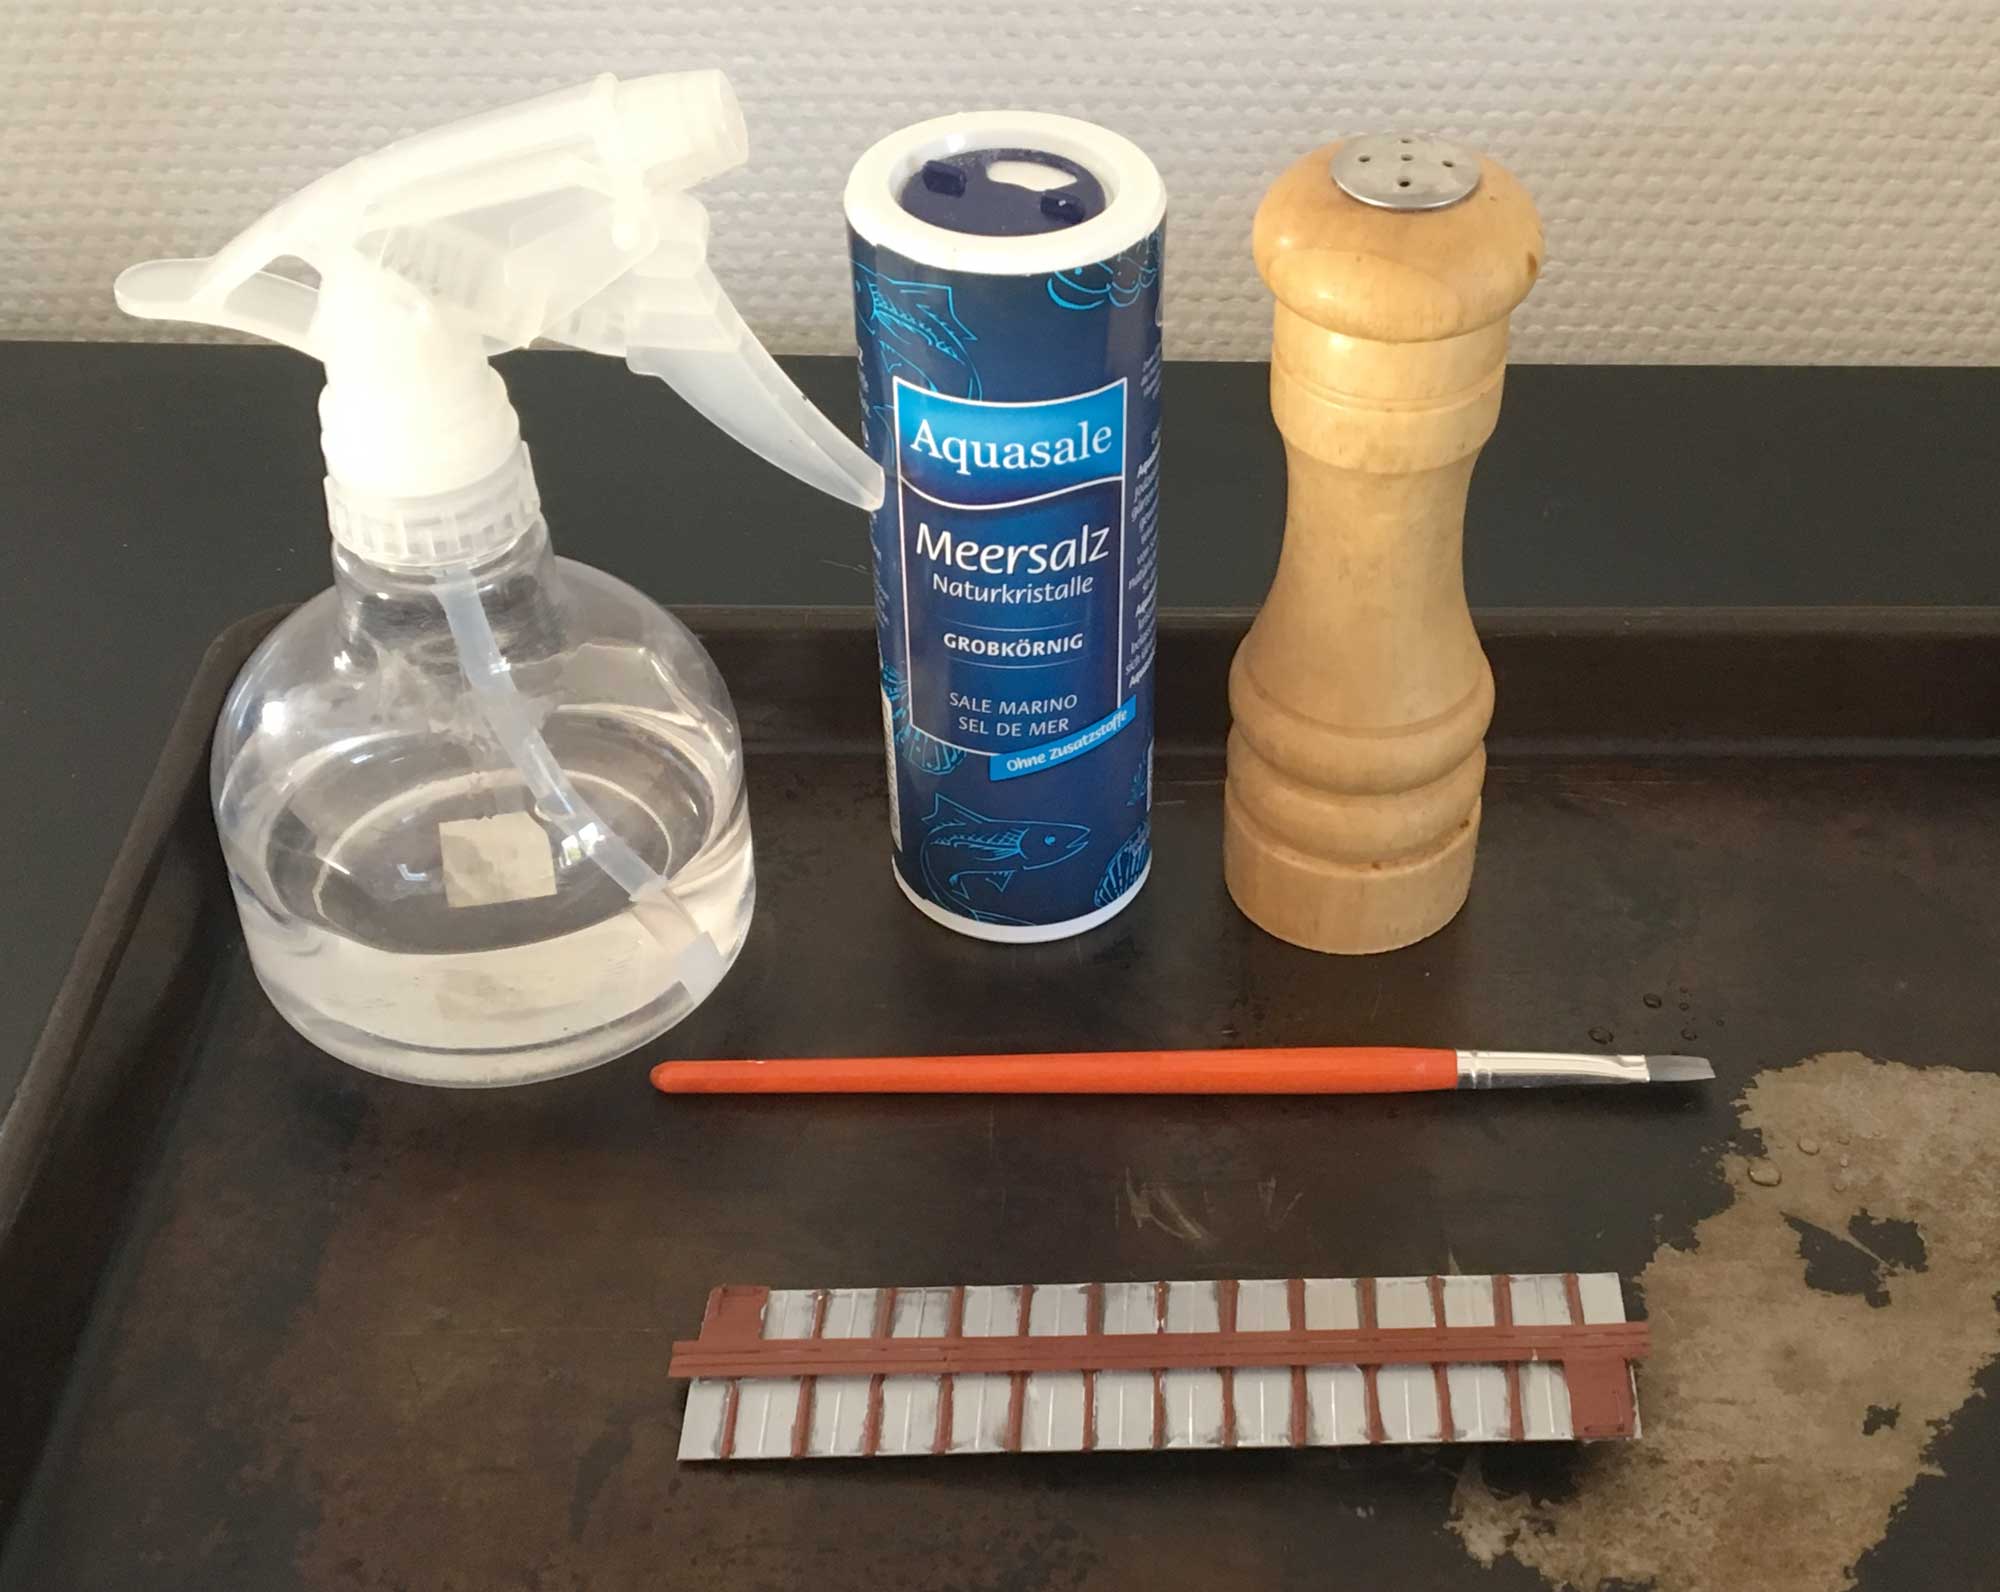
Step 2 – Allow the base coat to dry completely. Meanwhile, gather table salt, household rubbing alcohol, a sprayer, and a container for your project because salt weathering is messy. For my project I used two kinds of salt—fine table salt and coarse sea salt. The container I used was a retired baking pan.
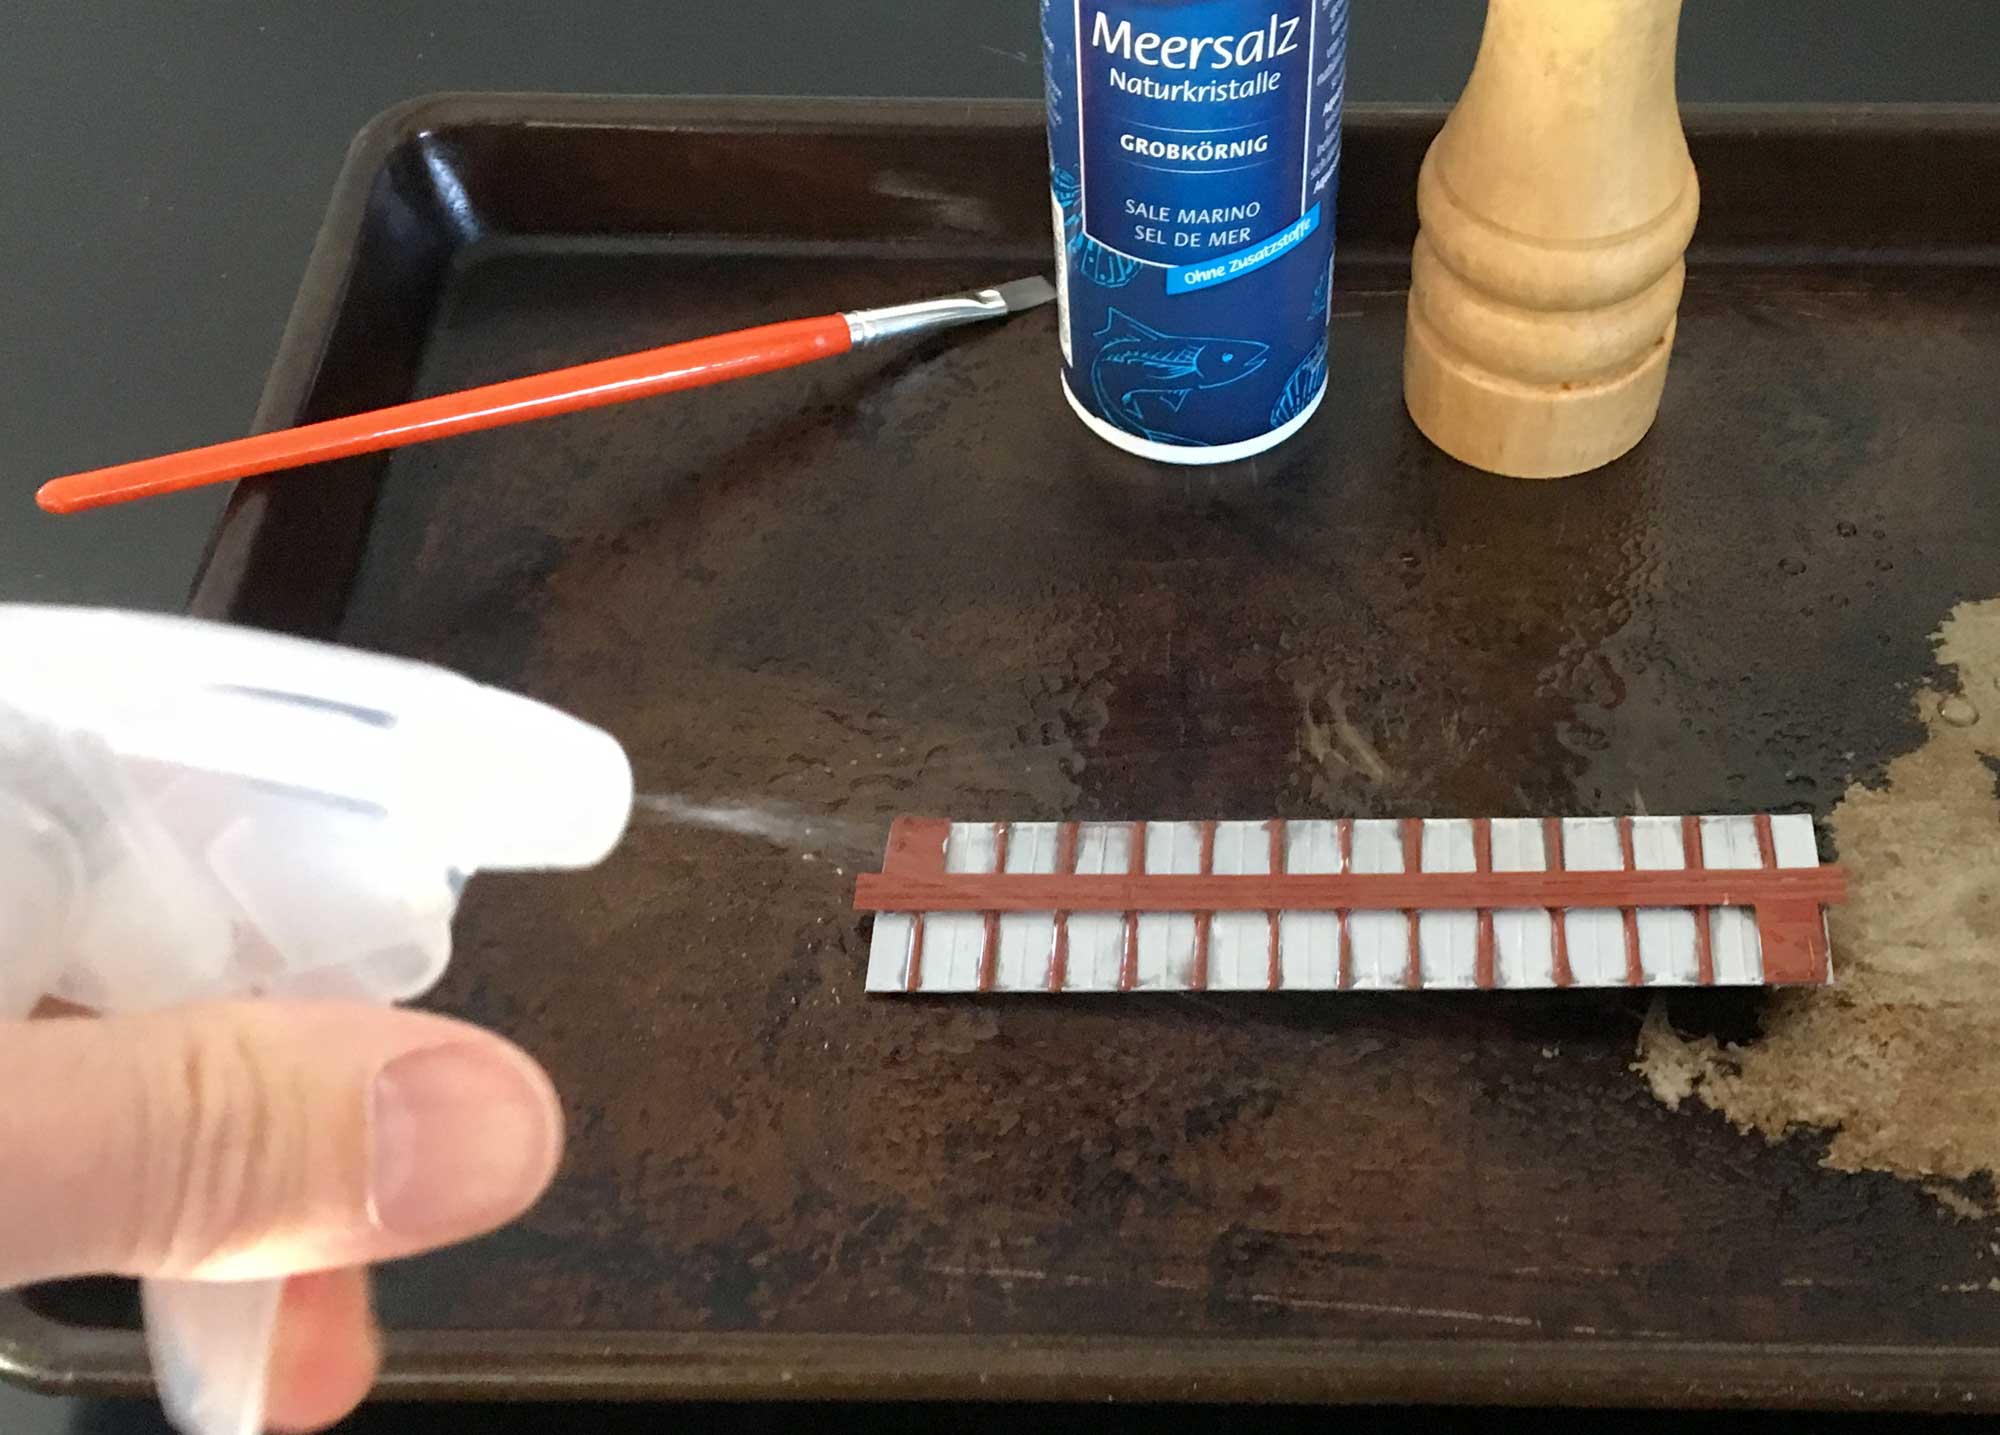
Step 3 – Spray the roof casting with the rubbing alcohol. Many modelers use water for this step, but I strongly recommend using rubbing alcohol. It is amazingly effective in breaking surface tension, which allows better coverage for the salt.
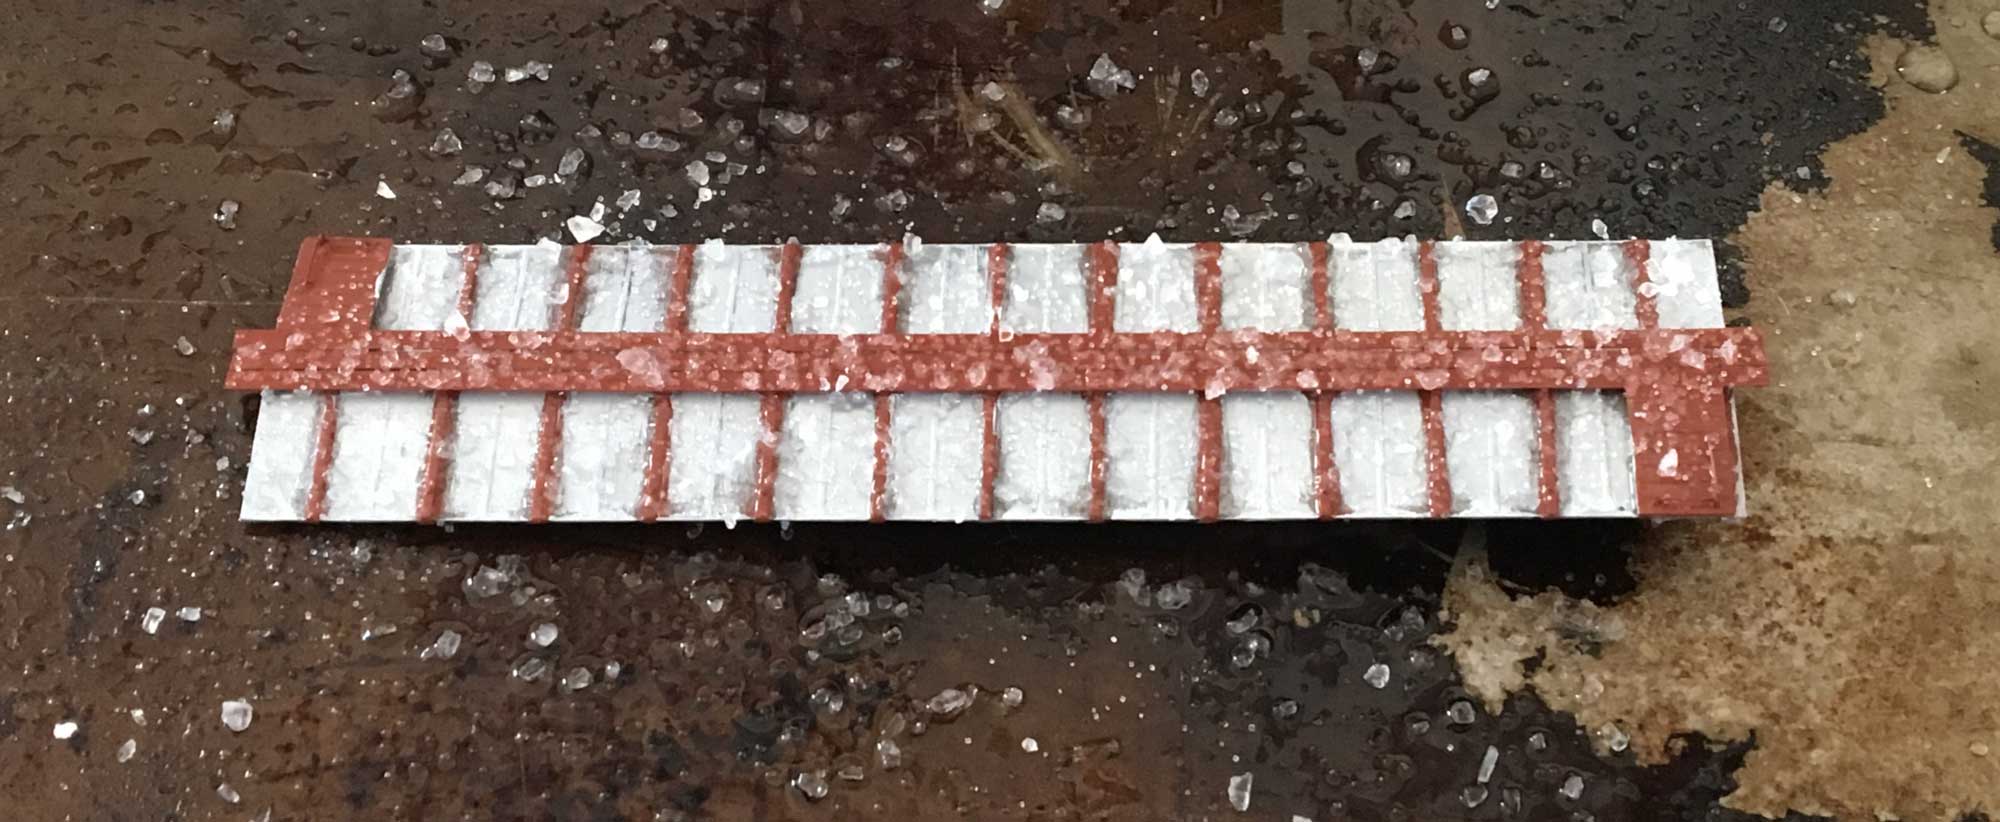
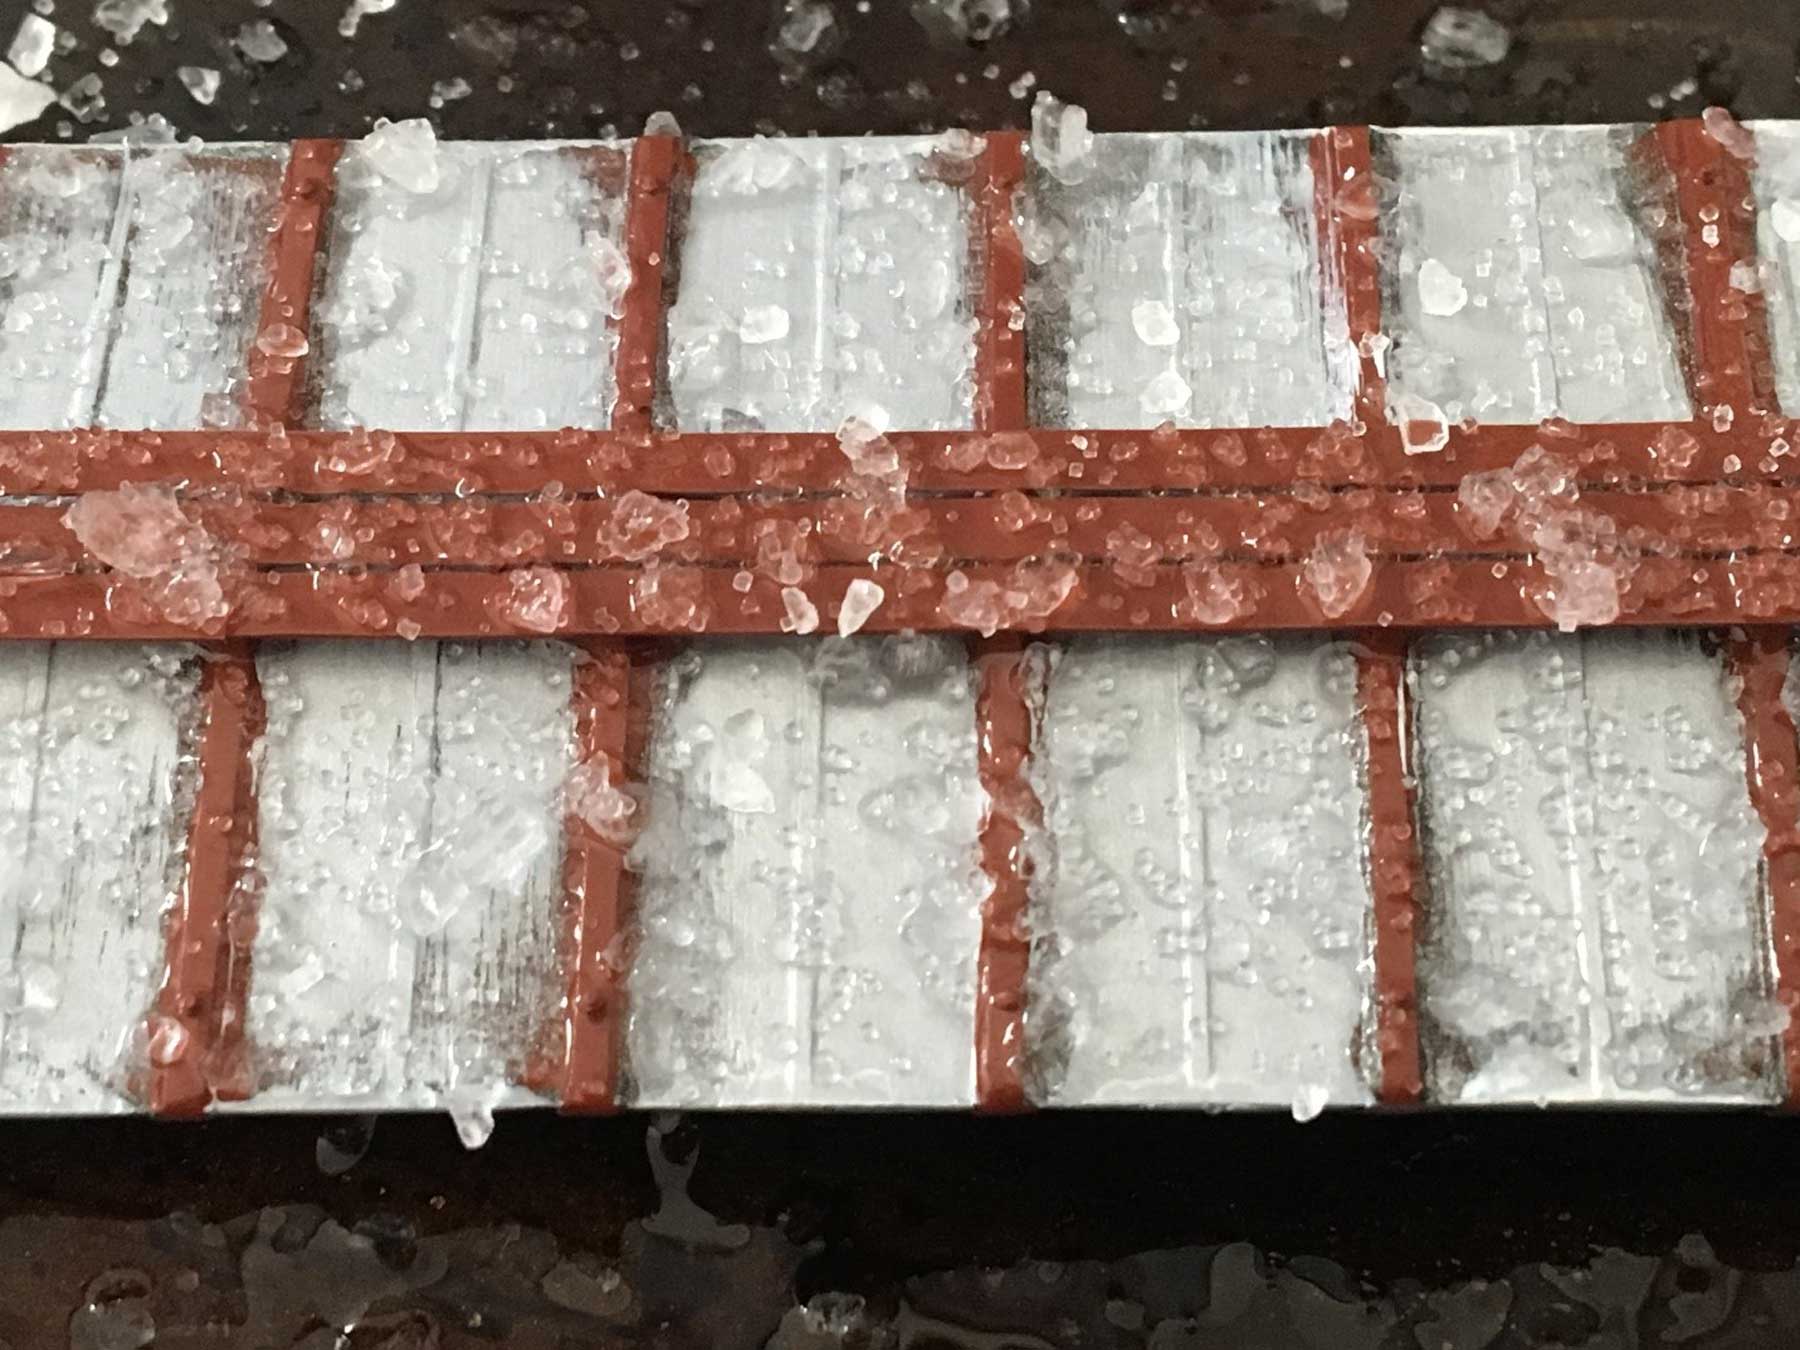
Step 4 – While the alcohol is wet, sprinkle on the salt. Don’t completely cover the roof with salt—just sprinkle it on. The photo above shows how the roof looked after the salt was applied. Please note it would’ve been smart for me to mask off the running boards, or remove them, before I got this far. I’ll cover why in a little bit.
Step 5 – Now let the whole mess dry for a day.

Step 6 – Once the roof and salt are dry, carefully airbrush the roof—with the salt still applied—with the correct prototype car color, such as boxcar red or car cement black. Carefully handle the roof while painting as the salt can flake off with the slightest breath or touch.
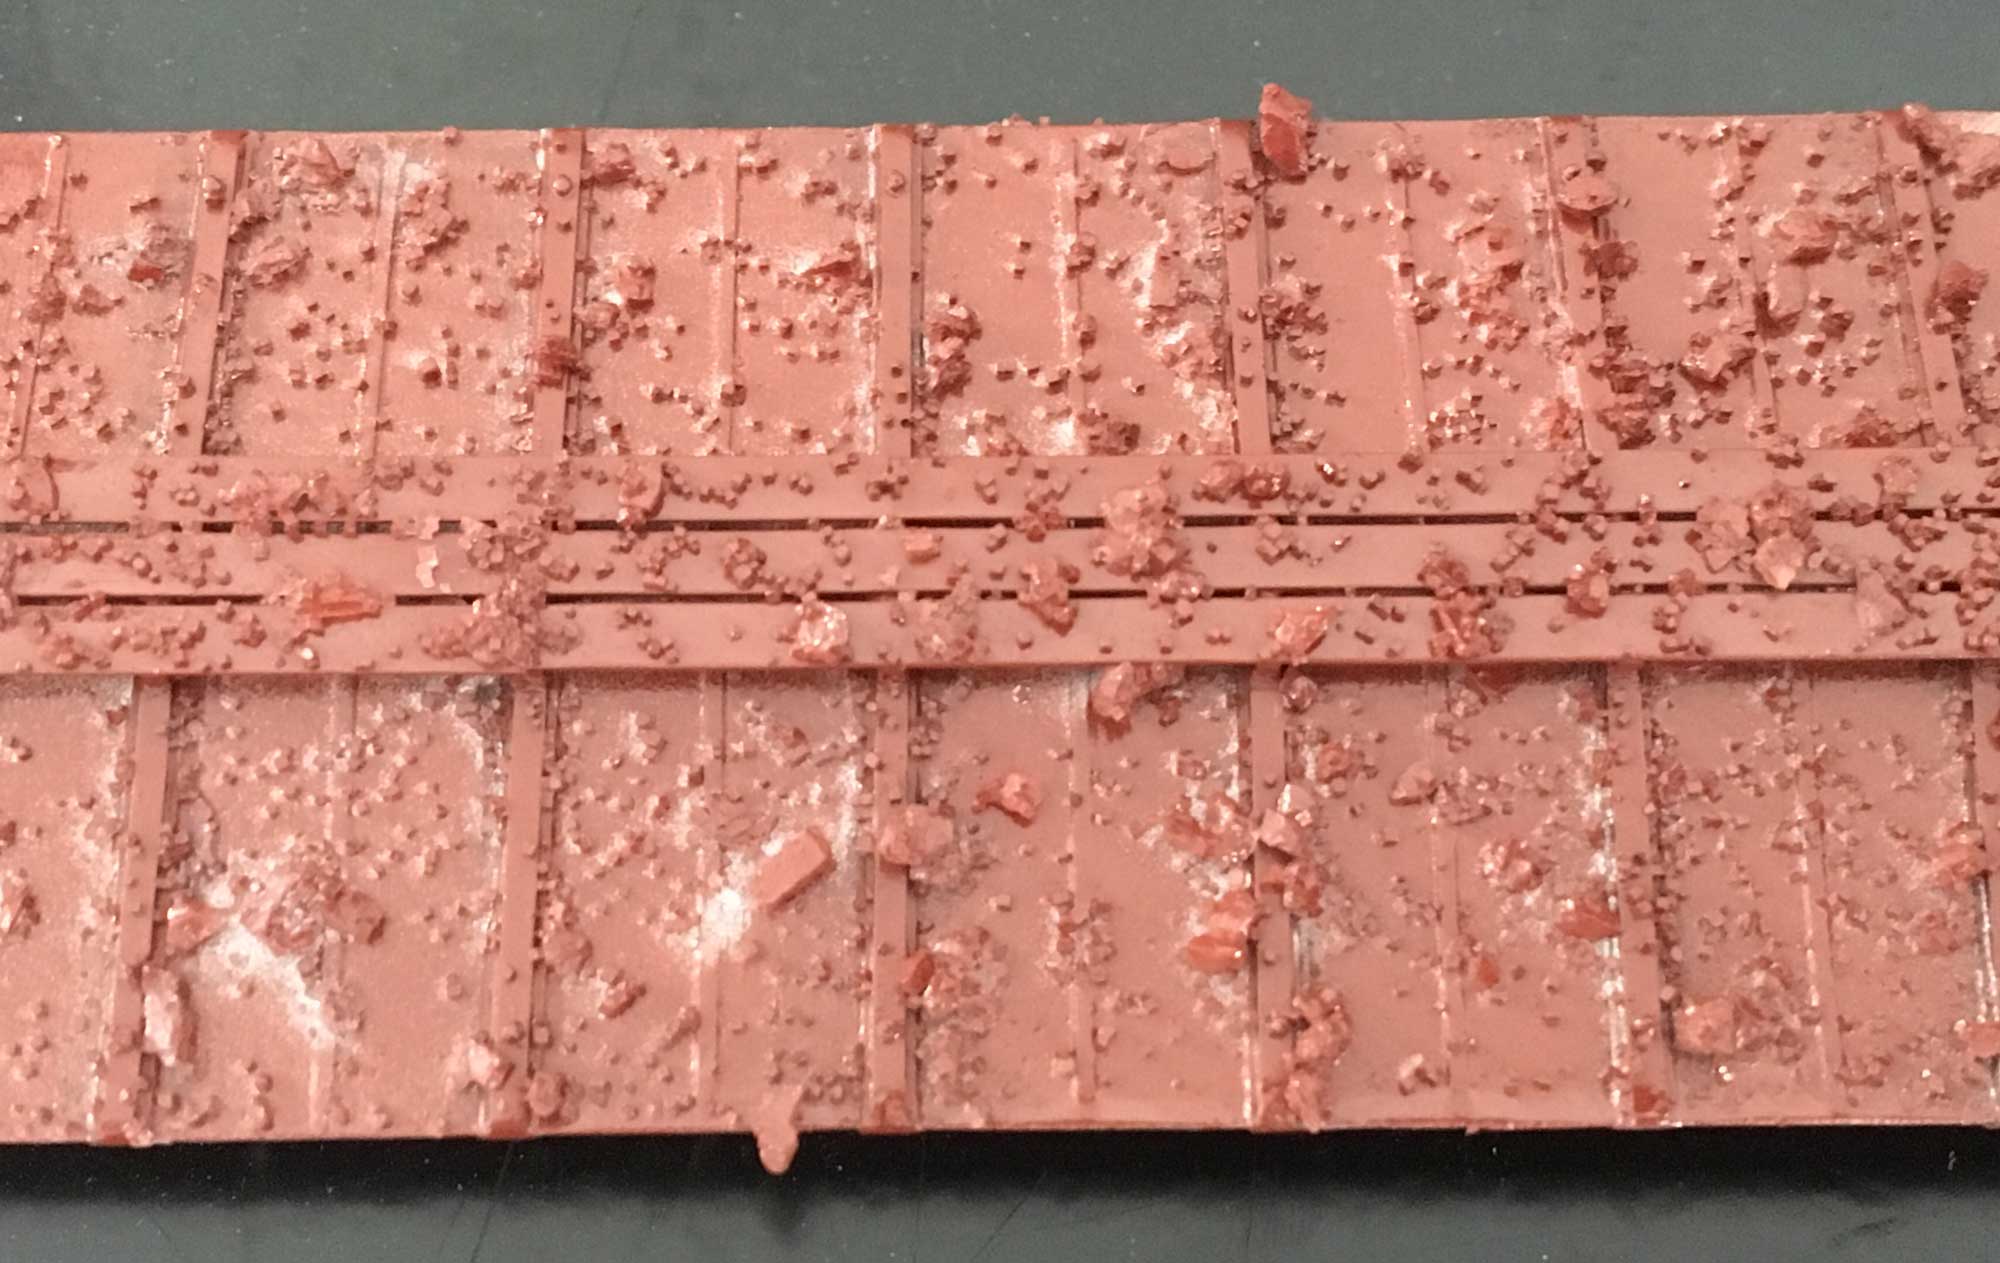

Step 7 – Here’s the fun part. After the paint is completely dry, carefully rub off the salt. The color underneath—the base color applied in Step 1—will appear when the salt is removed. The photo above shows how the roof looked after the salt was removed.

Step 8 – Next, go back over the running boards and roof seam caps with the original car color. Running boards and seam caps were made of different material that the rest of the roof, so they weathered differently. Touching up the running boards and seam caps with the car color provides a contrast with the weathered roof.
Step 9 – The splotchy uneven finish gives the appearance of peeling paint. Using the homemade galvanized color mix, I went back over a few places to blend the colors a little more. I used the little yellow brush seen a couple photos back for the job. I also added a little AIM Weathering Powders Soot Black, applied with a small brush, to darken the roof in a few places to represent soot and cinders. To finish the job, I sealed the roof with a shot of Testors Dullcote.
Salt Weathering is easy but I recommend you practice on a few models first. The first time I tried salt weathering I finished three roofs: One turned out good, and the other two were “fails”. However, I learned how much salt to add and where to add it, and that was really helpful for later attempts.
In the example above, I should’ve removed the running board before using the salt weathering technique. I damaged the running board and eventually had to replace it. If you’re trying this on a roof, it would be best to mask the running board, or attach the running board, after the roof is painted.
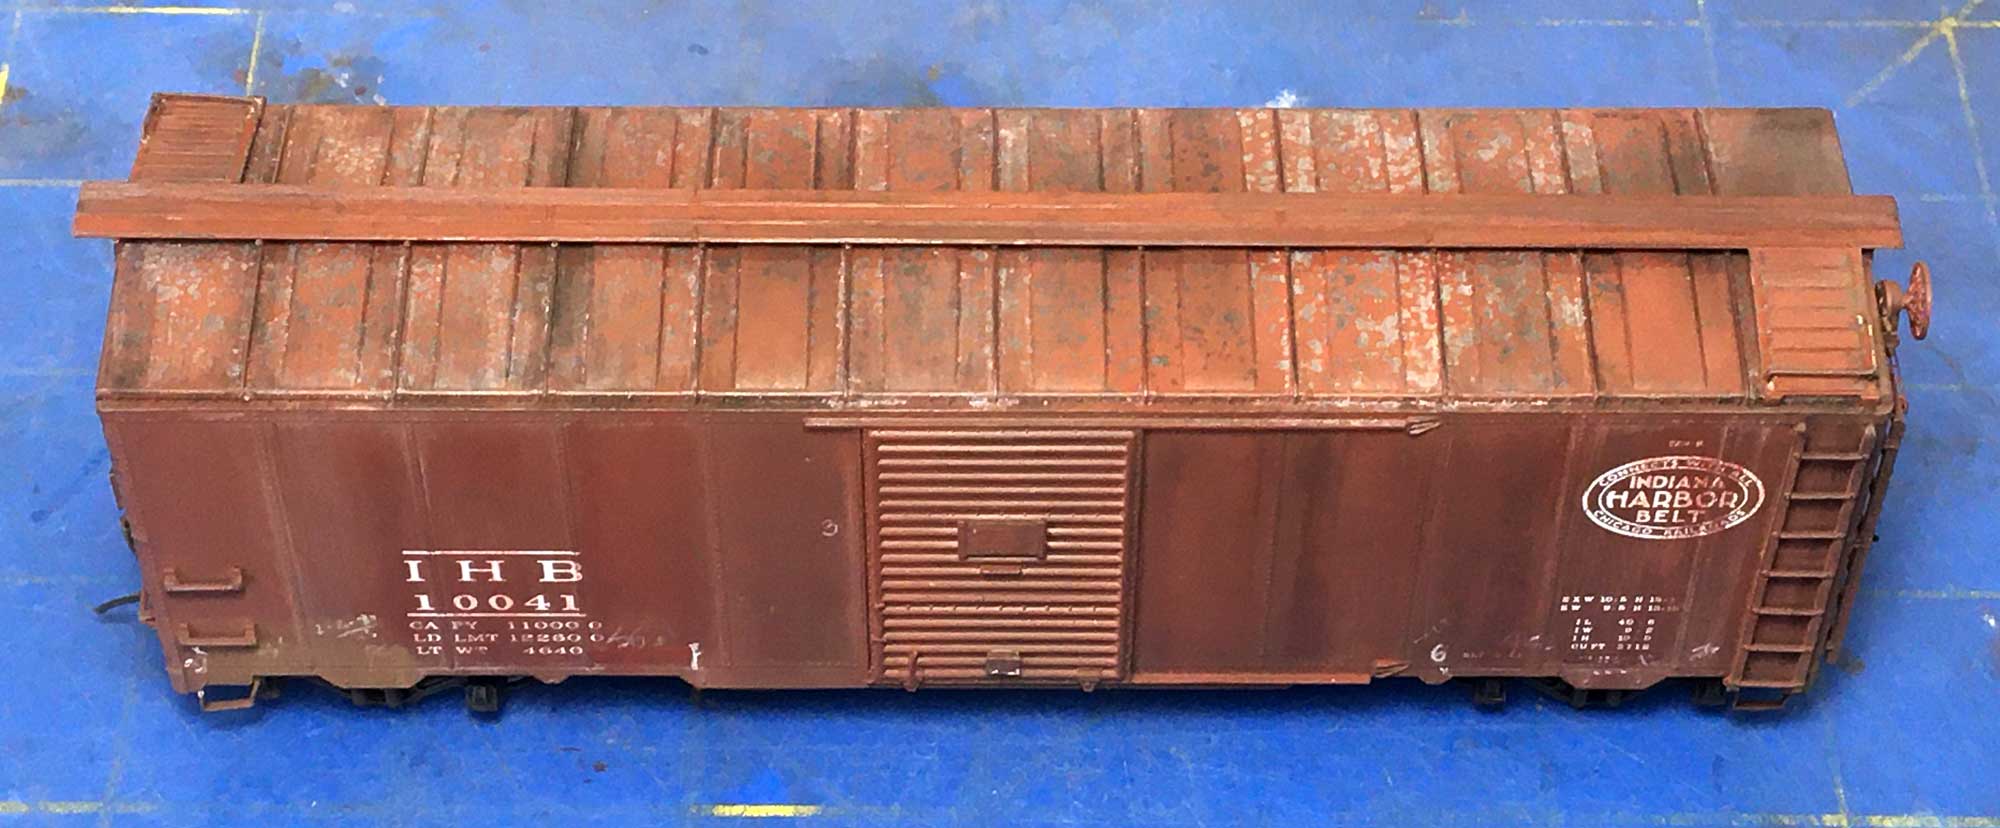
Here are a couple more examples of salt weathering on some other models. The boxcar above is an Intermountain 1937 modified boxcar.

Here’s a Branchline Yardmaster model I finished for a friend. I deliberately poured on the salt heavily in some areas, and lighter in others, to try to force an inconsistent weathering pattern.
Finally, here’s one more Intermountain 1937 modified boxcar. This was another car I finished for a friend.
The next level of salt weathering is looking at actual prototype weathering and applying the salt in specific places to simulate specific weathering patterns. Let prototype photos be your guide.
What else can you use salt weathering on? Oil tanks, bridges, and anything made of steel or metal on or along the railroad. I think it could be used with excellent results on storage tanks used by small town oil dealers.
A detailed description of paint chipping, as used on armor models can be found on the Scale Model Guide website (LINK: https://www.scalemodelguide.com/painting-weathering/weathering/apply-realistic-paint-chips-salt/ ) . This is the site I used as a guide when I first tried the technique.
I hope you find the salt weathering technique useful!
Many thanks to John Golden for sharing his salt weathering processes. I suspect we will see many more models weathered using these techniques.
Questions and comments can be posted below. Please follow the instructions so your comment can be posted. All comments are reviewed and approved before they appear. To subscribe to this blog, add your email address to the function at the bottom of the right column on the main page. Share the blog link with other model railroaders.
John, I have tried this technique before with mixed results. What I see you did different was to use alcohol. I think this will solve my problems using just water.
Your weathering looks spot on! Thanks for sharing
Very realistic John. I like the randomness and variation.
I tried it. Works great! Thanks.
Thanks John. Very comprehensive description. Looking forward to trying it out.
A very interesting way of weathering rooves I have often wondered about this technique thank you for sharing.