Jerry Hamsmith sent the final installment on building the Resin Car Works New York Central gondola kit. He and his Gondola Group cover floor details, painting, and decaling in this post.
The next step in the build was to prepare the floor to insert into the car. Two options exist for a 751000 series car: a temporary wood floor, or a steel floor. As the modifications to these cars were being made during WWII, the resultant steel shortages caused the railroad to replace many of the drop-bottom floors with wood versions.
Over time, the wood floors were replaced with steel ones. The replacement process was lengthy. A chart summarizing the changes at specific dates is available as a PDF download.
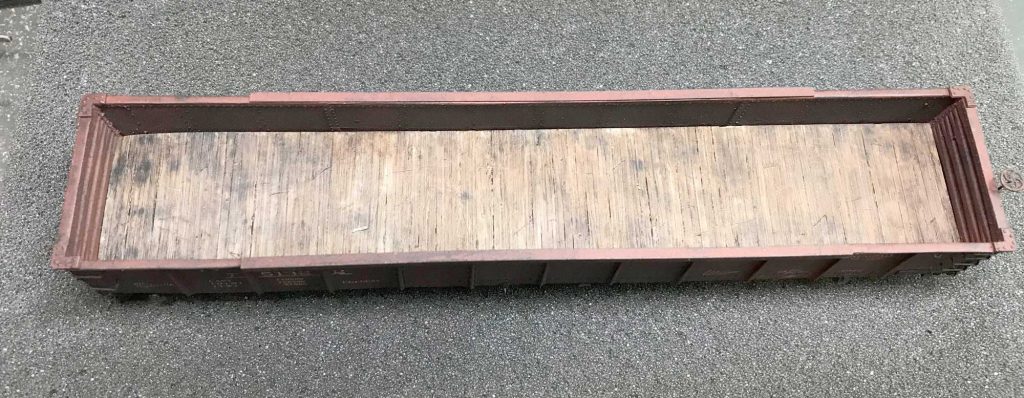
A cast resin wood floor is included with the kit. The detail on the floor is quite good. Group members utilizing the kit-supplied floor option took the following steps.
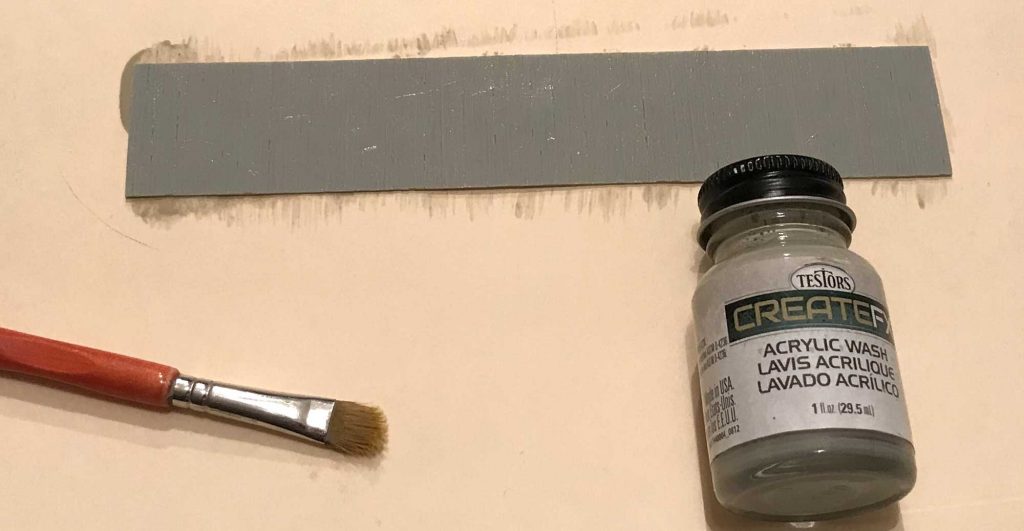
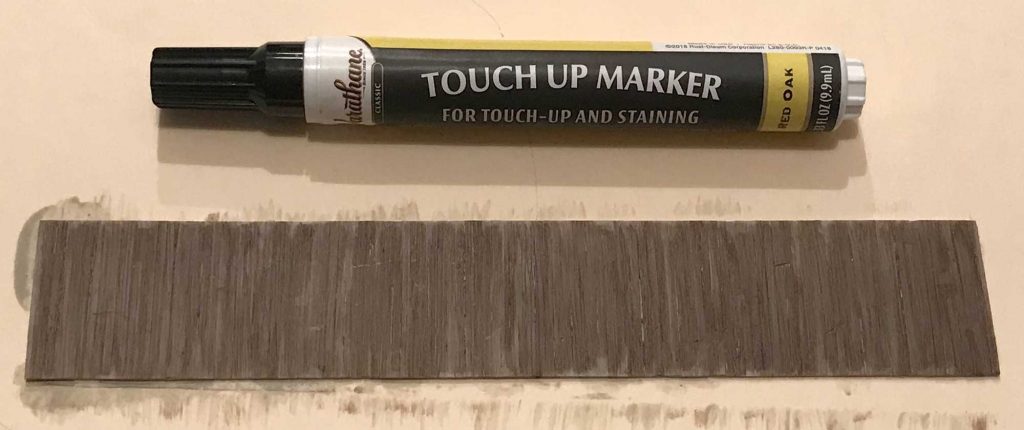
After sanding the floor to fit, it was washed with Dawn and set aside to dry thoroughly. A brush coat of Testor’s Driftwood Wash was applied. Once dry, a Rust-Oleum Varathane Red Oak stain marker was used to add color. There is no need to be perfect with this application. However, it does need to be applied with the boards. The floor was weathered by brushing more washes of Driftwood and Testor’s Dark Gray.
The floor was set aside to be inserted only after the car was painted. The floor weathering would be finished with Pan Pastels or oil washes applied to individual and groups of boards with a narrow brush, adding thin layers to taste.
Steel floor
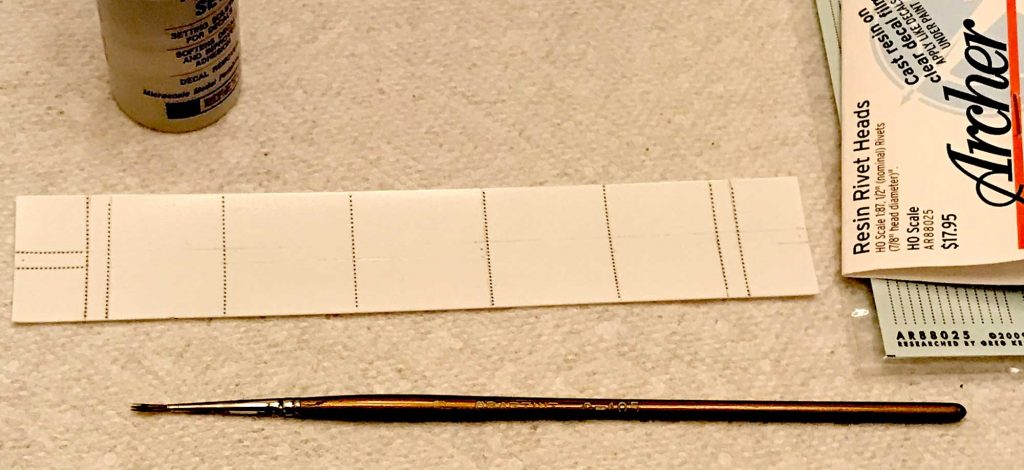
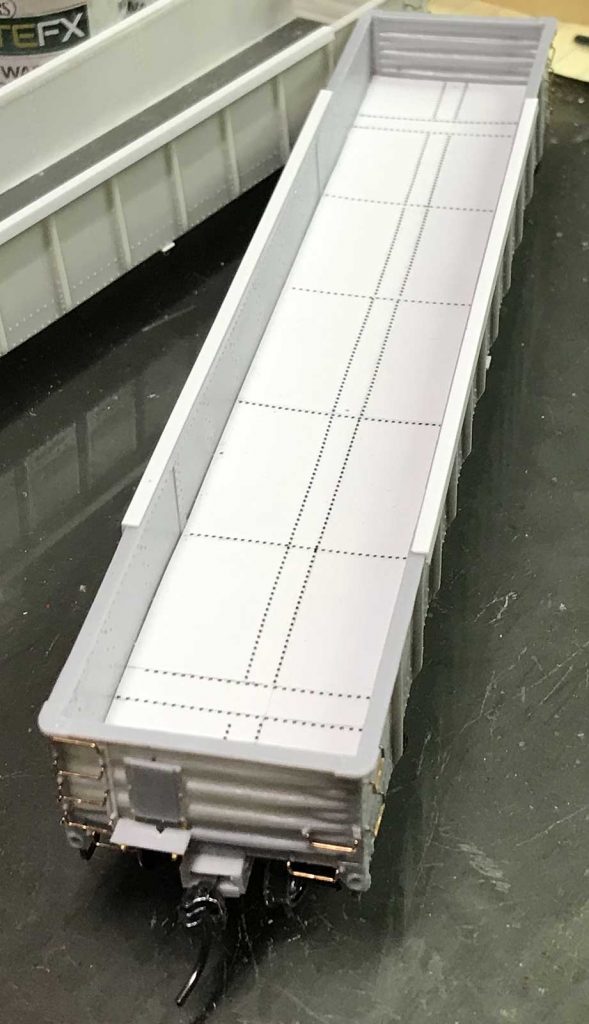
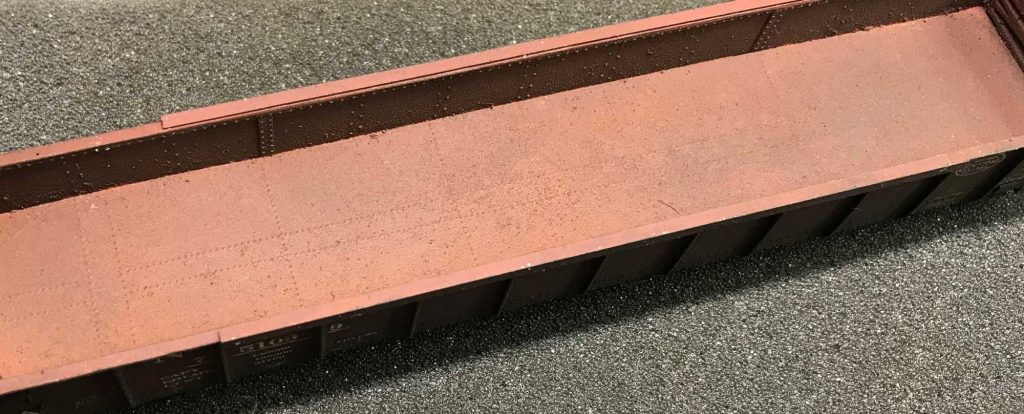
Group members deciding to use a steel floor needed to make one. A piece of 0.020-inch thick styrene was cut to 1-7/32-inches wide and 6-13/16-inches long. Measuring from the car body, lines for the bolsters, center sill, and major cross bearers were drawn onto the styrene.
Archer rivet heads (AR88025) were applied over these lines. Additional lines and rivets could have been applied, but these were all that were deemed necessary.
It was felt that as gondola floors are usually very dirty, and any rivets applied would possibly be covered by weathering later, more rivets were unneeded. Once all rivets were applied, everything was let to dry and then a coat of Pledge was brushed on for additional protection. The finished steel floor was glued into the car using Formula 560.
Bleed rod
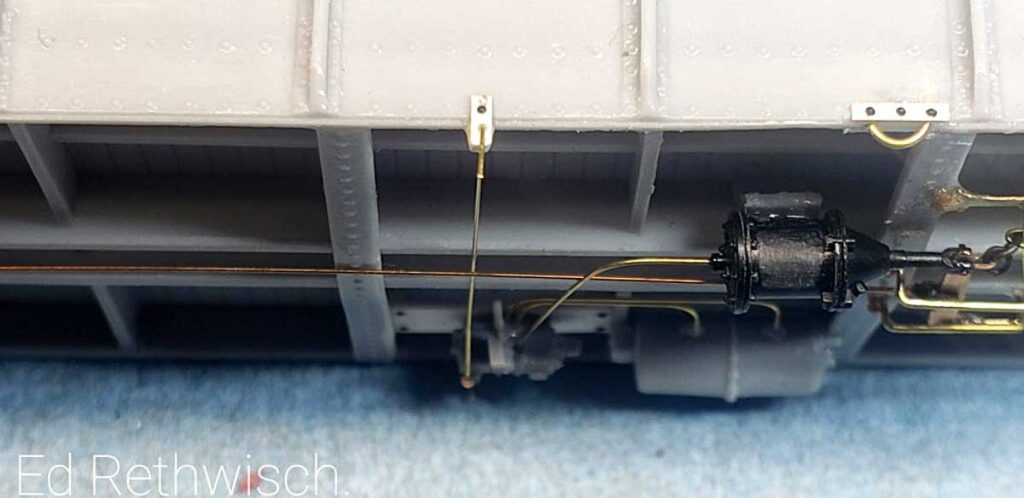
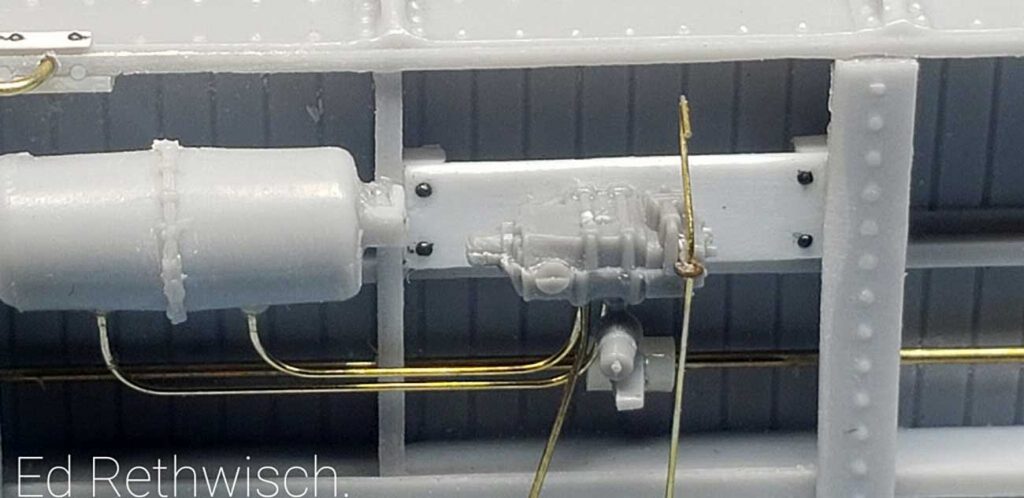
The final step before the paint and decal work was to add the pressure bleed rod made from 0.010-inch diameter brass wire. The rod runs from the control valve side to the opposite side of the car. The bleed rod will be attached to the control valve with an eyebolt. A #78 hole was drilled in the valve to avoid interfering with the brake piping, but the eyebolt was not glued at this time.
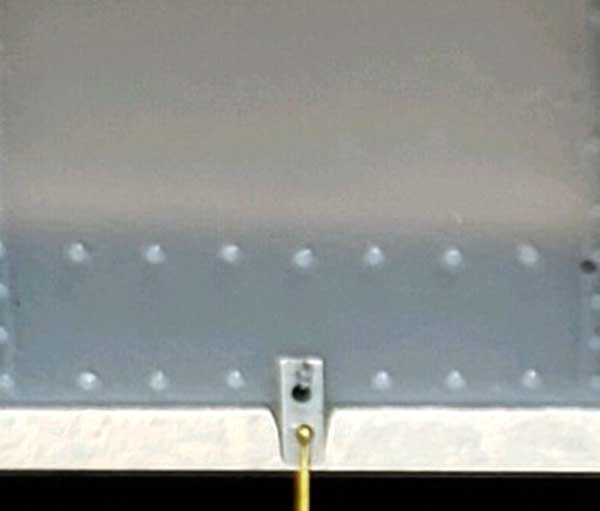
On the opposite side, a bracket for the pipe was created from a small piece of 1×3 styrene, approximately one scale foot long. The bracket reaches from just below the carbody to the rivet line. A #78 hole was drilled in the bracket, centered about 1/3 from one end. The bracket was glued directly across the car from the hole drilled in the control valve. Sanding off one rivet on the side sill will make it easier to attach the bracket. An Archer rivet can be used to replace the removed rivet.
A section of the wire slightly longer than ten scale feet was created. Bends facing the same direction of approximately four scale inches were formed on each end of the wire. One end of the wire was passed through the bracket hole and the eyebolt was added to that end. After feeding the wire through the bracket the eyebolt was then glued into place under the control valve. Finally, any deemed excess was nipped off the end of the bends and the wire glued into place.
Paint and lettering
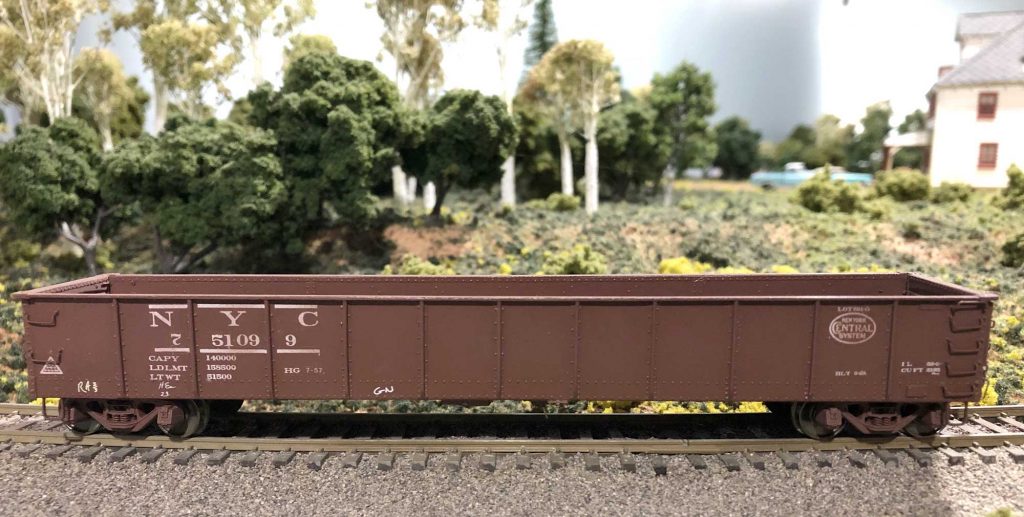
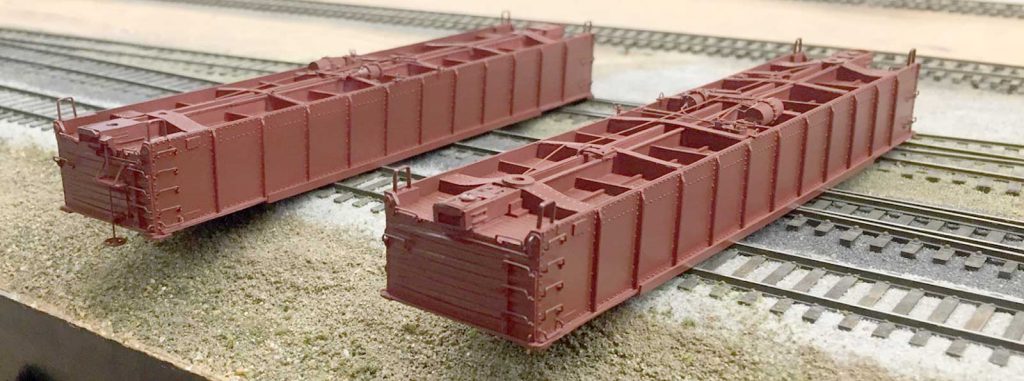
Painting, decaling, and weathering were next. Our good friend, Chris Vanko, finished this process for two of the group build cars; one with a wood floor and one with a steel floor. Here are Chris’ comments.
The cars were first primed with Tamiya Fine White Primer. Once dry, a coat of Tru-Color NYC Freight Car Brown was added.
After that dried, I gave the car a flat coat of Vallejo Acrylic Resin Matt Varnish (70.520), followed by an application of an oil paint pre-weathering raw umber wash. After that dried, I sprayed on Tamiya Gloss from a rattle can.
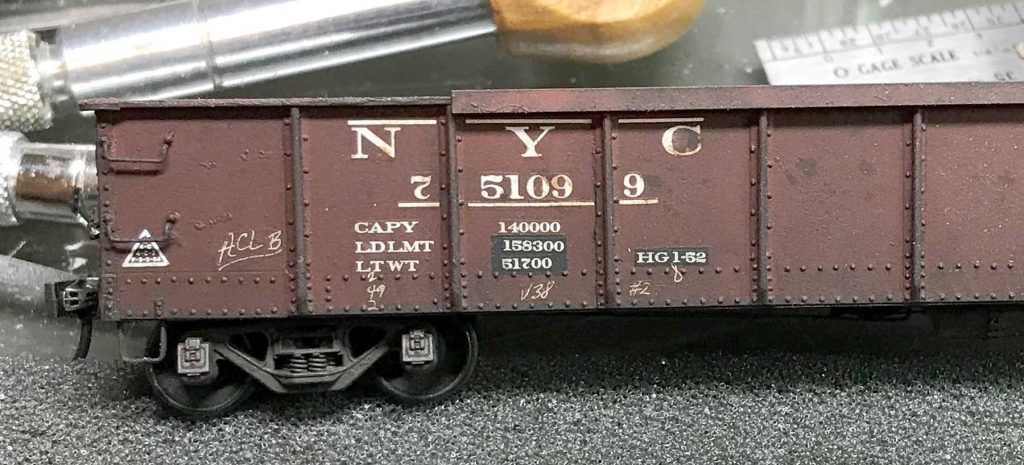
The kit supplied decals were applied next, except for the car data and repack info. Colored film trim (available from Microscale) was cut into blocks and applied. These simulate painted out areas. New reweigh/repack data will be applied on top of these paint out blocks after some weathering. Another flat coat of Vallejo was applied when the decals were dry.
After everything dried, weathering with oils continued with dry brush washes of black and raw umber. Pledge Future was brushed onto the block patching decals and any chalk marks locations. The final decals were applied.
Floor weathering
The wood floor was weathered using oil washes of black, raw umber, and burnt umber. The floor was glued into the car after the washes dried.
Some touch-up blotches of burnt umber and raw umber oils were randomly added to the car sides to simulate surface rust, various staining from the elements, or from lading carried by the car. A final flat coat was applied to the entire car.
The steel floor car was weathered by applying large blotches of raw umber and burnt sienna oils on the floor and inner sides and ends. A brush soaked in mineral spirits followed to blend the paint together for a dirty and rusty effect. While the paint was still wet, black and dark rust color Pan Pastels were stippled onto the floor surface to give it texture. The outer body surfaces were treated the same as the wood floor car.
Our Gondola Group has now finished a few of these Resin Car Works New York Central gondolas. Five cars were built by the Group. Of those, three are totally built, painted, decaled, and weathered. One car has been built but not yet been painted. Another car is approximately 85% built.
We hope these presentations have inspired readers to build your kits!
Thanks to Jerry Hamsmith and his Gondola Group for the in-depth details on building the Resin Car Works NYC 50-foot steel gondola kit.
Questions and comments can be posted below. Please follow the instructions so your comment can be posted. All comments are reviewed and approved before they appear. To subscribe to this blog, add your email address to the function at the bottom of the right column on the main page. Share the blog link with other model railroaders.




I’ve thoroughly enjoyed reading the five installments of this series. Well done, gentlemen. While there are many highlights for me, probably the top of the list is Ed’s brake piping bends. Second would be the last wood floor photo, and after that the data patches. I passed on this car when it was first offered, but after seeing the first three installments, I ordered the kit.
Excellent process and I enjoyed what you did and how you did it. Thanks for sharing
Fenton