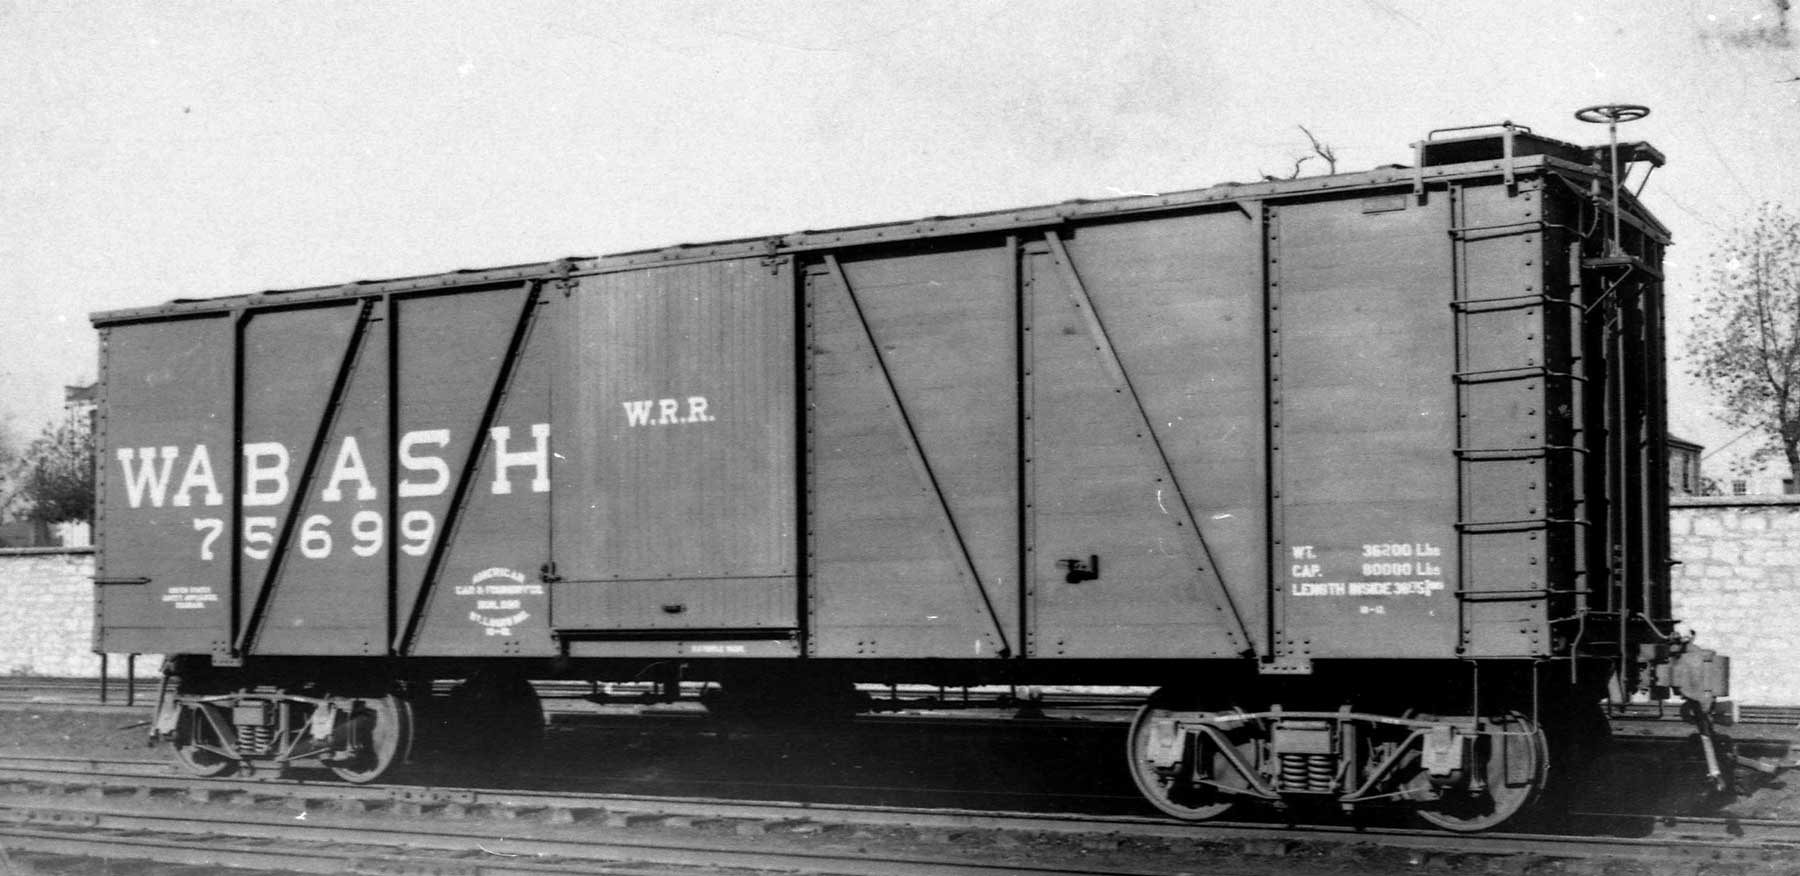
Resin Car Works blog manager Eric Hansmann has been working on replacement boxcar roofs. Here are his notes.
I model the mid-1920s and have benefited from recent Accurail models of the Fowler boxcar and the 36-foot double-sheathed boxcars. Several have been added to my fleet with detail upgrades but some of the Fowler models need a metal roof to reflect the prototypes. I thought I’d build a few Murphy XLA roofs for the models.

I set out to build a metal roof using 0.020-inch sheet styrene. I drew parameters for three roofs side-by-side on the styrene then marked the seam cap locations. This portion was cut from the larger styrene sheet. Scale 1×4 strip styrene was glued into place on each seam cap location and across all three roofs.
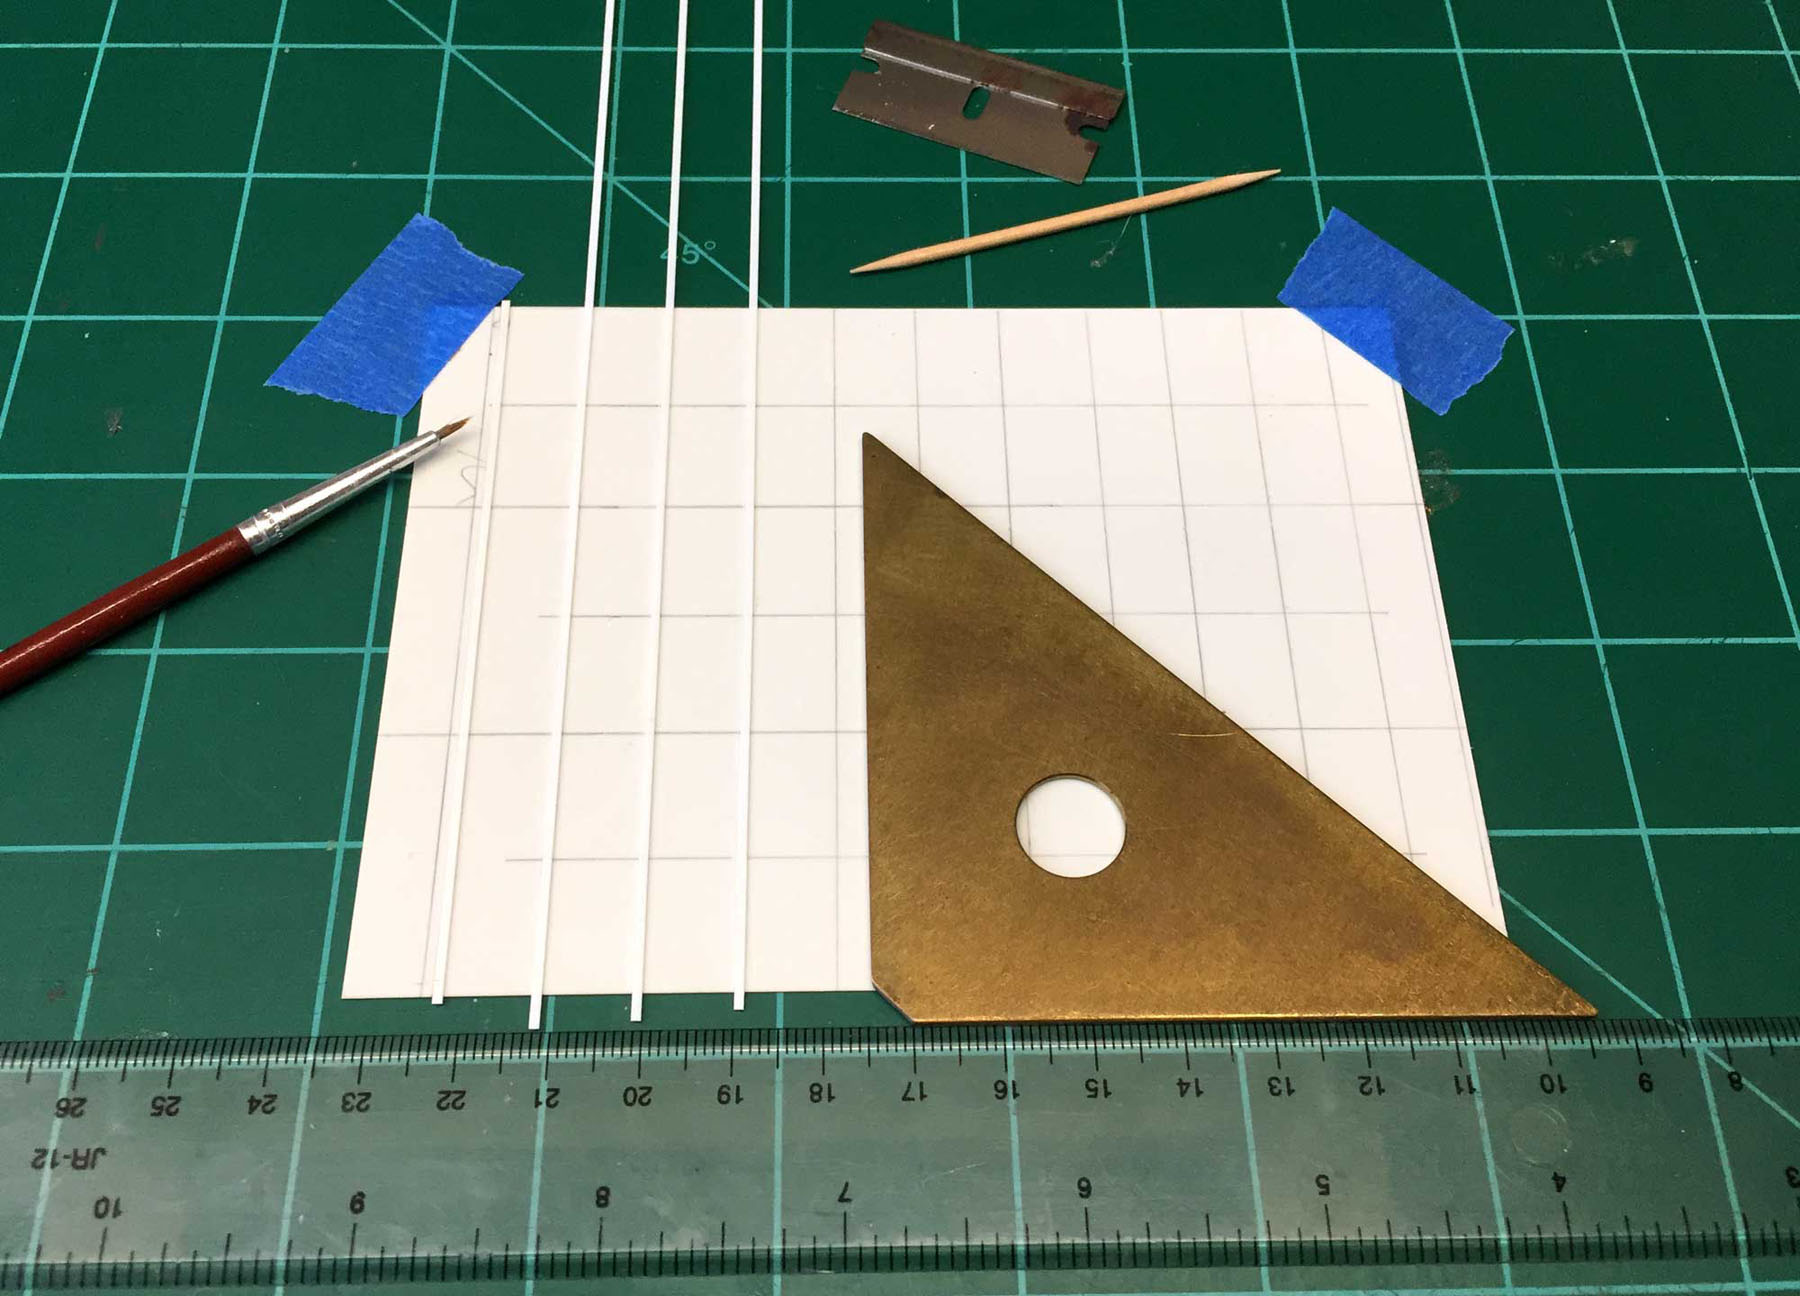
One roof was cut from the work sheet. A couple of scores with the razor blade down the middle of the roof enabled to part to bend at the score but not break. This was placed onto a Fowler carbody to check the fit.
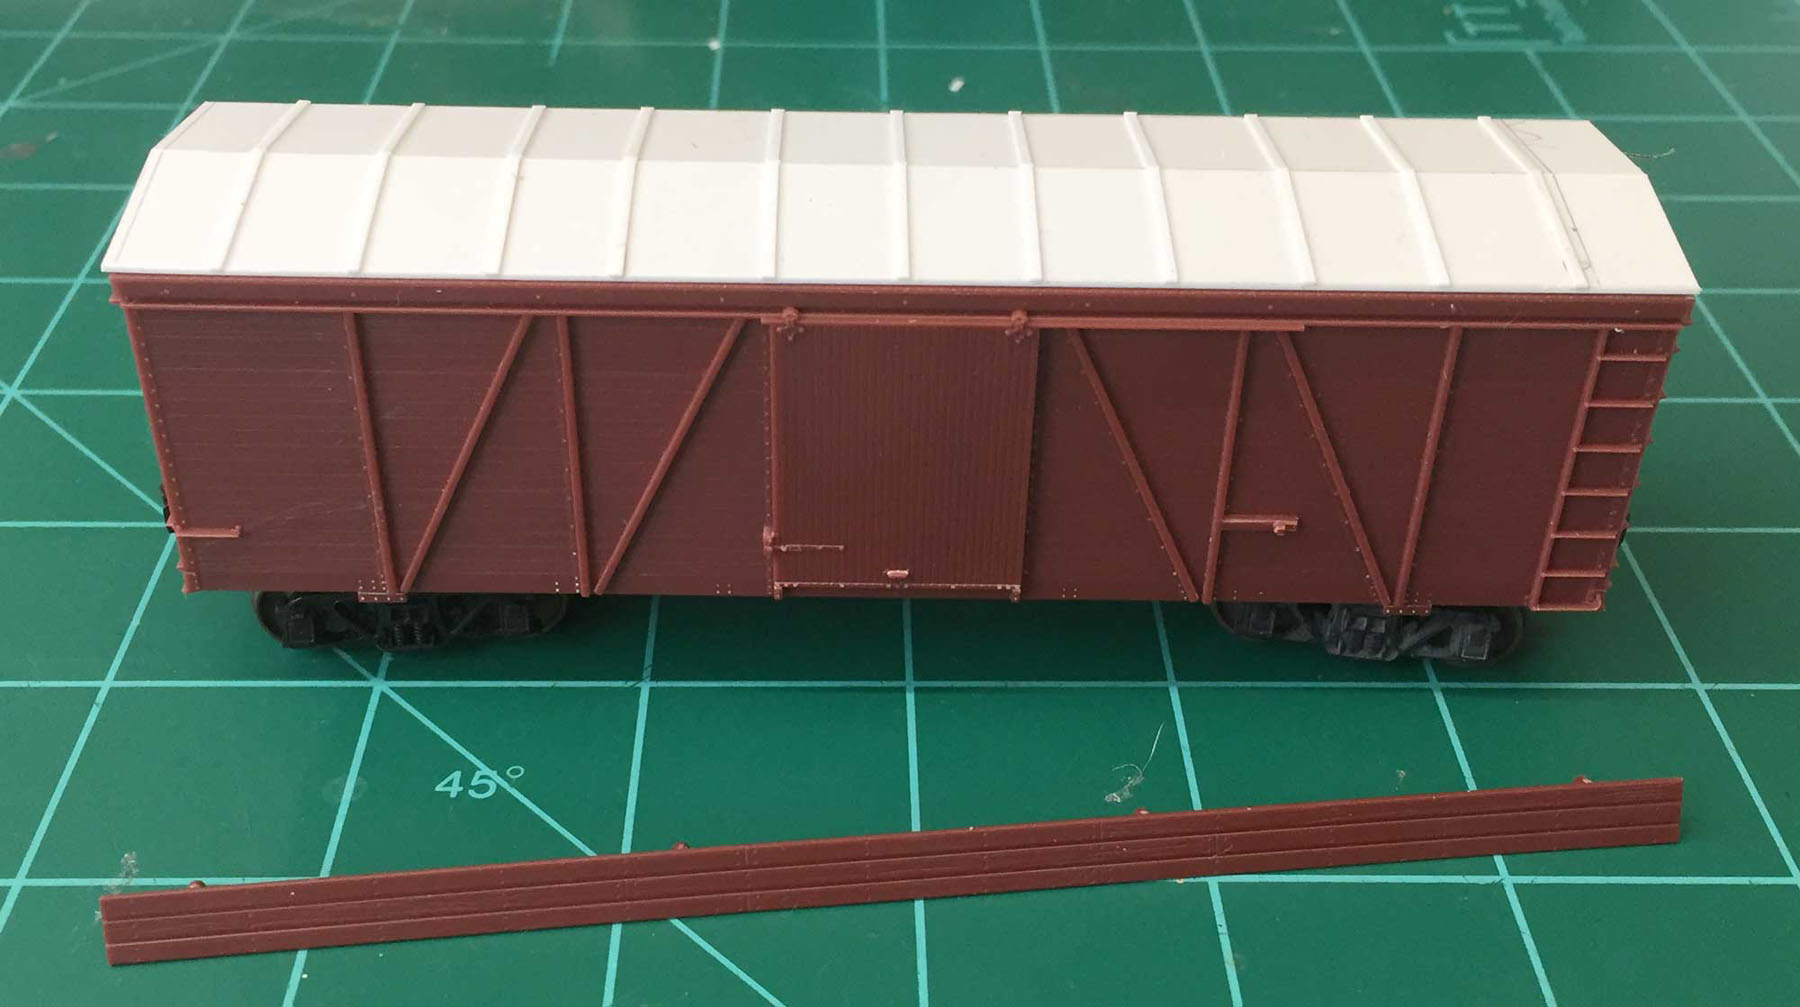
At this point I was excited about the results. Several prototype images were reviewed in order to check on additional details. Unfortunately, I found very few Fowler design cars with a Murphy roof.

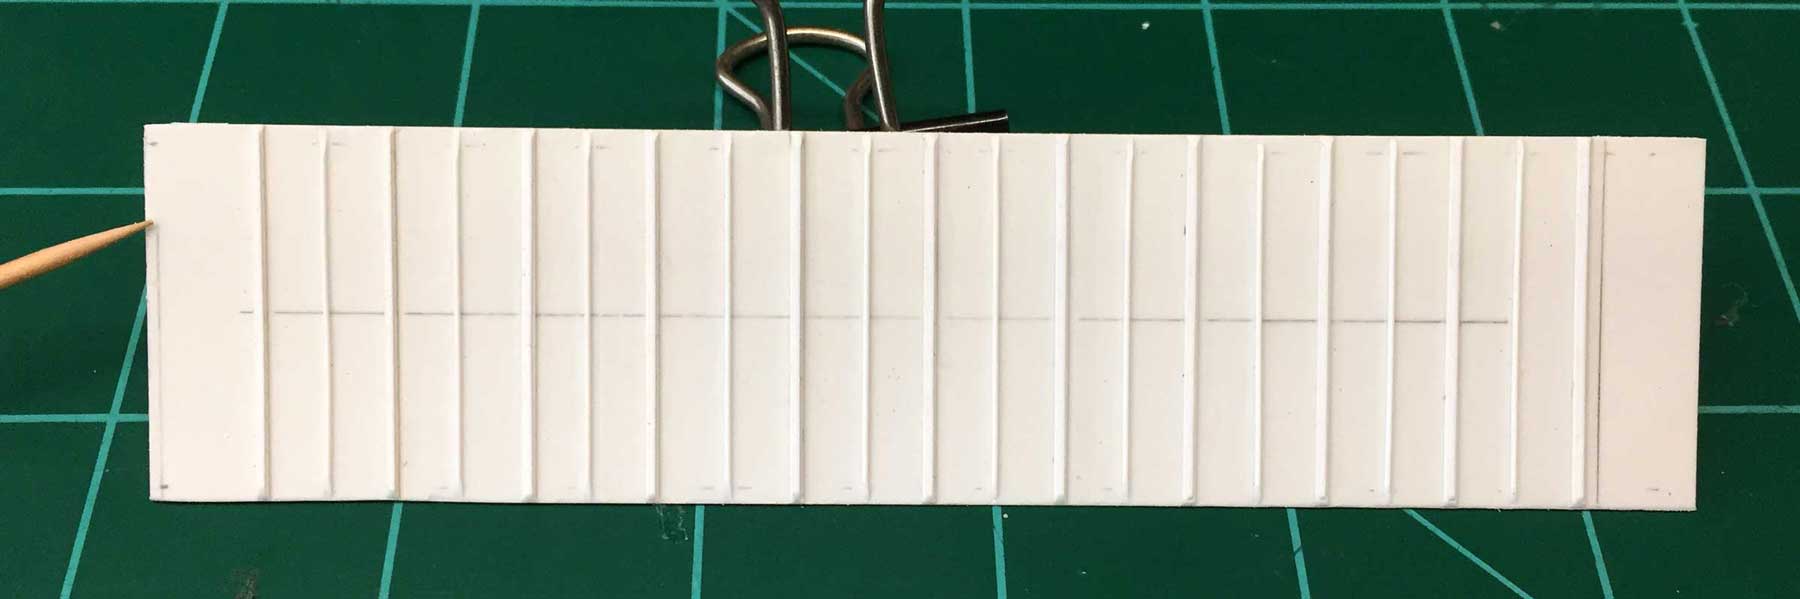
Many seemed to have a Hutchins roof with different seam caps and an intermediate rib in the roof panel between seam caps. I had two roofs on one styrene sheet with the seam caps installed so these were modified to become Hutchins roofs.
A scribe was made at the midpoint between each of the seam caps across both roofs. This was widened slightly for 0.5-mm styrene rod to sit in the roof surface. Once these scribes were wide enough, the styrene rod was glued into place. The Hutchins seam caps are slightly taller and seem to have a narrow cap. 2×2 styrene was carefully centered and glued on each of the seam caps to represent the Hutchins look. Once all was dry, the roofs were separated.
I still need to represent the bolt attachment near the end of the Hutchins seam caps. I think I’ll do this using a cut off hypodermic needle and impress a small circle near the end of the seam caps to represent a sunken bolt.
The project is on hold for now as it seems prototype roofs differed in the number of seam caps. My roof models have eleven seam caps. In prototype images where a steel roof can be seen, seam cap counts have totaled ten, eleven, or twelve. While this is a bit frustrating, I have found the process of scratchbuilding these roofs to be easier than expected. These techniques can also be used to create a new roof for 40- and 50-foot cars.
Questions and comments can be posted below. Please follow the instructions so your comment can be posted. All comments are reviewed and approved before they appear. To subscribe to this blog, enter your info for a comment and check the last box to notify of new posts by email. Share the blog link with other model railroaders.
You don’t necessarily need to sand off all details. You can laminate a piece of .10 styrene sheet on top of the existing Accurail and this gives you a nice flat roof to start with. You can then add styrene shapes as needed to get the required look. I’m building a NKP MOW Fowler that had a flat roof similar to rider cars and cabooses,… so mine was easy. I do love your method for laying out the roof ribs. Great work as usual Eric!
Hi and thanks for producing a great blog and line of kits. Although I’m in S scale your lead is an inspiration to us. On the subject of roofs on Fowlers, it appears the C&NW and CM&O favored metal roofs with wood covering. I have a picture of CMO car 3233X freshly painted at Proviso Yard Chicago taken by Jack Delano in WW2 that shows the tightly mated tongue and groove wood sheathing of this Murphy roof. Here is some text from Richard Bale’s MRH December 2016 article on roofs that somewhat validates my wood sheathing deduction:
By the beginning of the 20th century, there were four general types of freight car roofs in use. They included: Double layer of wood boards Inside layer of boards covered with sheet metal panels Sheet metal panels protected with an outside layer of boards Inside wood roof covered with felt, tarpaper or asphalted canvas, topped by an outside roof of wood In each type mentioned, the wood is fitted tongue-and-groove, and the metal panels are free to move as the car body twists and flexes. Wood generally withstood wear from trainmen’s boots better than thin sheet metal, so what may appear to be a plain wood roof is often an outer layer of wood over an inner metal roof.
As I’m just about to final detail and paint these any alternate views appreciated.
Thanks for your comment, JC. The Accurail HO scale Fowler boxcar models have a wood board roof. Several prototypes have exterior metal roofs and that’s why this project moved forward. I wanted to have the proper roof on my NC&StL, Wabash, and TStL&W/NKP cars. After building the Murphy XLA roof, I realized all of these prototypes had Hutchins roof hardware. – Eric
Like the roof method. Thanks for sharing.
Excellent Eric, is the plan to sand down or remove the molded on roof? These would be a nice resin part.
Thanks for the comment, Bill! Yes, the model roofs will be sanded to remove all detail so these replacements can be installed. – Eric