Ed Rethwisch shared his methods of bending wire to make grab irons. Here he is with some great tips.
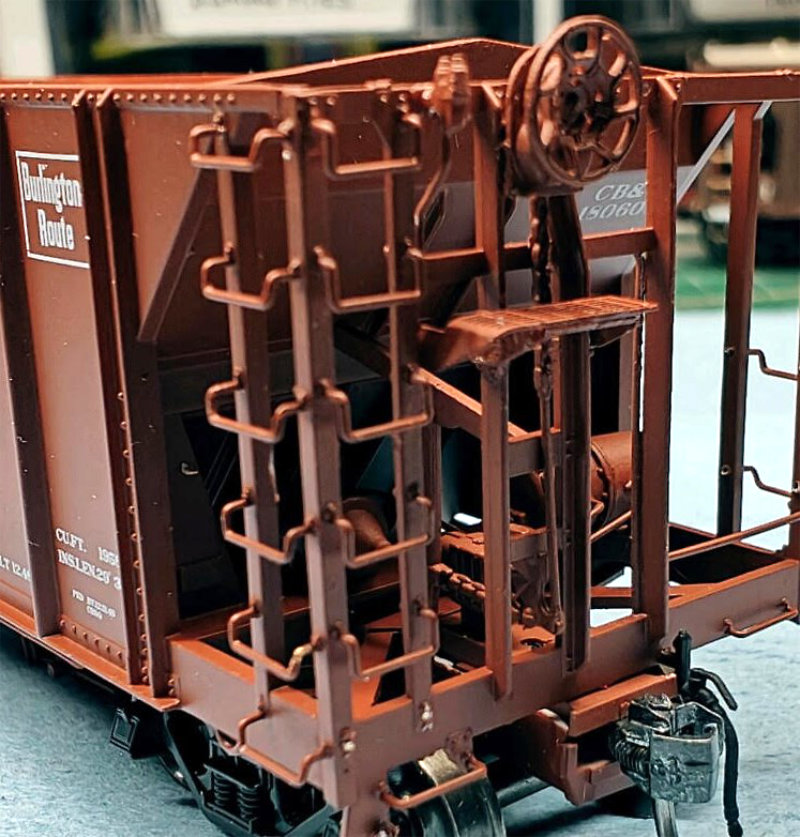
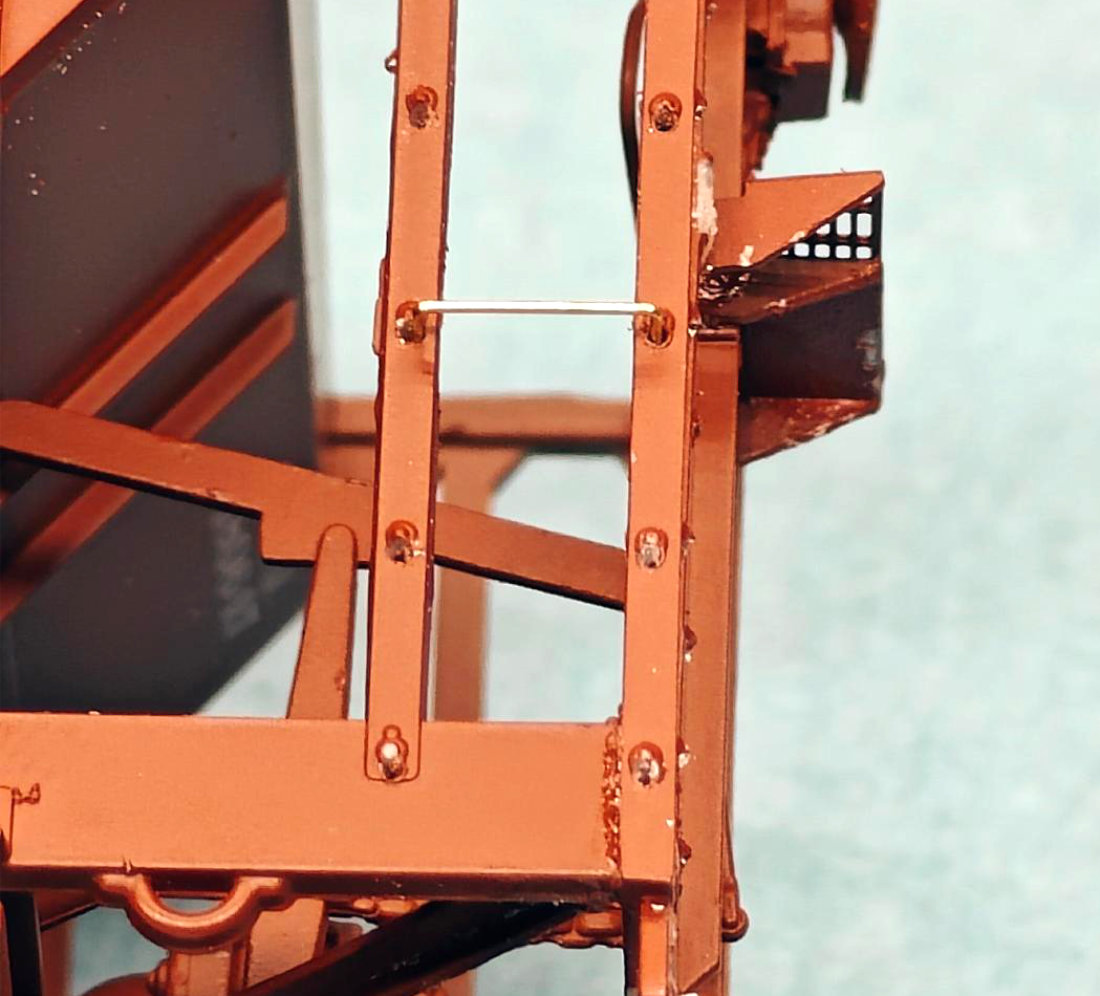
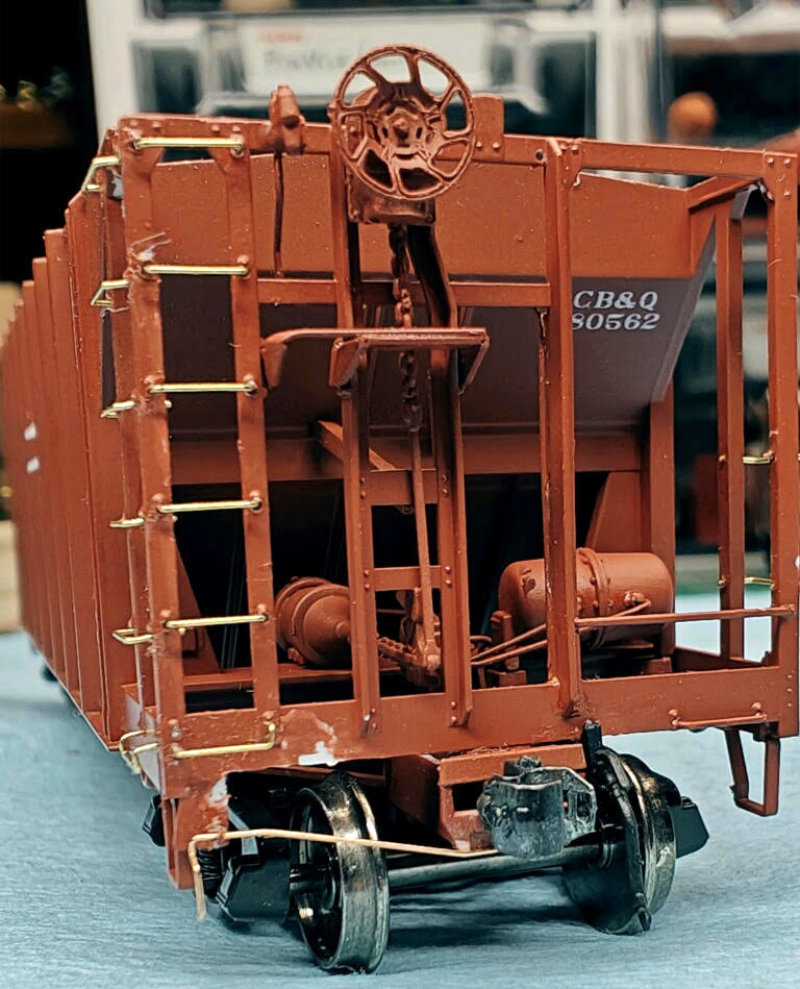
I have found over the years that many modeling projects require odd shaped or odd length grab irons. The lead photo shows a portion of an HO scale RTR Intermountain CB&Q covered hopper model that I want to upgrade.
The problem with this model is that it doesn’t reflect some prototype details. The CB&Q prototype did not have all these drop grabs, but rather had straight grabs for of all of them except the bottom grab on both the side and the end. Another issue is that the side grabs are 22-inches wide, while the end ones are 18-inches wide. Most commercially available grabs are 0.012-inch diameter wire or plastic. Using slightly smaller diameter wire makes the grabs and the models look better.
This blog post will show how I replaced these “wrong” grabs with the correct ones I bent myself.
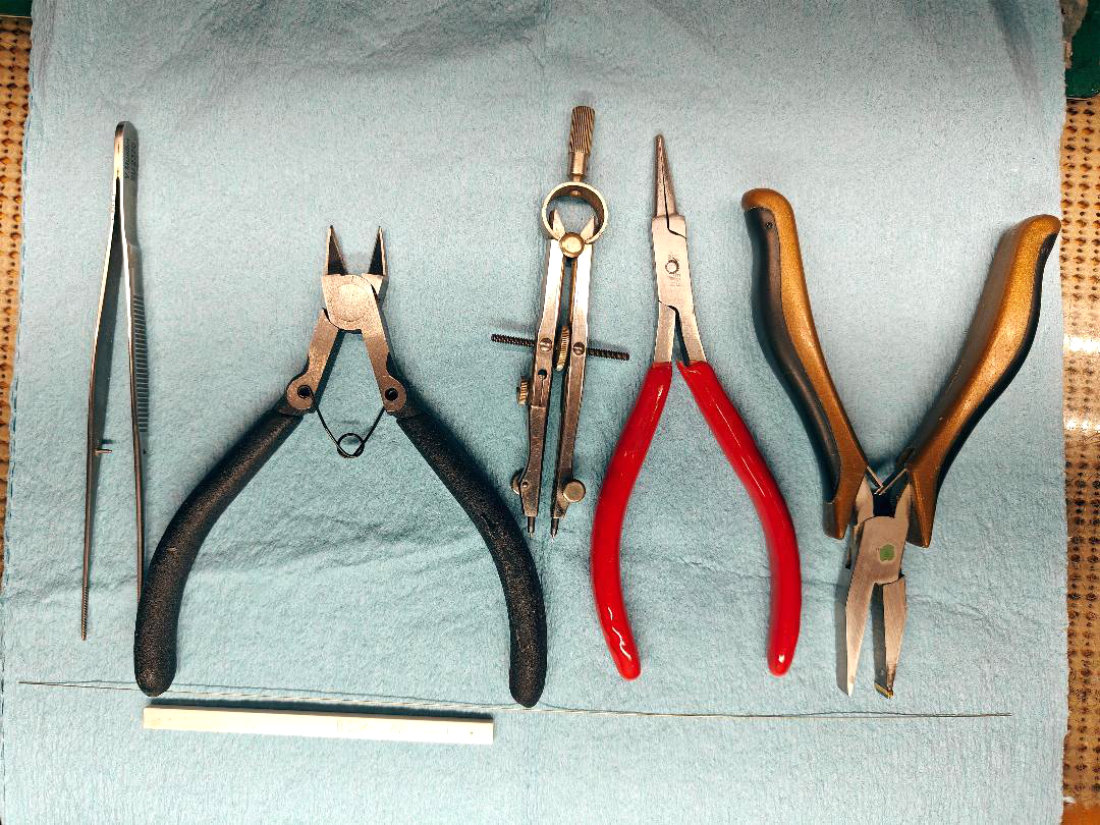
Tools necessary include narrow tip tweezers, wire cutters, dividers, thin nosed pliers, and modified flat nose pliers. Also, needed will be a strip of styrene (approximately 0.125 x 0.125-inch) and a length of brass wire (either 0.008 or 0.010-inch).
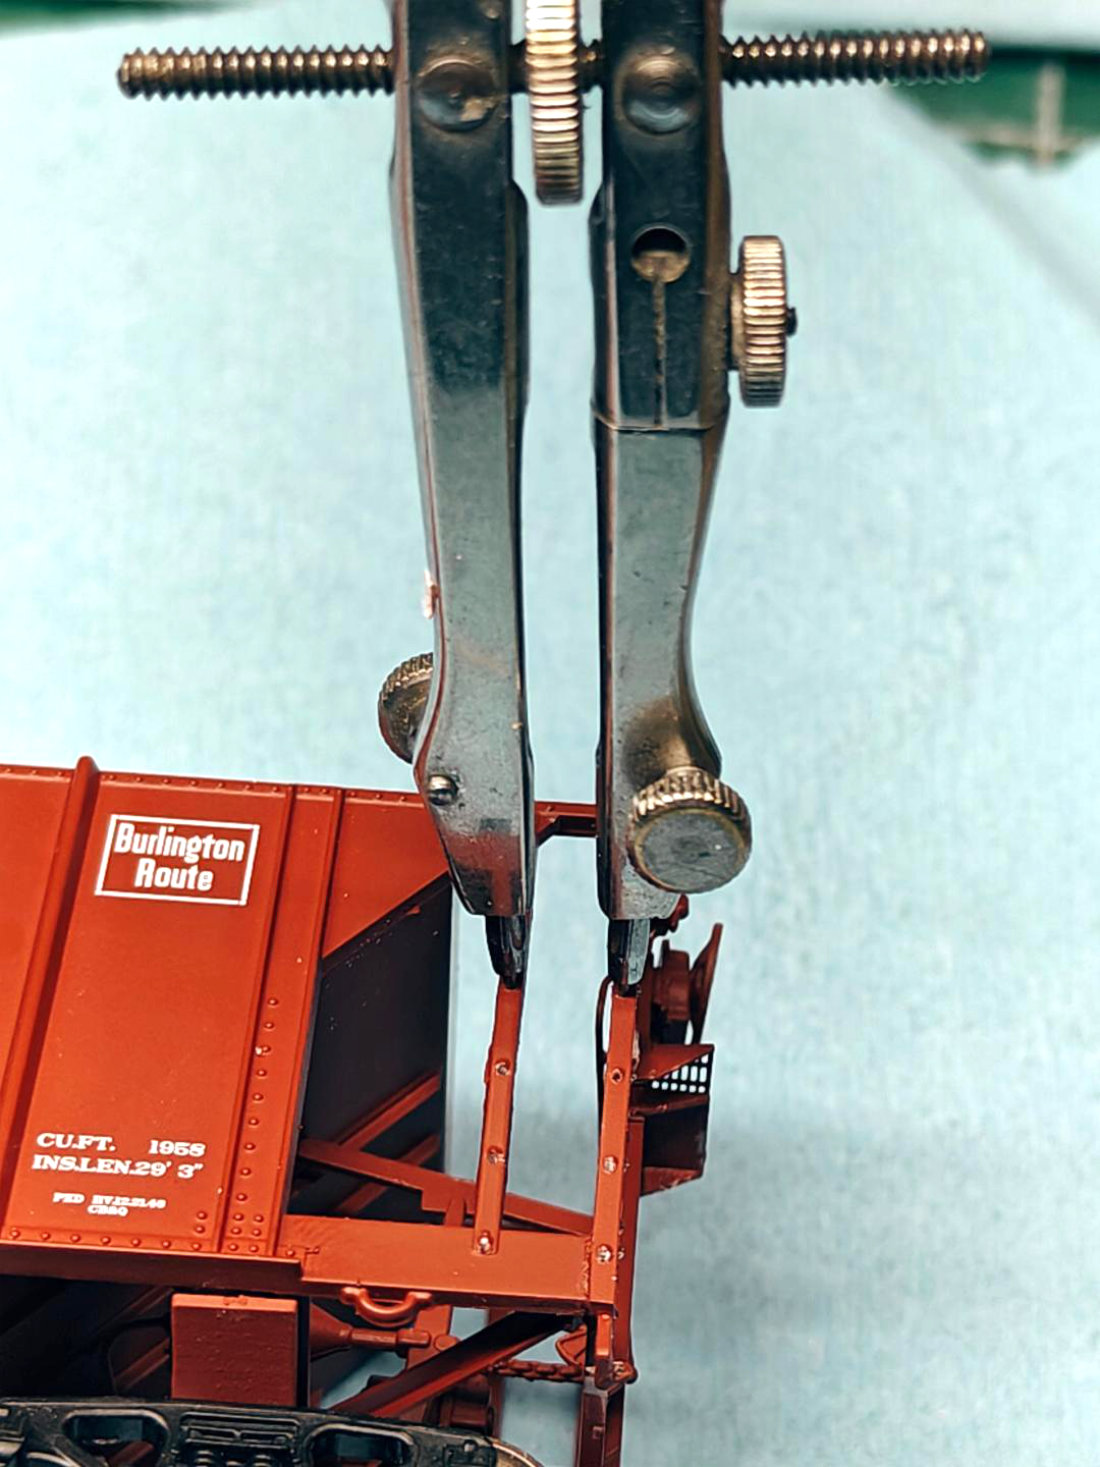
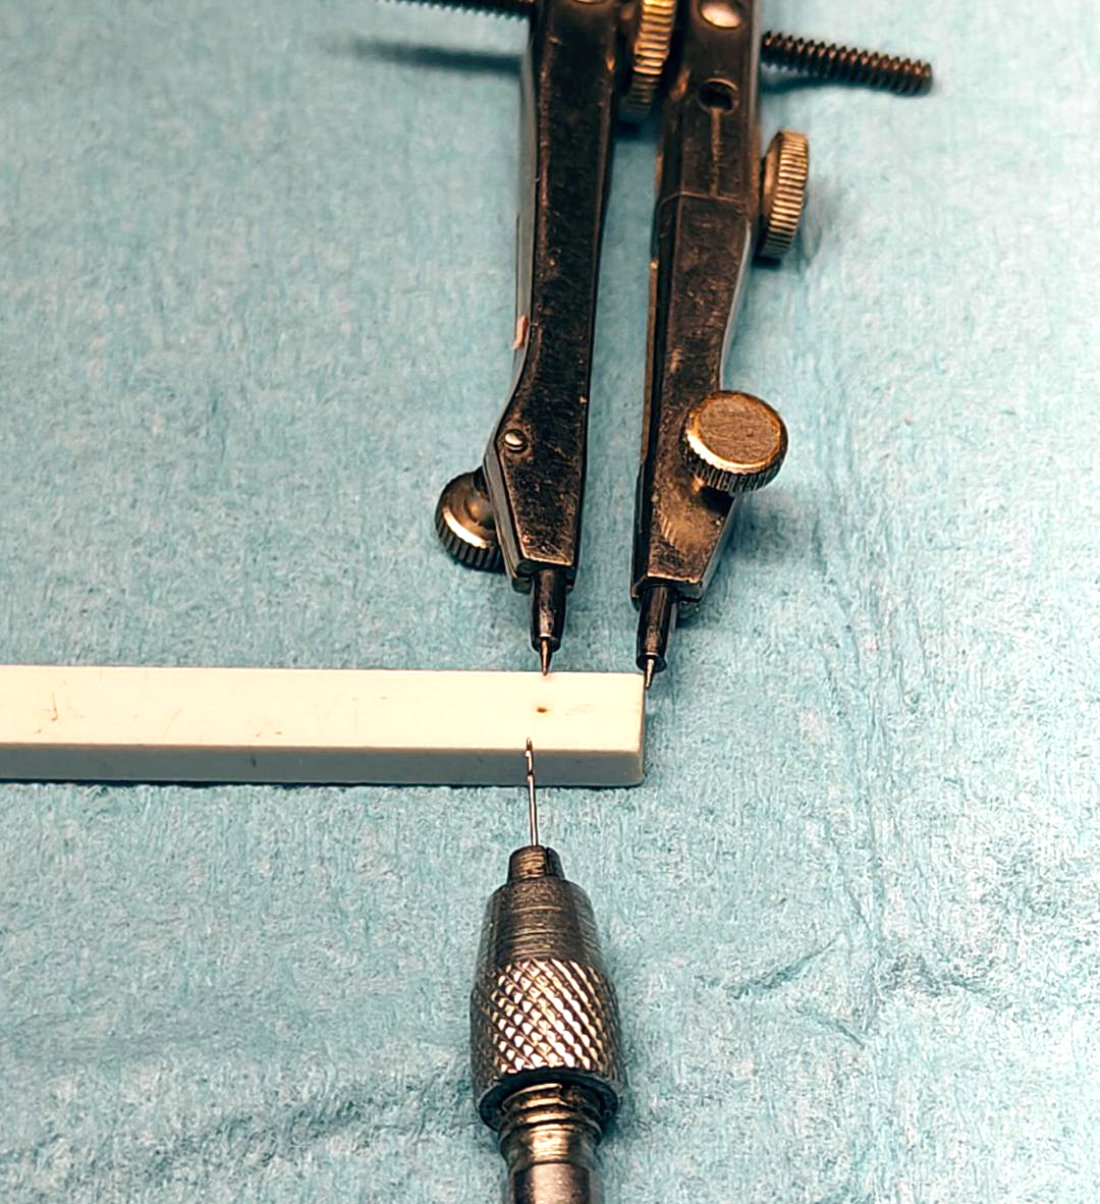
The cast on grabs were removed from the car. The dividers are then used to determine the width of the needed replacement grab irons. Hole to hole for this model is 22 scale inches wide.
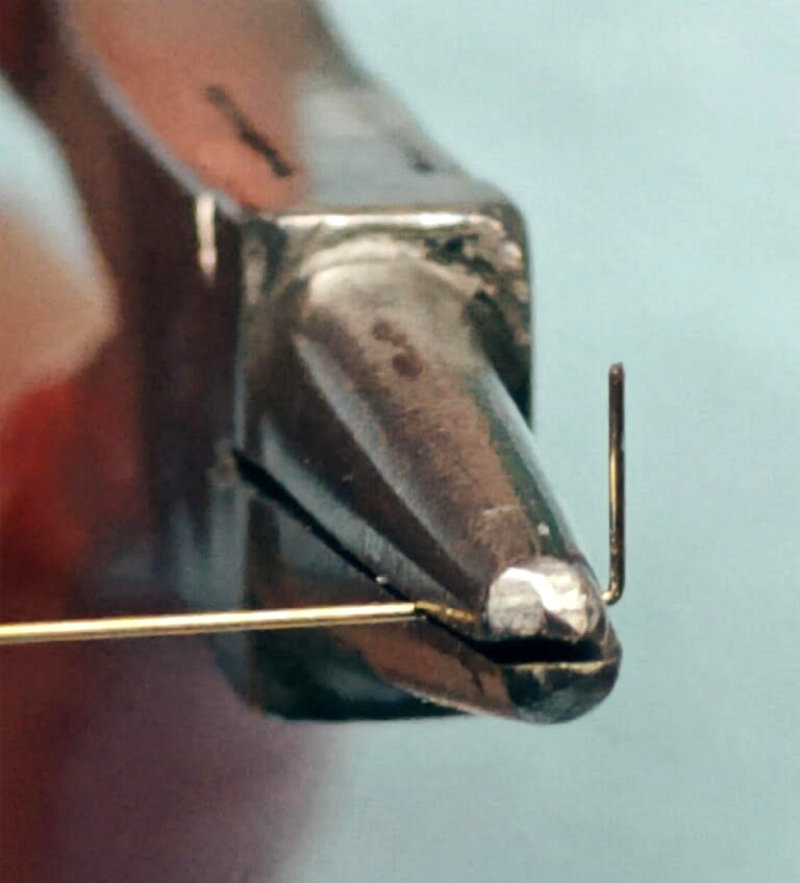
The first step in replacing the cast on grabs is to create a 90-degree bend in a piece of brass wire (again, either 0.008 or 0.010-inch). This was done by clasping the wire in the narrow pliers and rolling over the end with the head of the tweezers.
Any method you choose to do this is fine as long as it creates a true 90-degree bend time after time.
A bending jig is created on the styrene strip by using the divider measurement and drilling a #80 hole the distance of the grab iron length from the end.
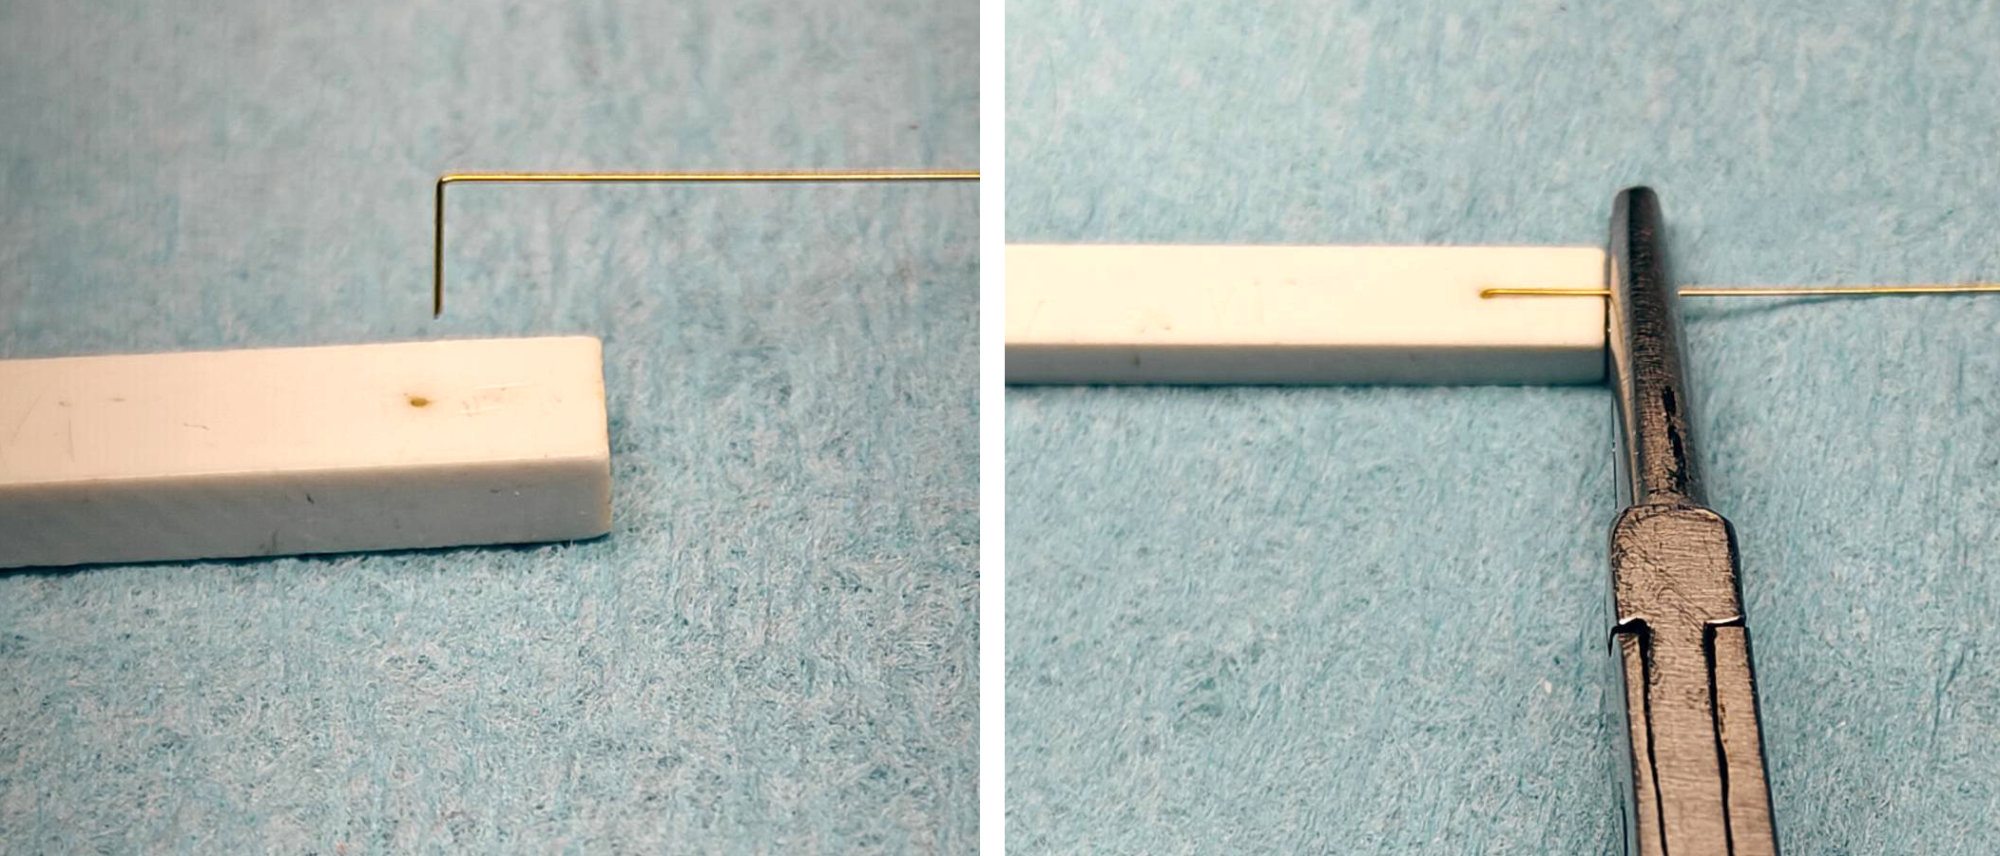
Next, the pre-bent leg is inserted into the bending jig. Grasp the wire with your pliers tight against the jig and remove it from the jig.
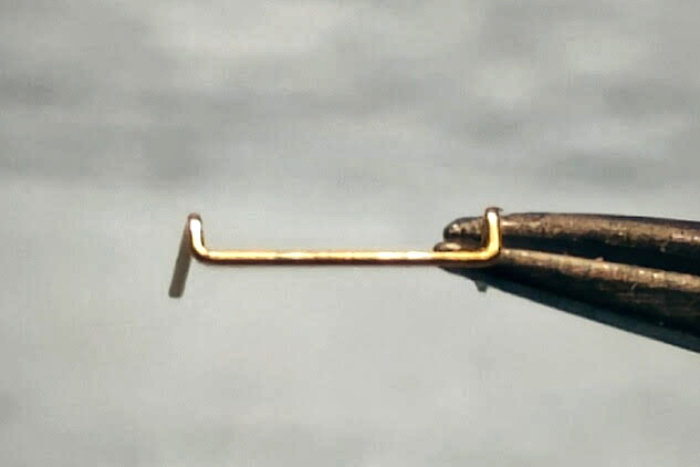
The left photo shows the wire ready to make the second 90-degree bend. Using the tweezers again, roll across the jaws of the pliers and create the second 90-degree.
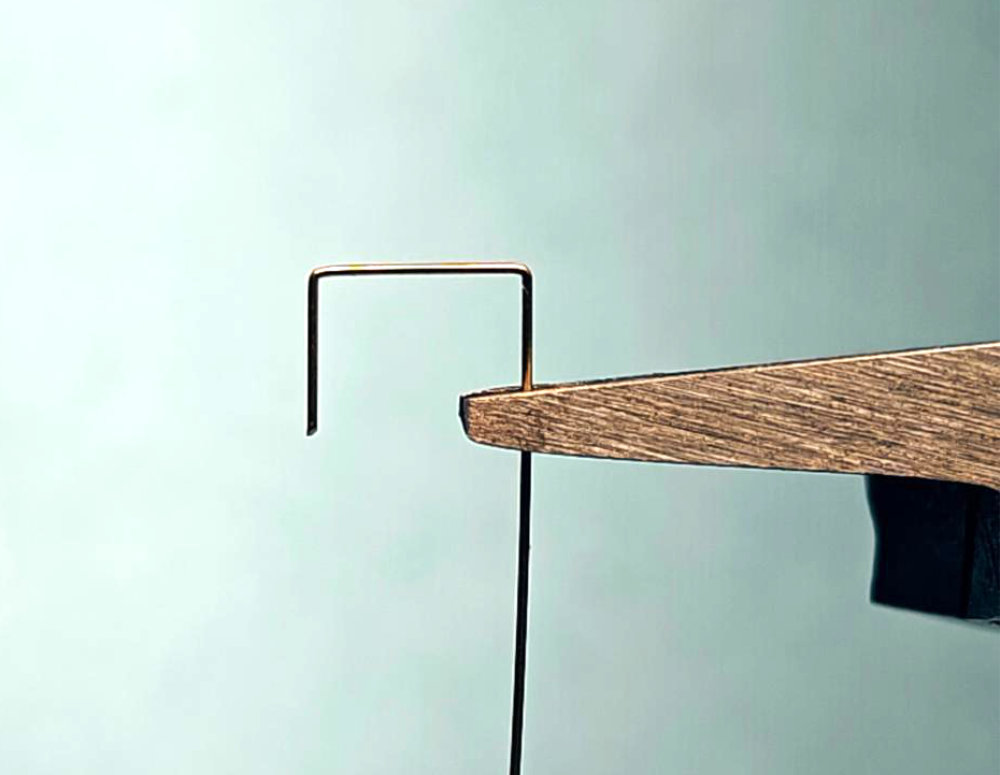
Trim the legs of the grab to the desired length for your application. Also, check to verify that the bends are truly 90-degrees.
The newly formed grab is inserted into holes that were drilled on the car. It can be glued at this time or wait until all the grabs have been added.
On cars with the need for clearance like boxcars, the space between the rung and the car side should be a minimum of two scale inches.
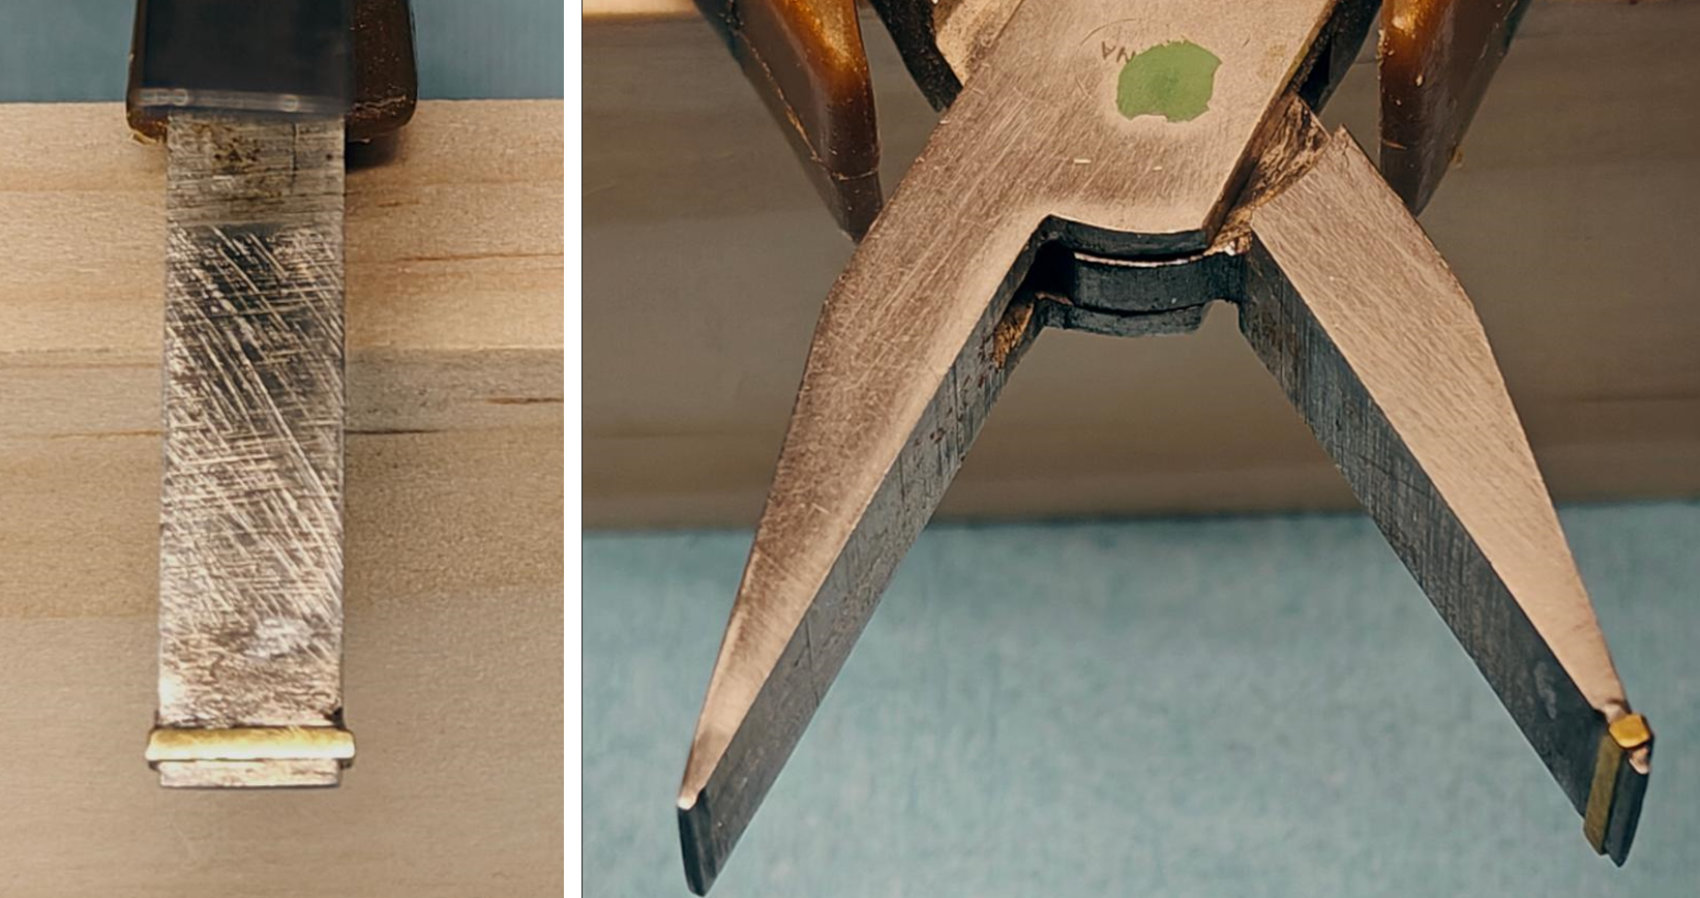
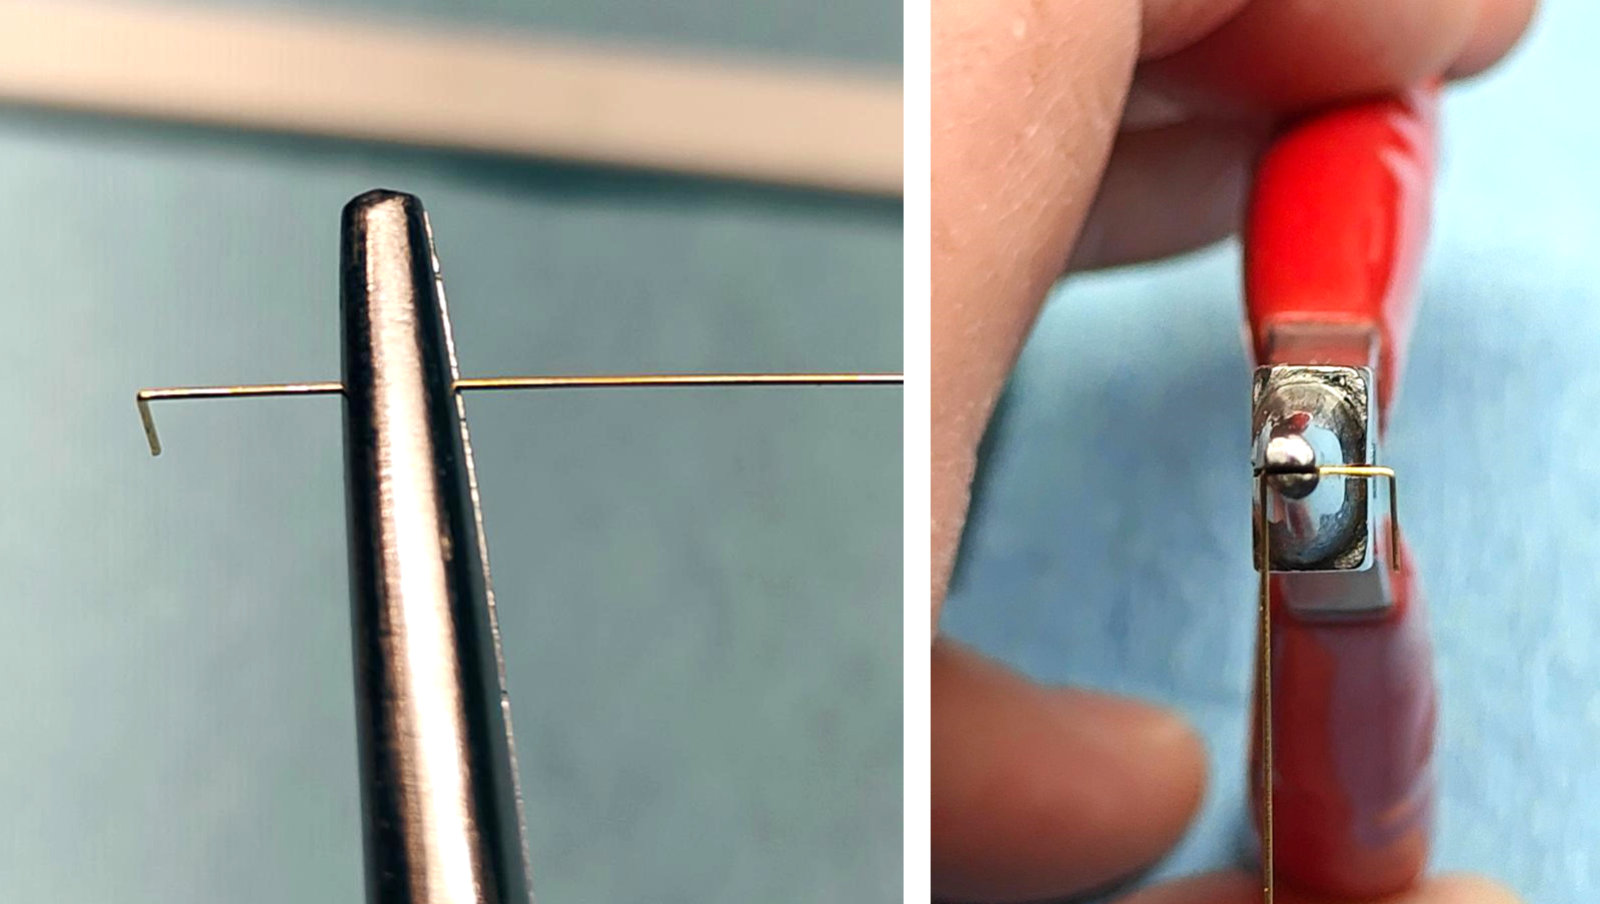
Drop grabs can also be made. I created another jig to do so. It is necessary to have a pair of flat-jawed, duck-billed pliers that have very flat and square jaws. The photo shows one of the jaws of the pliers used after it has been leveled and squared.
A small piece of brass stock (0.010 x 0.024-inch) has been bent around one of the jaws of the flat nose pliers to create a stop at 0.030-inch depth from the end of the jaw. Also, the brass stock has been filed down to a thickness of approximately 0.007-inch. This is to allow the grab iron inserted to be pinched when the jaws are closed. The brass stock piece has been soldered to one jaw; however, gluing with ACC or CA should also work.
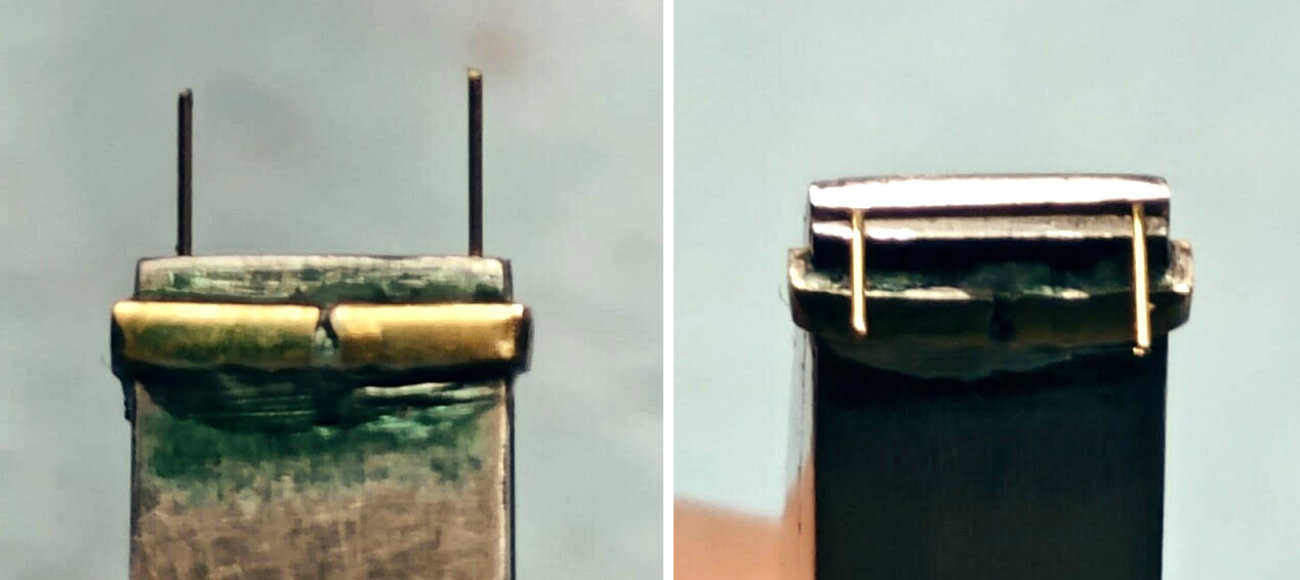
These photos show the already created straight grab inserted into the jaws of the flat nose pliers (left) and then rolling over both legs to create another set of 90-degree bends.
The finished drop grab is now ready to have the legs trimmed and be inserted into the car side.

The finished set of grabs have been installed on the car in the image above.
As the end grabs are of a different width, the dividers were again used and another hole drilled into the styrene strip at the correct distance from the end. The process is then the same for the end grabs as it was for the side grabs.
Here’s a look at the final appearance of one side and end of the car. These twelve grabs took about fifteen minutes to bend and apply to the car. Also note that the bottom grab on the end of the car is a half drop and a half straight one. That configuration is not commercially available.
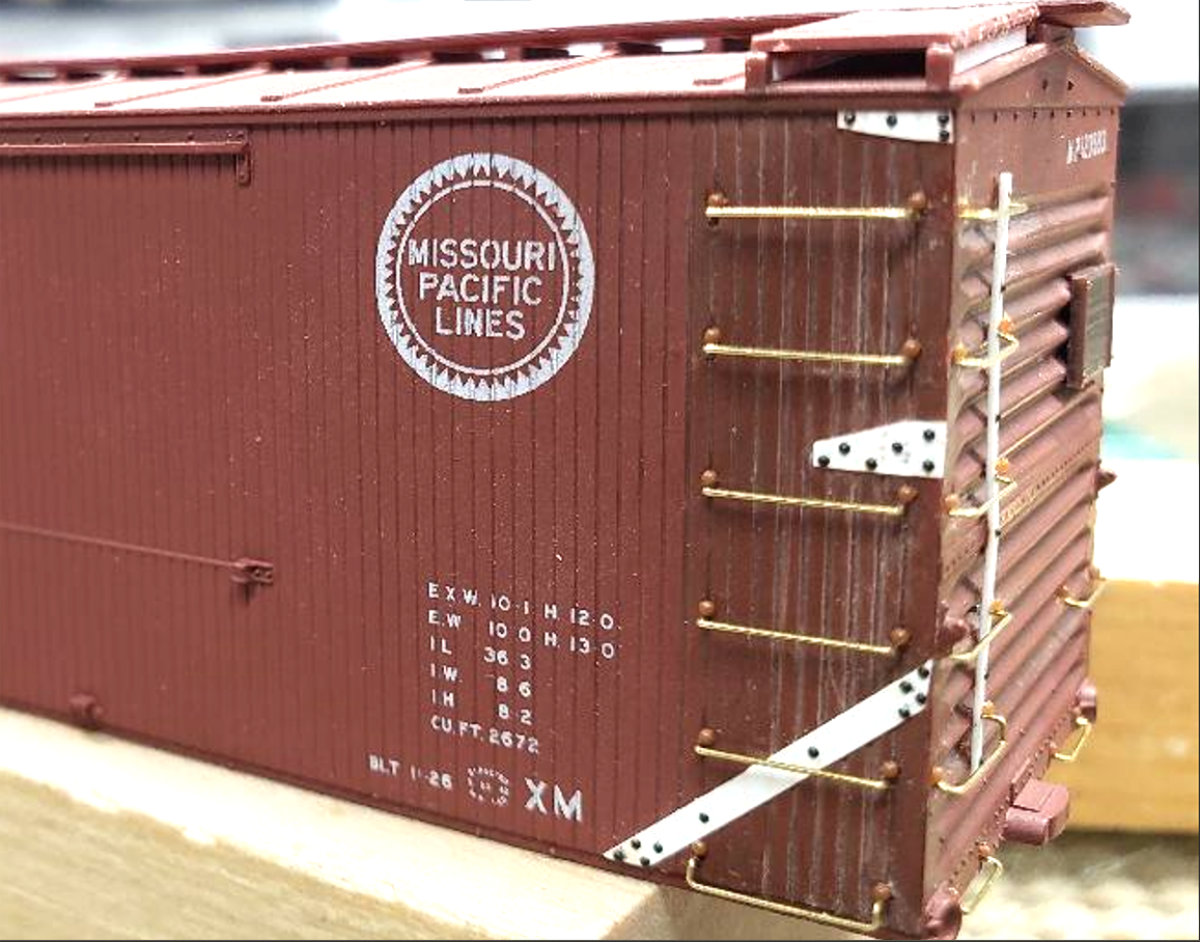
Another example of bending your own grab irons is seen on this Missouri Pacific double-sheathed box car. These very wide grabs are not commercially available. They replace the molded on grabs that were removed from this Accurail car. The wider grabs reflect the MP prototype.

Here’s a final example of using grab irons grab irons you bend. This is a Funaro & Camerlengo resin kit. Unfortunately, as in many cases with rivet heads cast-on the car body, the instructions ask you to drill grab iron holes below the rivet heads. But not all the rivet heads are equally spaced. This creates a problem when trying to apply commercially available grab irons. Some will fit and some do not. The grab irons you make will always fit.
I hope these tips help you to bend your own grabs whenever the need arises. It’s just wire and if it doesn’t fit, you have plenty more to use for the next one.
Thank you, Ed Rethwisch, for sharing some great tips and techniques for bending grab irons. We hope this inspires modelers to upgrade models and make wire details that follow prototypes.
Subscribe to the Resin Car Works blog so you don’t miss a new model announcement. Add your email address to the Subscribe function at the bottom of the page.
Questions and comments can be posted below. Please follow the instructions so your comment can be posted. All comments are reviewed and approved before they appear. Share the blog link with other model railroaders.
Great information to add to the grab bag of cool tricks. Thank you, Edward.
Great info but have one question/suggestion.
Why not just make the second 90 degree bend while the wire is still in the plastic fixture instead of using the pliers? It would seem that this would remove one step that could induce an error if anything slipped in the grip in the pliers?
Jigs are best used for measurement.
If we were to use the plastic jig as a bending device, the jig would quickly deteriorate and begin to give inaccurate measurements. This could be avoided by making a jig from steel…but that would just be craziness!
Allen,
You could definitely do that but to things you would wear the bending jig out with time if using styrene and you would not get a sharp second bend on the grab that’s why I prefer to use the pliers for both bends.
Ed,
Excellent methods for bending your own grab irons. Thanks for sharing.
Definitely looks like its worth the effort. Thanks for sharing.