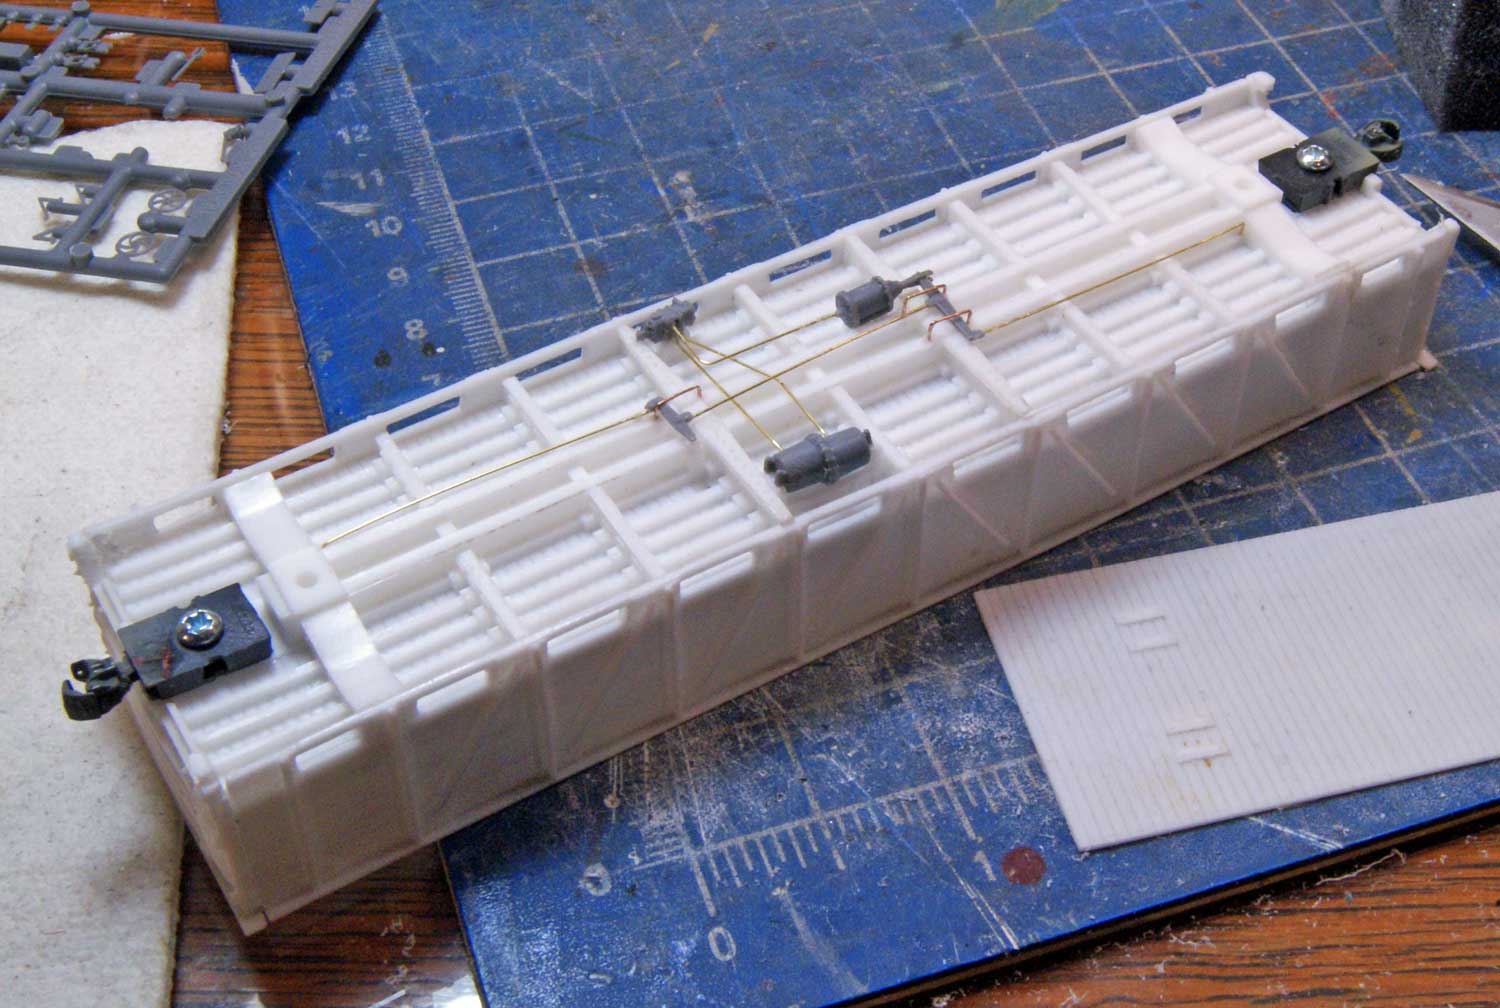
On a recent Sunday, Clark Propst posted the image seen above to the Resinfreightcars YahooGroup as he began building a Funaro & Camerlengo HO scale resin gondola kit. Over the next couple of days, other modelers shared images of their work on the same kit. It was great to see how people finished their kit as Clark shared more progress photos.
The conversations on the email group noted several railroads that used the same car design and the photographs illustrated this variation on a theme. Here are the images that were shared.
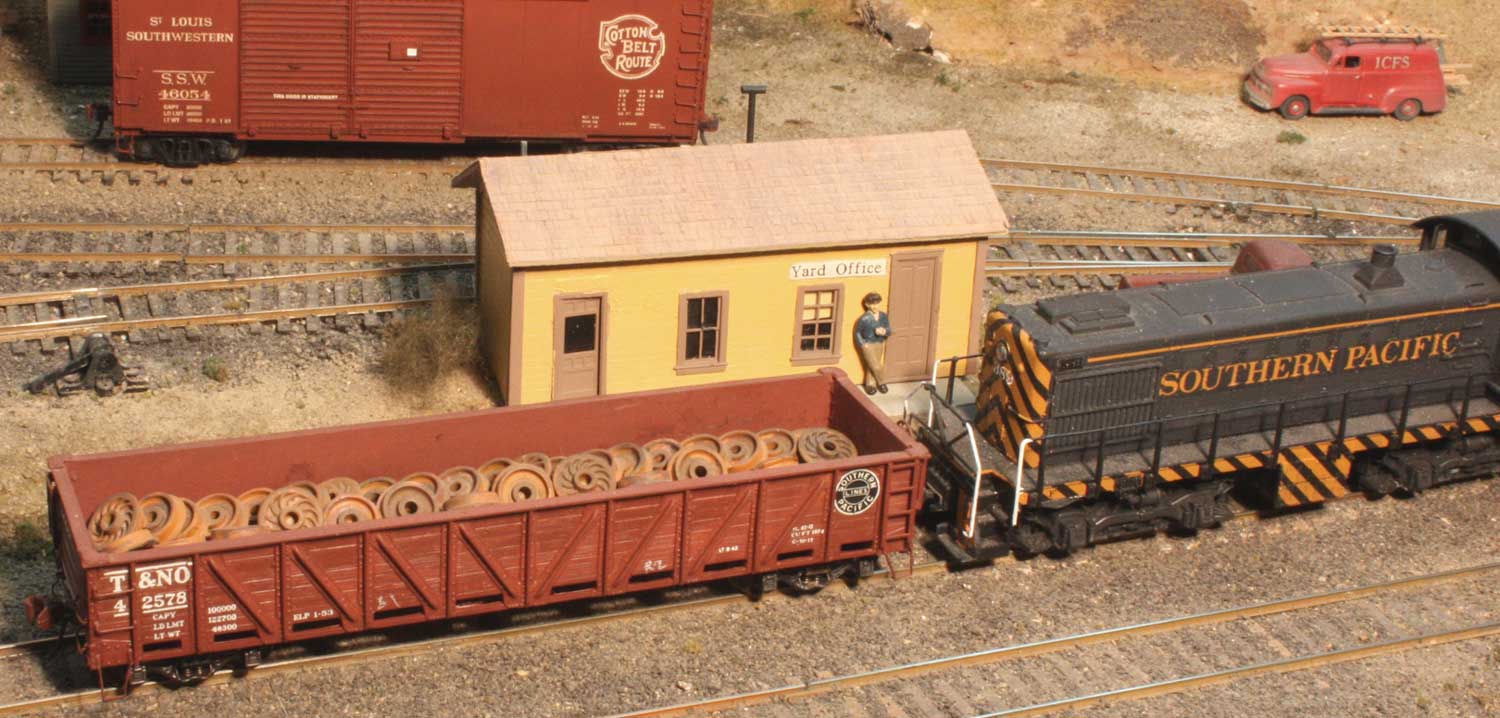
Tony Thompson detailed his model for a Texas & New Orleans Class G-50-17 gondola, with a load of new car wheels.
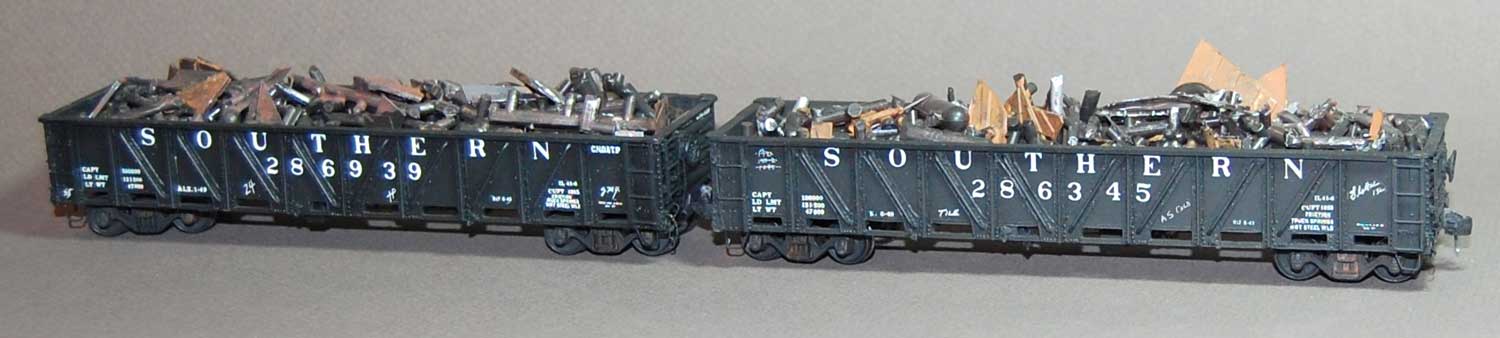
Southern Railway modeler Fenton Wells has built a couple of these gondolas, complete with scrap loads.

Jim Kubanick built his kit in 1992 and followed the instructions to detail the model for an Atlantic Coast Line prototype. Jim used a pair of Stewart trucks and added a JWD pipe load. The model was painted with Scalecoat Engine Black and weathered with Floquil Grime and pastel chalks.

Here’s another Wabash version built by Nelson Moyer. Some very fine brake system detail can be seen along the bottom sill of the model.
Clark kept the group updated with regular progress reports on his gondola kit.
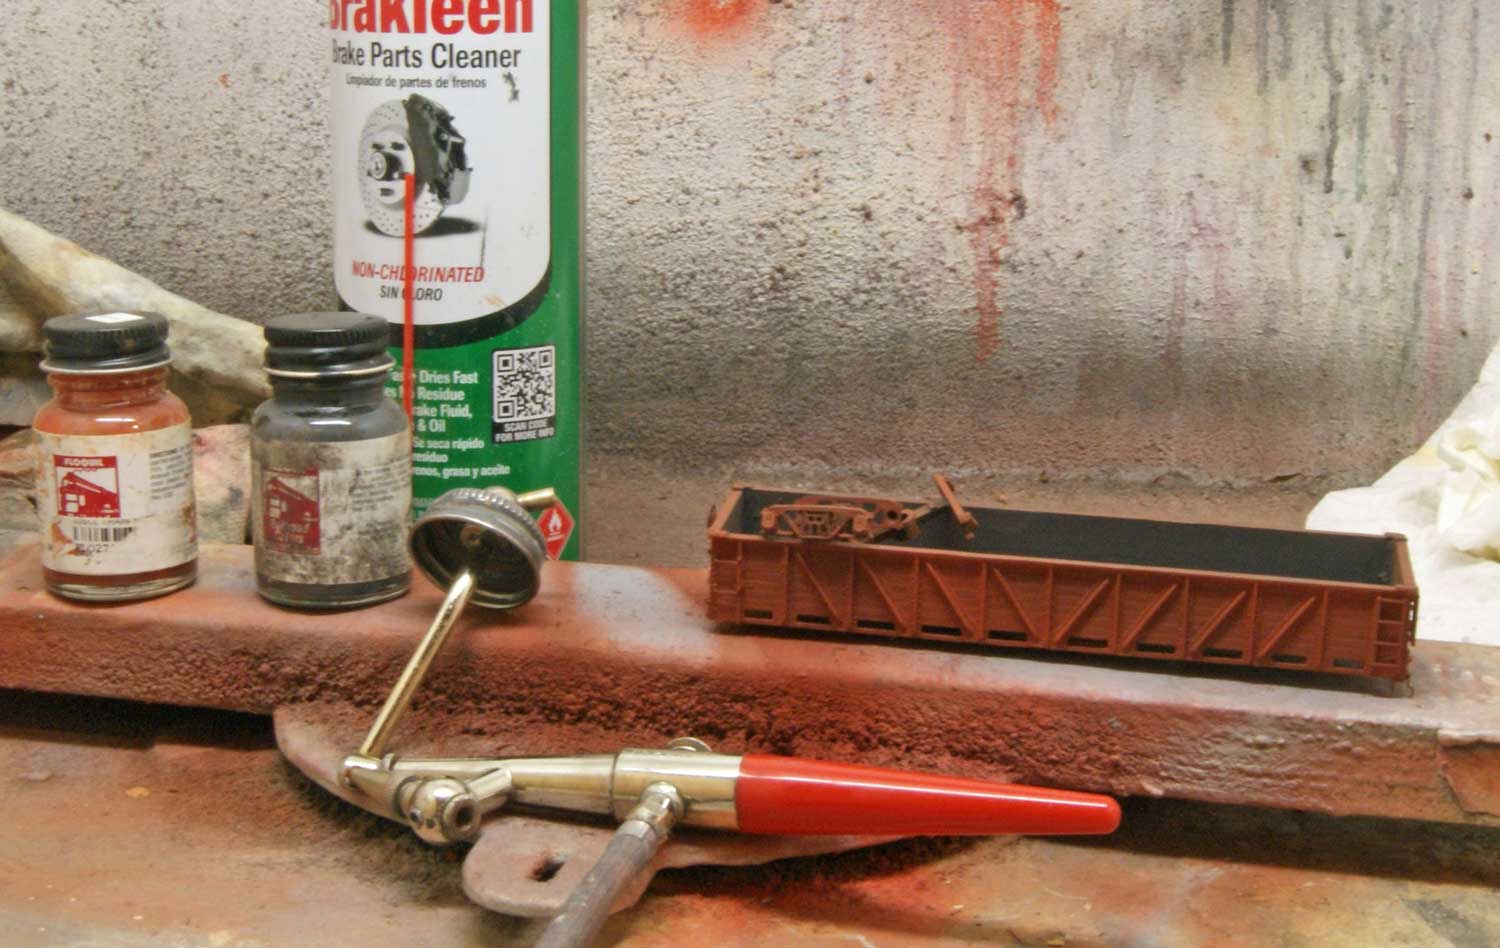
Clark used a Paasche H3 airbrush to paint his gondola. The underside of the gondola is painted first with Oxide Red. He then flipped the car over to paint the inside surfaces Grimy Black. Clark switched back to the Oxide Red without cleaning out the black to paint the outside of the car. Some of the paint is darker because of the Grimy Black residue in the air brush.
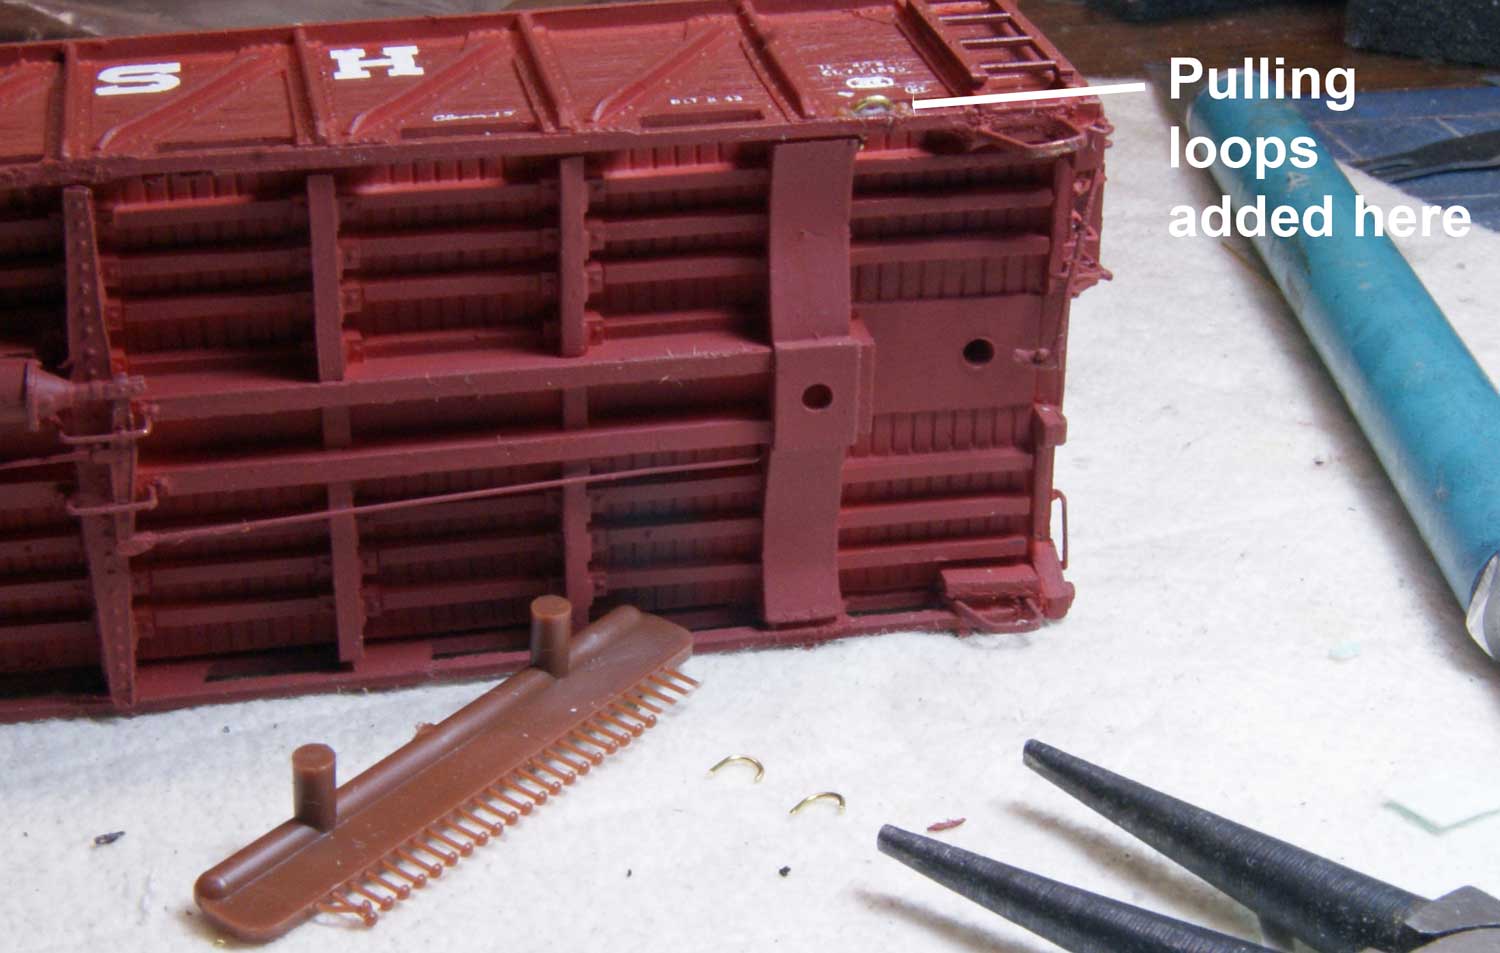
After painting the car, Clark noticed a detail he wanted to add. Many freight cars have attachment points for a winch to pull the car short distances at industries. Clark decided to add these pulling loops after the paint dried. These are an easy detail addition. He bent some wire in the shape of a J, drilled one hole in the frame, glued the wire in place with the long stem of the J in the hole, and then glued a Tichy Train Group rivet head on either side. Done!

Two days after Clark shared the first image, the finished car was photographed on his new layout. But it wasn’t quite done for Clark.
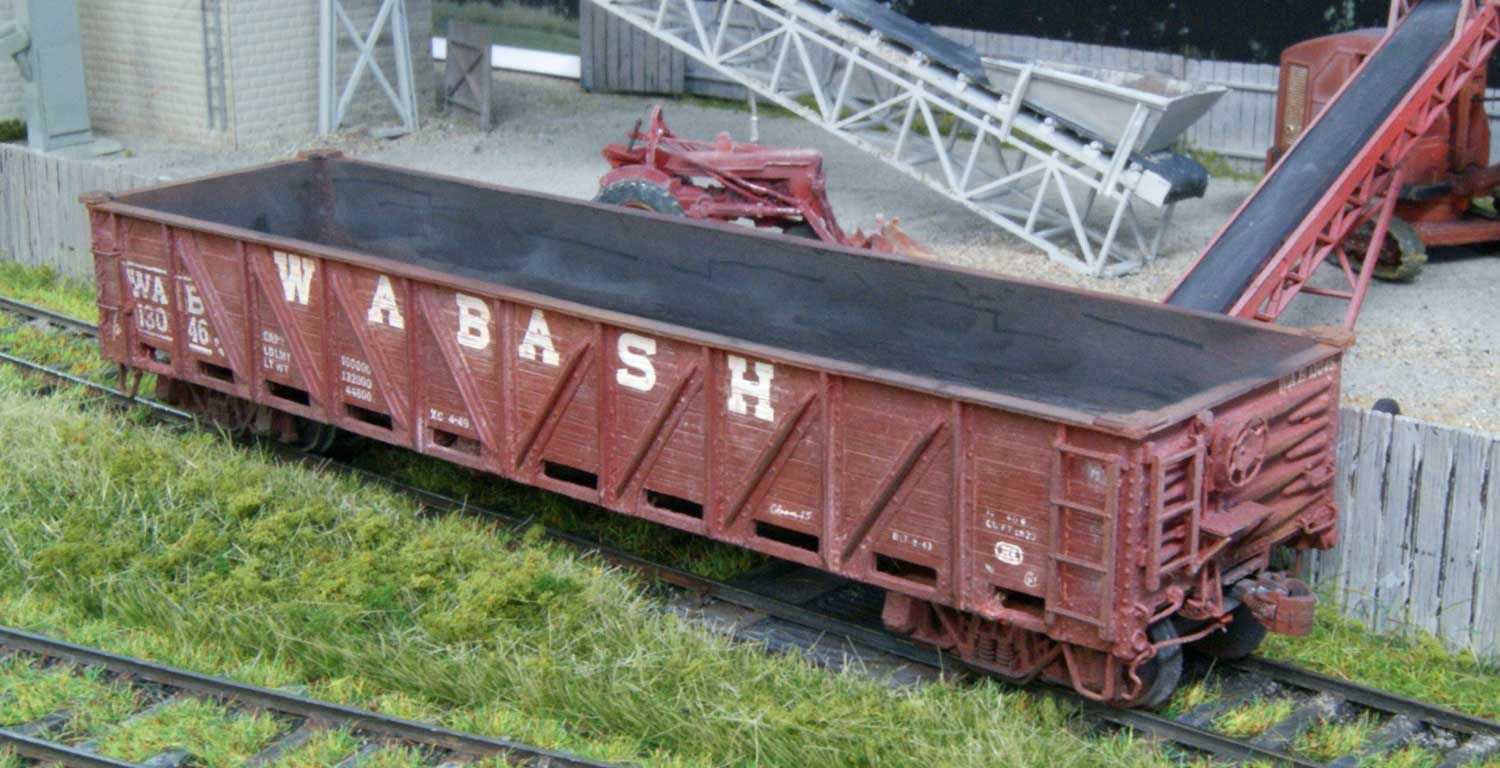
Clark rolled his model through a few different weathering steps with airbrushed paint and PanPastel Colors. A fine tip Sharpie marker was used to add lines between boards on the car interior.
Thanks to Clark Propst for sharing his work and inspiring others to send along images of their gondola kits. It was great to see what others have done with the same kit. Thanks to Fenton, Jim, Nelson, and Tony for contributing to this blog post. I hope readers are encouraged to open a kit box and build a new freight car model.
Questions and comments can be posted below. Please follow the instructions so your comment can be posted. All comments are reviewed and approved before they appear. To subscribe to this blog, enter your info for a comment and check the last box to notify of new posts by email. Share the blog link with other model railroaders.
What a great article on building this kit. All the various cars look great. Thanks for posting.
George Toman
Perfect timing, as I just purchased this very same kit at Collinsville/St. Louis.