George Toman returns with details on building a first resin freight car kit.
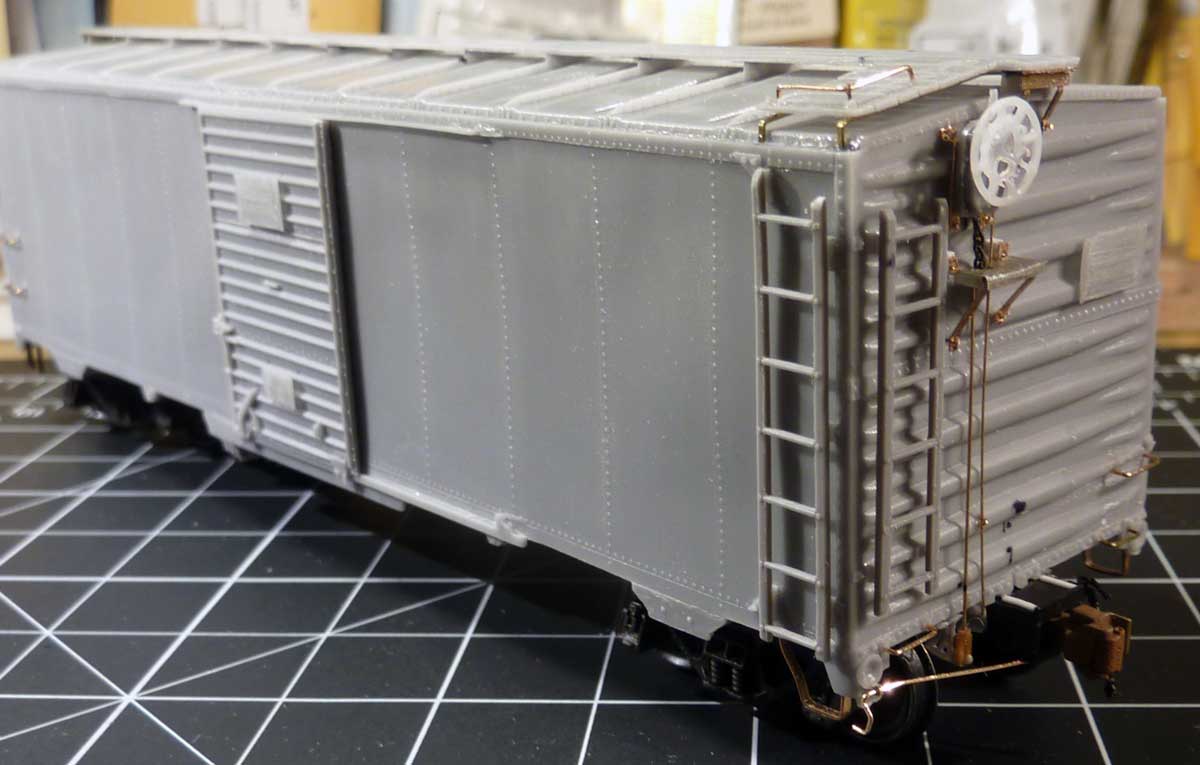
Believe it or not, this Speedwitch Media box car is my first ever resin kit build and it proved to be a very satisfying experience.
After reviewing the parts and instructions, I wanted to add detail parts to this Speedwich kit with the exception of Kadee trucks with semi-scale wheels. These included Sergent Engineering scale couplers and draft gear, Moloco air hoses, and various Yarmouth Model Works etched parts.
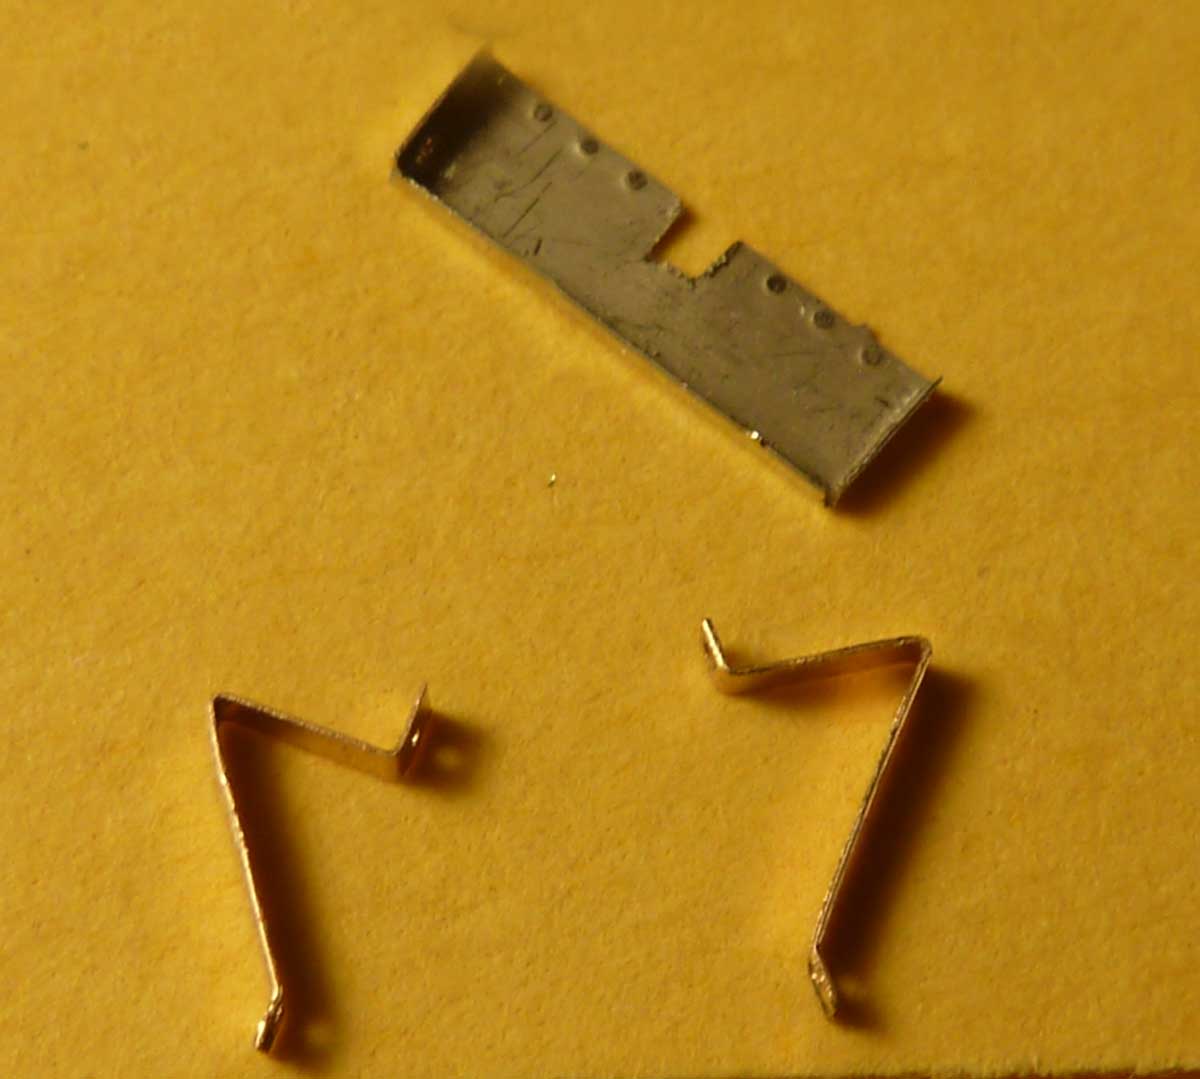
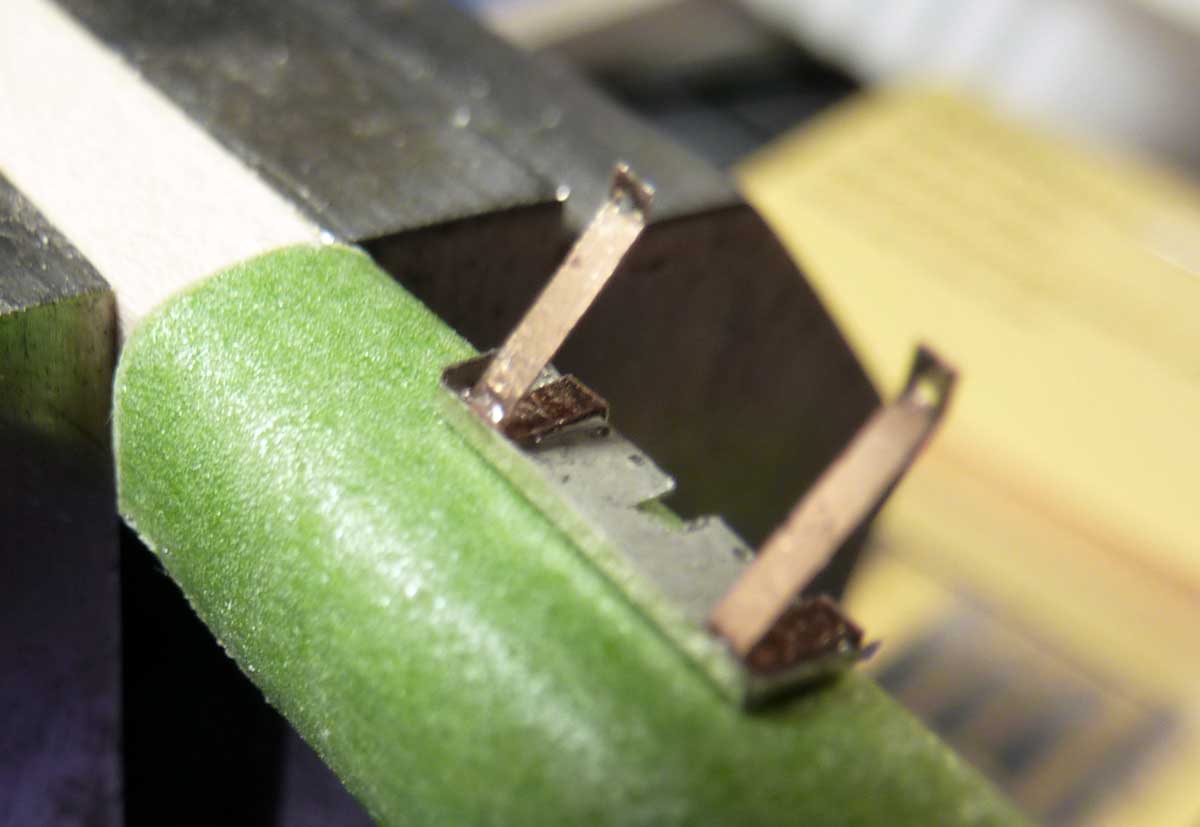
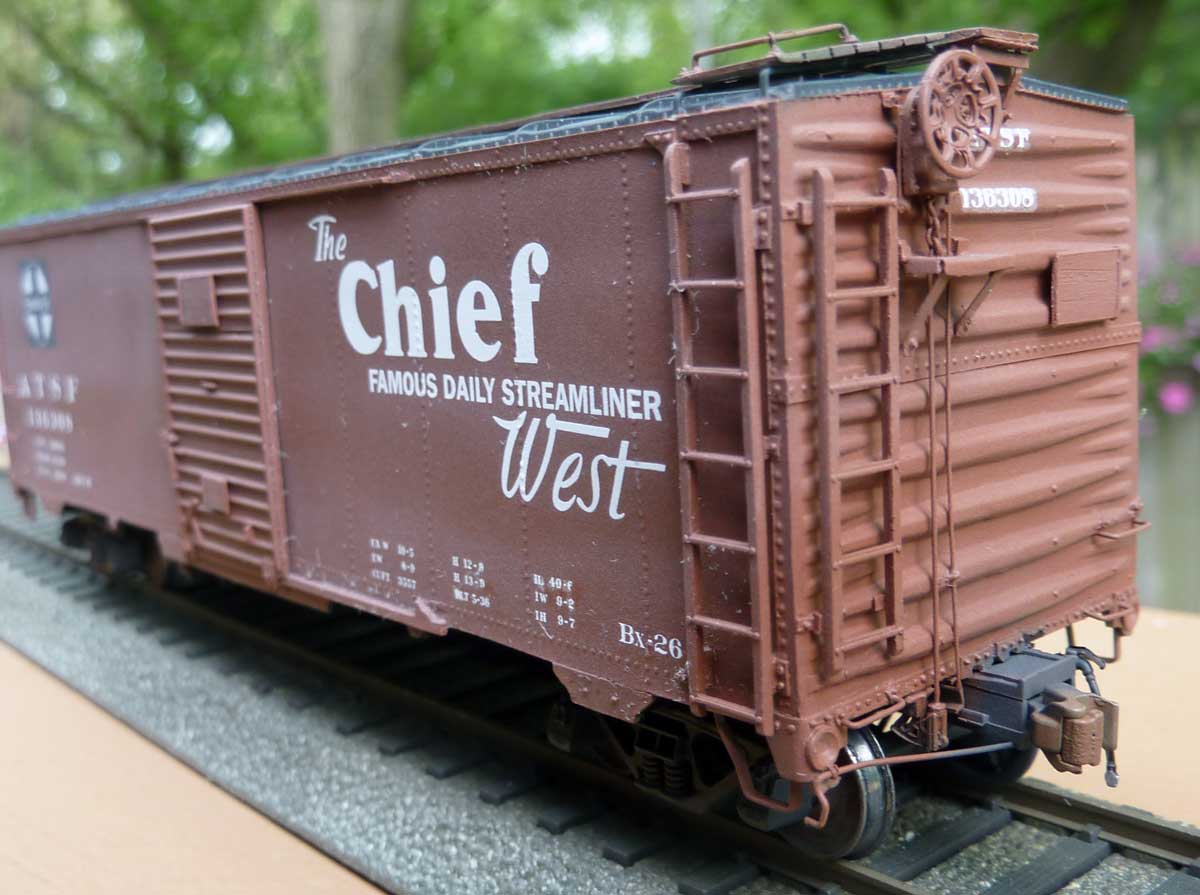
The basic car assembly followed the kit instructions. I made a brake wheel platform using material from a Kadee #5 flat coupler spring and a patch from Yarmouth models as shown in the photos. This was drilled and pinned to the end of the car with 0.010-inch brass wire. Mounting supports for the power handbrake housing were also fabricated from thin brass strips and pinned in place with the fine brass wire.

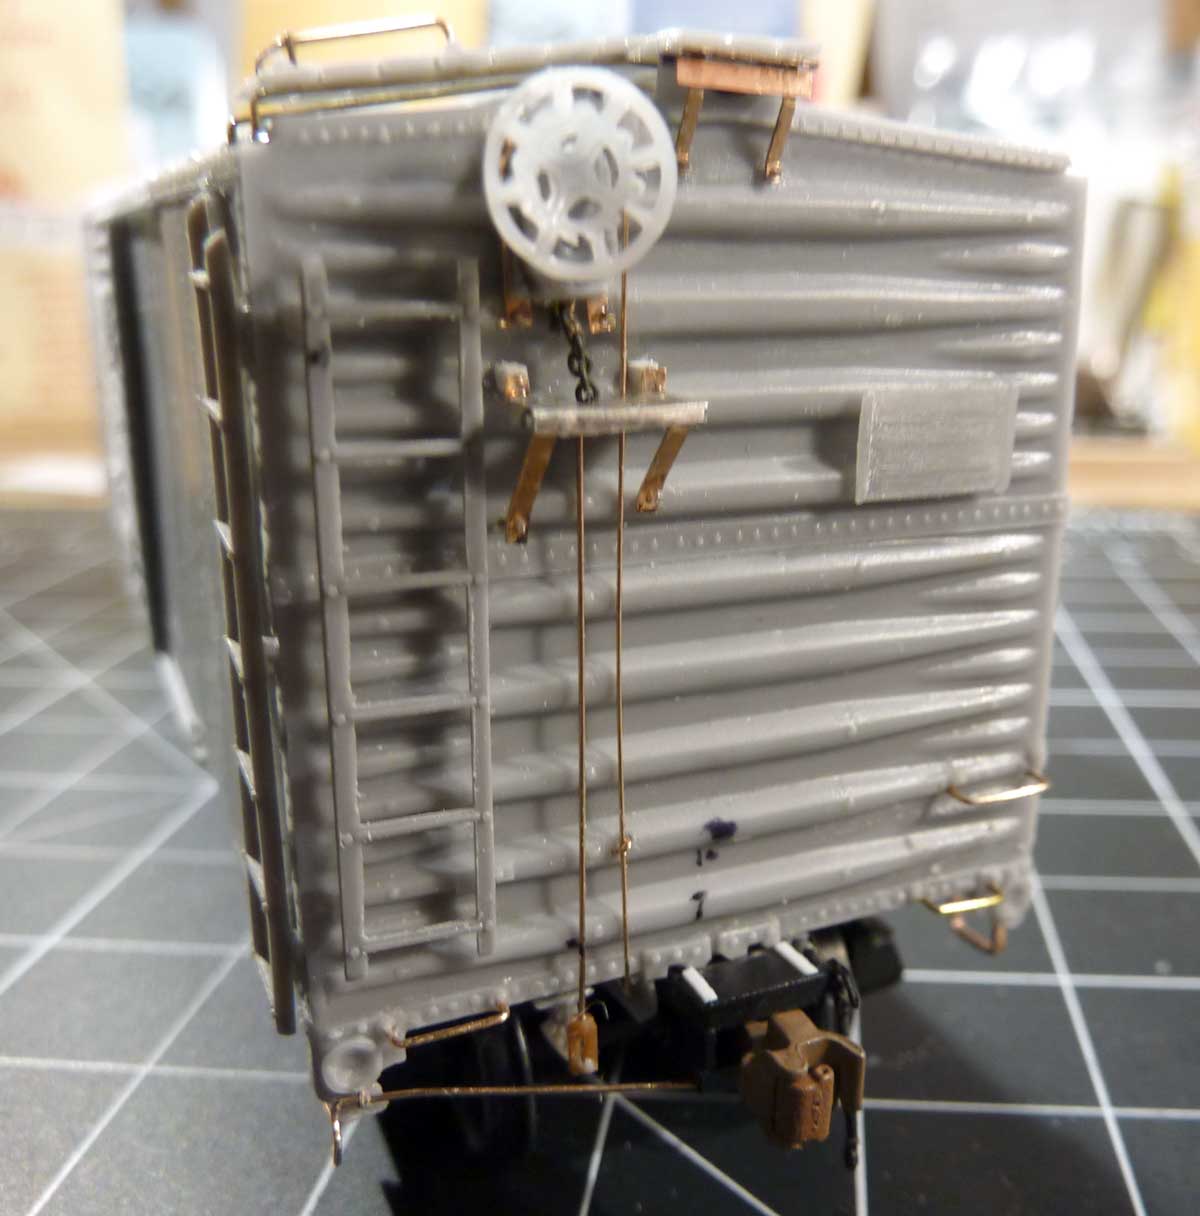
The running board laterals are supported using 0.010 x 0.020-inch brass strips. Yarmouth eyelets were used to support the lateral grabs. Yarmouth end running board supports were pinned with 0.010-inch brass wire.
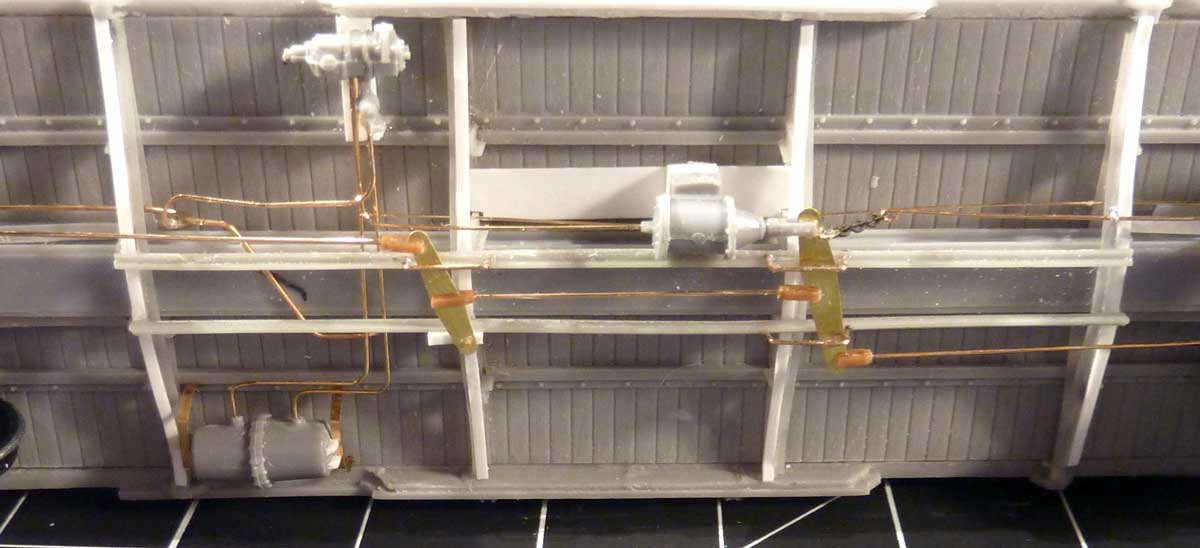
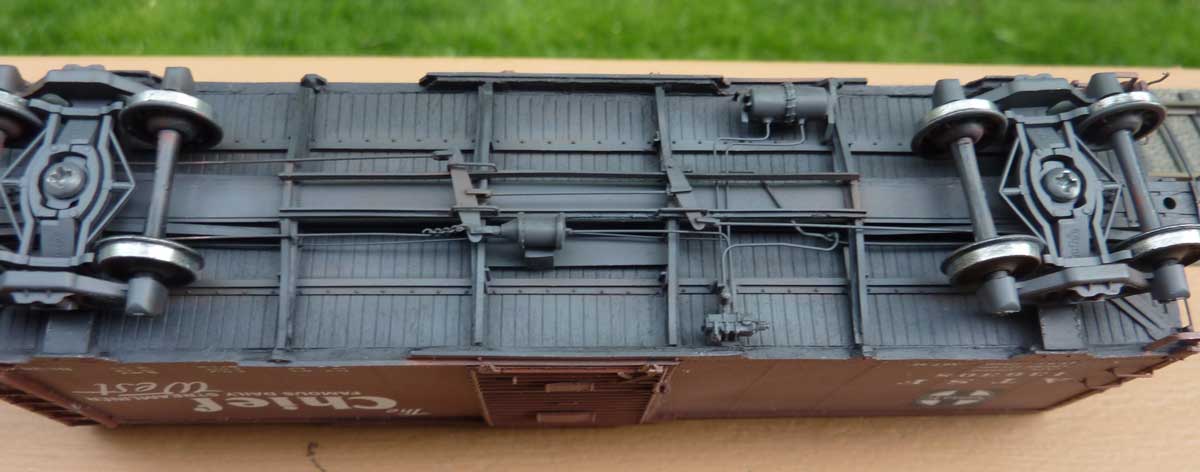
The underbody details were upgraded. I used various brass wire sizes on the piping and rods. Air reservoir supports were fabricated from 0.006 x 0.020-inch brass strip. The brake levers are etched Yarmouth parts. Tichy turnbuckles were used for the clevis parts on the brake rods. One end was cut off to create the proper part.
I managed to install the train line using one solid length of brass wire. That proved to be a real challenge. There were many multiple bends to navigate wire around the Duryea cushion underframe parts. The supplied Tichy parts were used for the ladders but I did file each rung and the stiles to a thinner profile. The corner steps were also filed to a thinner profile.
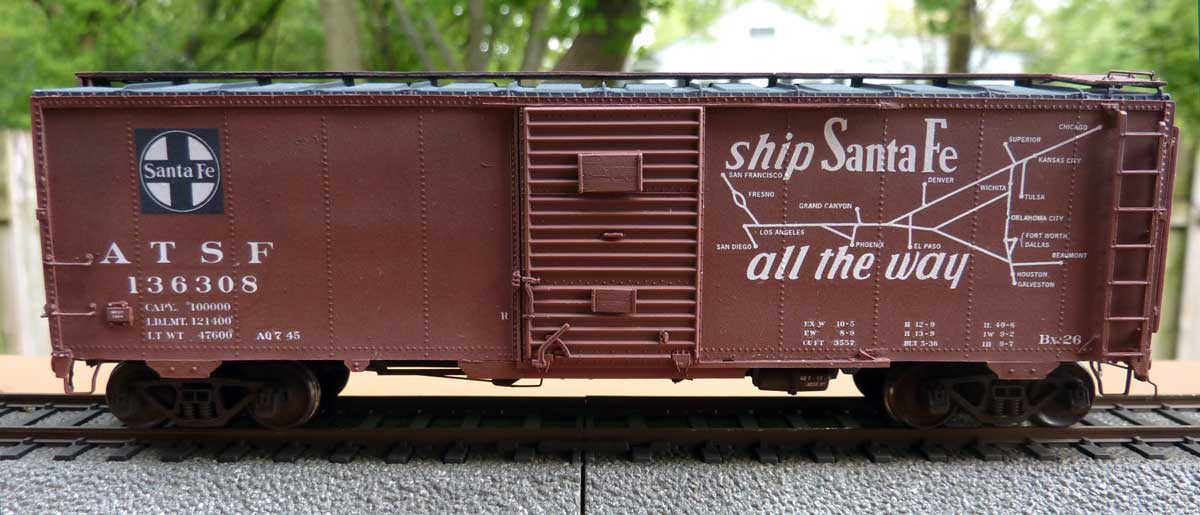
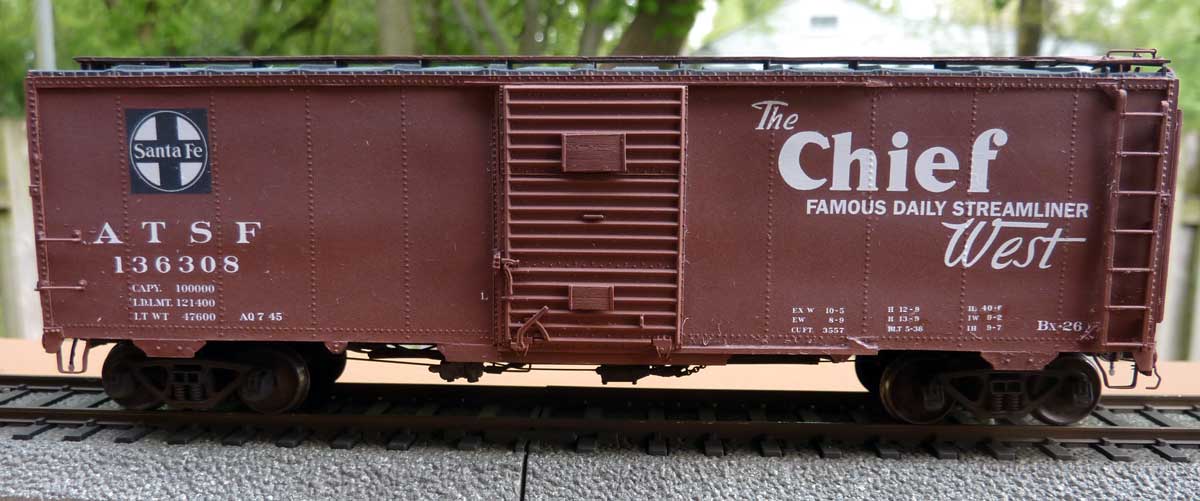
The car was sprayed with Model Master acrylic primer before painting the car color. The roof and underframe were painted with PolyScale Black, while the sides and ends were painted with PolyScale Santa Fe Brown. After the paint had thoroughly dried, Pledge Floor Finish (Future) was sprayed on as the gloss coat. The decals were applied after the gloss coat dried. Another coat of gloss sprayed on after the decals had dried. After the final gloss coat was dry, I top coated with Model Masters Flat acrylic.
Weathering is up next and will be light on this car. The trucks and underframe have had some very light weathering applied. A bit more will be added when I do the rest of the car.
I found building this kit to be a great experience. This work has inspired me to dive right into another resin freight car kit. I’ve already started one of the new Resin Car Works Illinois Central hoppers and hope to share that progress soon..
Thank you, George, for sharing another fine model. Questions and comments can be posted below. Please follow the instructions so your comment can be posted. All comments are reviewed and approved before they appear. To subscribe to this blog, enter your info for a comment and check the last box to notify of new posts by email.
OMG – *first* resin build? You clearly don’t believe in ramping up slowly – What will you do for an encore? REALLY excellent modeling and some great tips too! Congrats on such a fine build!
Thanks for you kind comments. Hope to post my Resin Car Works IC Hopper soon. I am putting the decals on now.
George
Outstanding work, George. The underframe build is very well done. Hope to see more of your work soon.
George,
Excellent start in resin building! I have one of those kits to build and will follow your upgrades when I get to it Thanks for the post and I will look forward to seeing more of your work.