Bill Welch is back with more tales from his workbench. Click on any image here to review a larger size. Here’s his latest report.
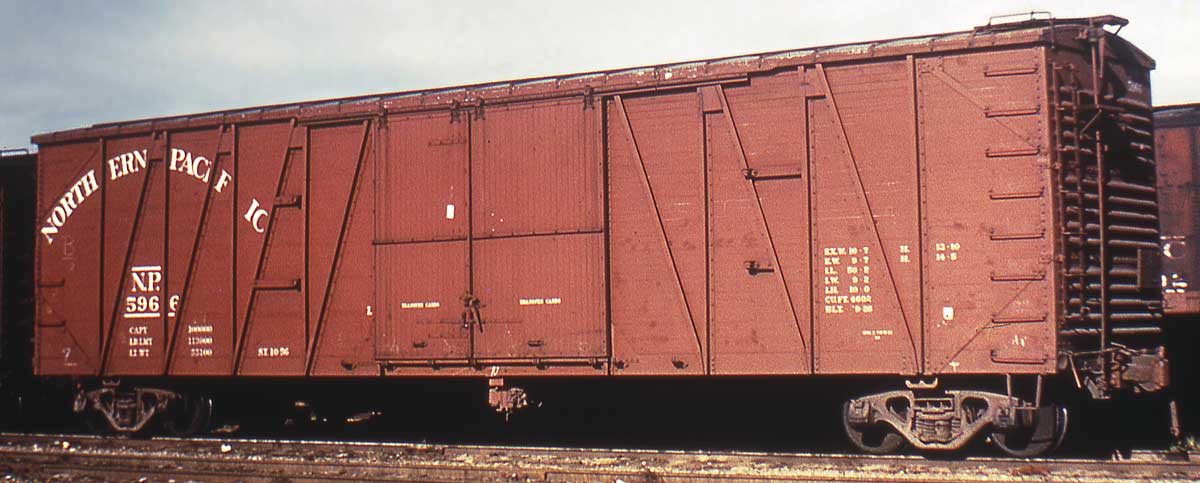
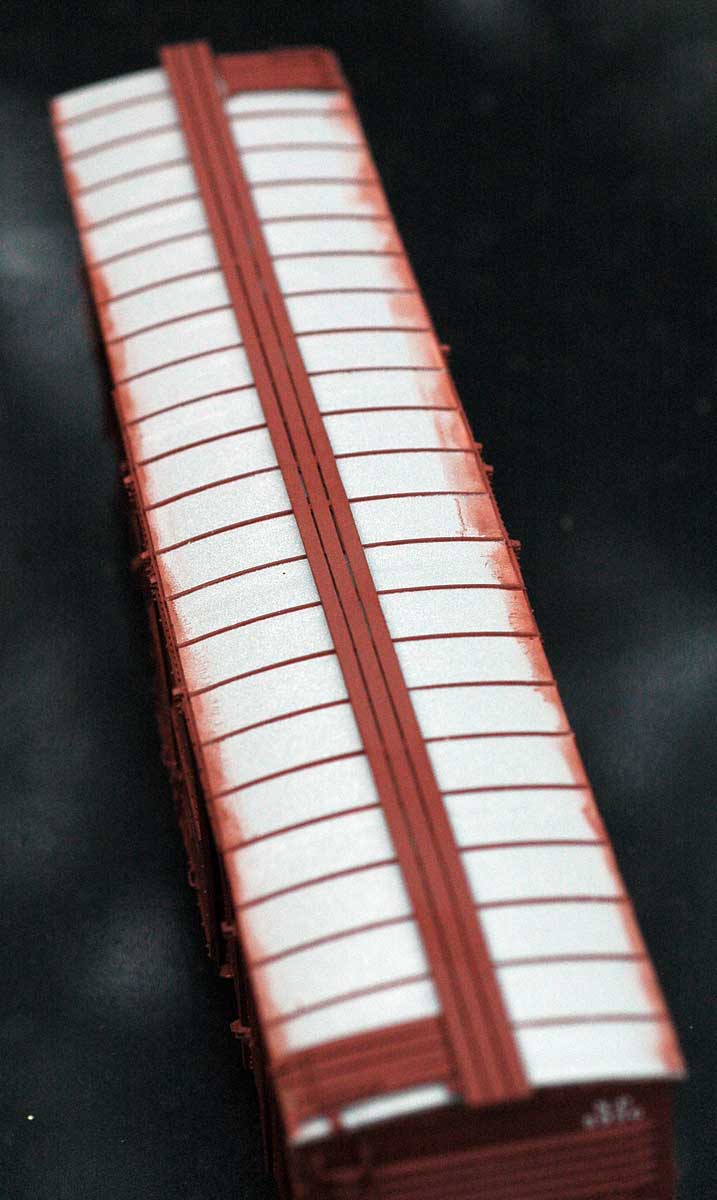
As a part of building freight car models, I enjoy collecting photos for car kits I already have or hope will be produced. I have found several photos of the big 50-foot Northern Pacific single sheathed cars that I used to aid in building an HO scale kit of the car offered by Speedwitch Media. After I had finished my assembly, I realized I have a colour photo from circa 1956 on my computer showing the galvanized roof panels devoid of any paint except for some misting of overspray along its edge from the last time the body had been painted. The roof ribs did appear to be painted or perhaps coated with a “freight car red” car cement. I decided I wanted to try and recreate this appearance, which meant I needed to mask the roof, a chore made more tedious because I had already glued the Running Board System in place. Oh joy!
Before masking however I needed to spray the roof to create a galvanized metal appearance. For this I mixed approximately 50/50 Tamiya Aluminum and Gray acrylic paints and then reduced this mixture 50/50 using Tamiya Acrylic paint thinner. I sprayed this on the roof using a Harbor Freight “Deluxe Airbrush,” a siphon feed tool I purchased for about $16 to specifically spray metallic paints. I used 20-22 PSI.
After about a week to let the paint cure well, I used Tamiya’s excellent masking tape that is enclosed in plastic dispenser that helps prevent any debris from getting on the tape, especially along its sharp edges that saves the modeler the trouble of creating a sharp edge by cutting the tape, a big time saver! Nevertheless it took me a good 3½ hours to complete the masking (and about five minutes to remove, hah).

Then I proceeded to paint the body with Floquil “Polyscale” acrylic “Freight Car Red” (FCR) thinned 1-to-1 using distilled water. I used my Badger 155 “Anthem” siphon feed airbrush equipped with a 0.75mm needle/nozzle/spray regulator setup at 20-22 PSI. The 0.75mm setup is ideal for acrylic paint. Although acrylic paint dries quickly, I waited several hours before I started lifting up the very edges of the masking tape.
While waiting I took a small amount of the FCR paint I had used to paint the body and reduced this with about seven parts of distilled water to one part paint. I recently purchased ($107.99 from Amazon) a Paasche “Talon” gravity feed airbrush that comes as a kit with three different needle/nozzle/spray regulator setups and installed the smallest 0.25mm combination.

On one of my air-hoses I have a GREX “MAC Valve” (MAC=micro air control) that allows me adjust the PSI down to Zero and I experimented with spraying the paint with the MAC Valve closed and gradually opening it until I started to see paint. I would estimate paint started to spray at about 6-8 PSI. One advantage of a gravity feed airbrush is that they can operate effectively at low PSI. At the very back of the Gold or Bronze anodized aluminum rear handle is the Trigger/Needle Travel Limiter Dial that allows the user to limit the travel of the airbrush’s needle in turn controlling the amount of paint being sprayed. When combined with the MAC Valve, it was easy for me to practice until I had a good feel for how much paint would be sprayed.
I then peeled back the masking tape along the edges of the roof and sprayed from above shooting the paint over the masking tape along the edge of roof and trying to achieve some variation in spray pattern as I went. By spraying over the edges of the tape this helped me define the limits of the overspray. I then stopped and looked at how it was going and decided in a couple of spots to shoot from the side of the car to achieve a little more variation, as by this time I had more confidence in the control I had with the airbrush.
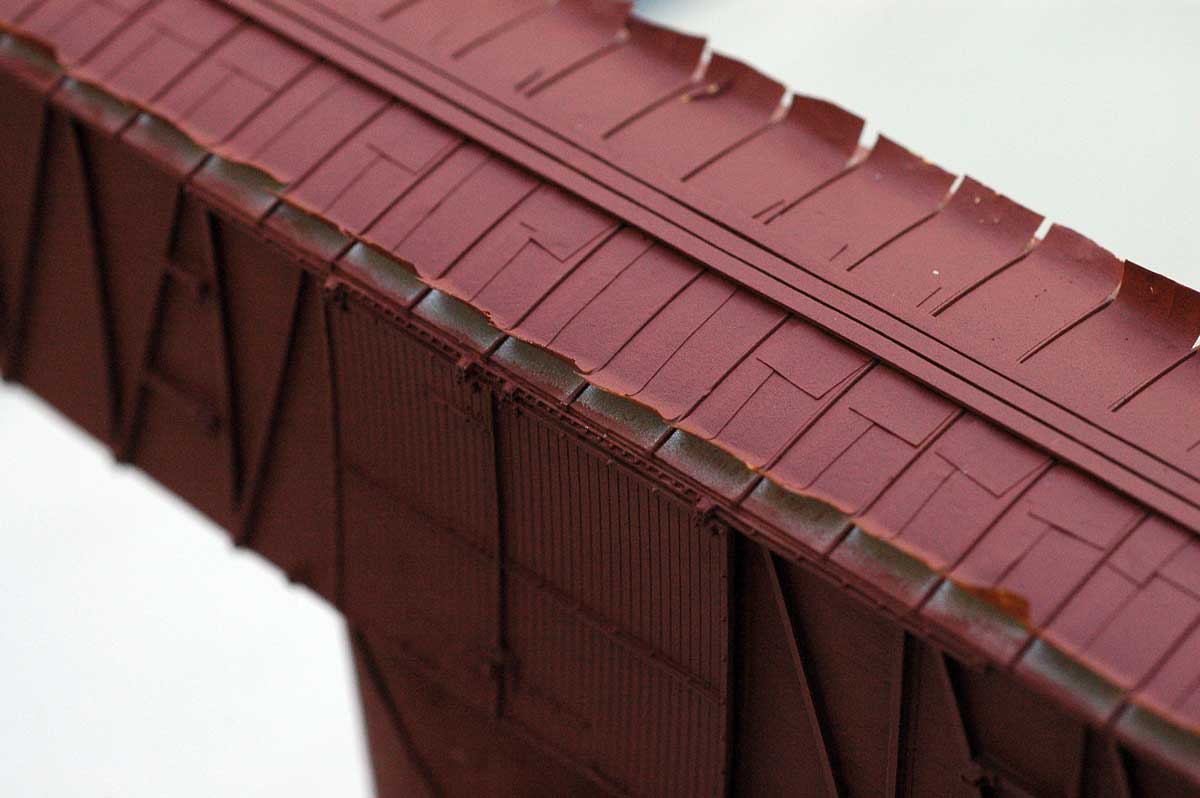
As I looked closely with my Opti-Visor at the results, I could see some of the galvanized paint along the top edge of the model. After I let the overspray dry, I smoothed the masking tape back down. More tape was added to make sure it was held down and came back and sprayed the top edge of each side with BCR until I was sure none of galvanizing effect showed. This next photo shows the overspray effect once the masking was removed. I am pretty happy with the result.
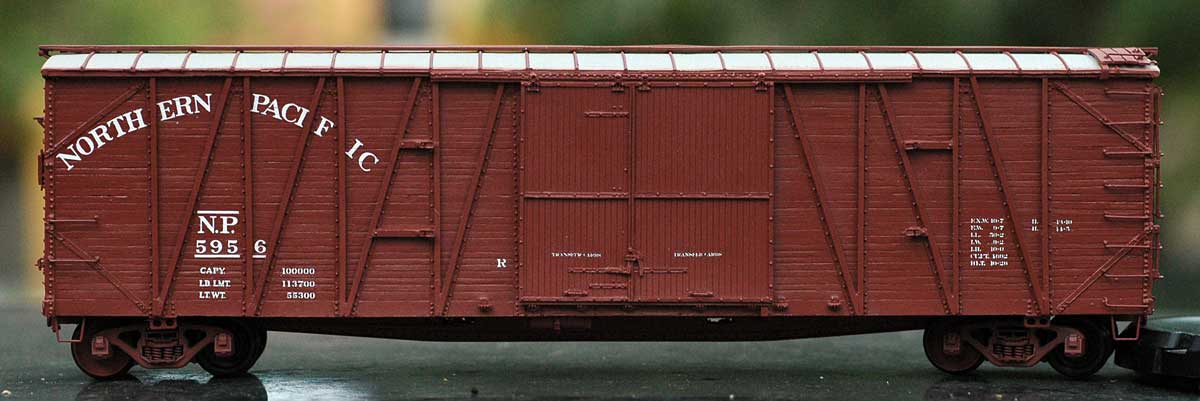
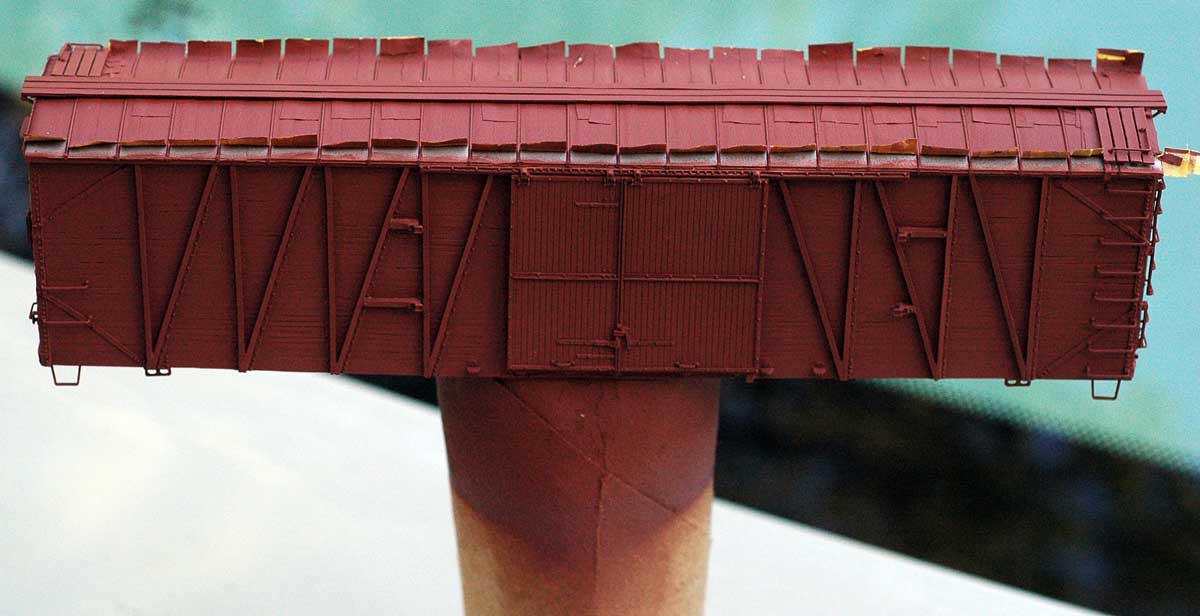
The above photo shows one side painted and partially decaled. I want to weather the sides before I apply Chalk Marks, Reweigh and Re-pack stencils. Note the brilliant tool work of Brian Leppert in the Dalman Two-Level trucks from his Tahoe Model Works line of prototypical trucks.
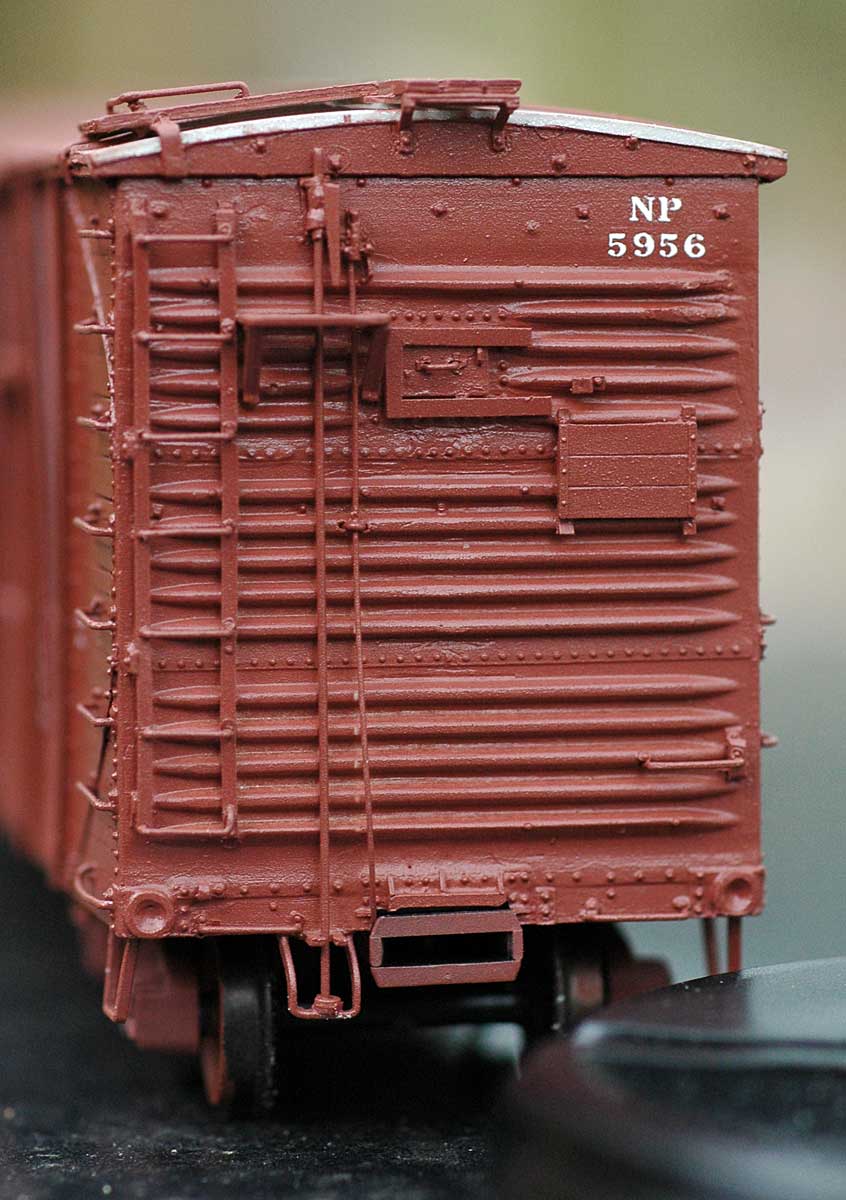
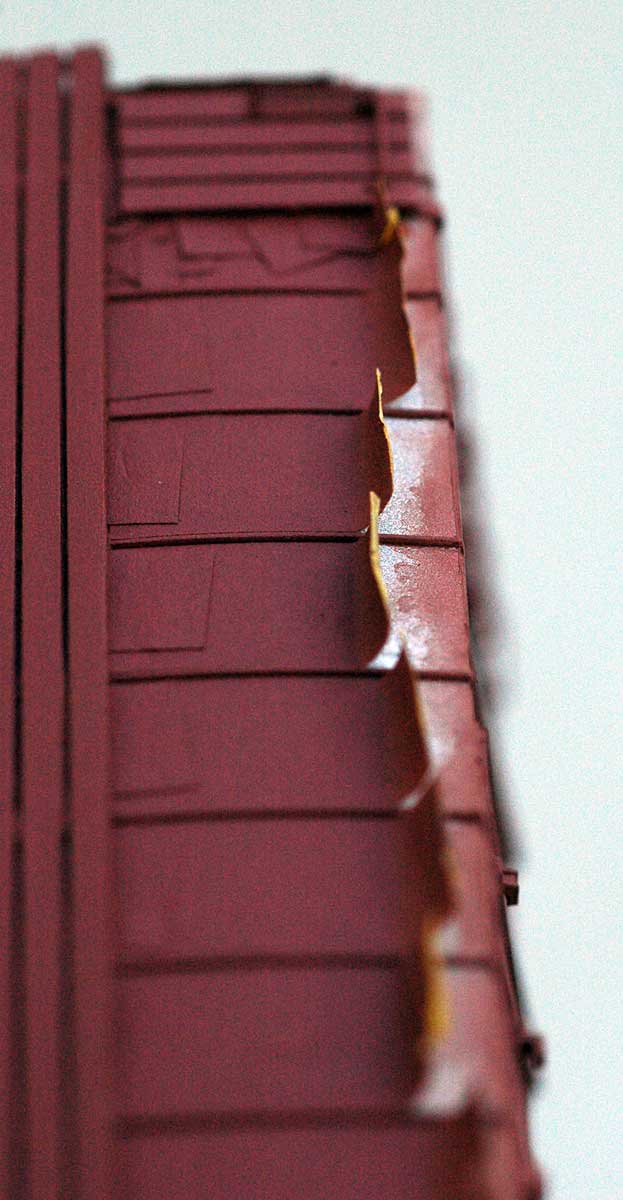
As this photo of the “B” end shows, the galvanized roof panels were bent or broken over the very ends. Earlier as I was getting ready to paint the body I noticed one of the doorstops was broken and found a spare to replace it. In the process of cleaning up the part I decided to glue it in place as if has come loose.
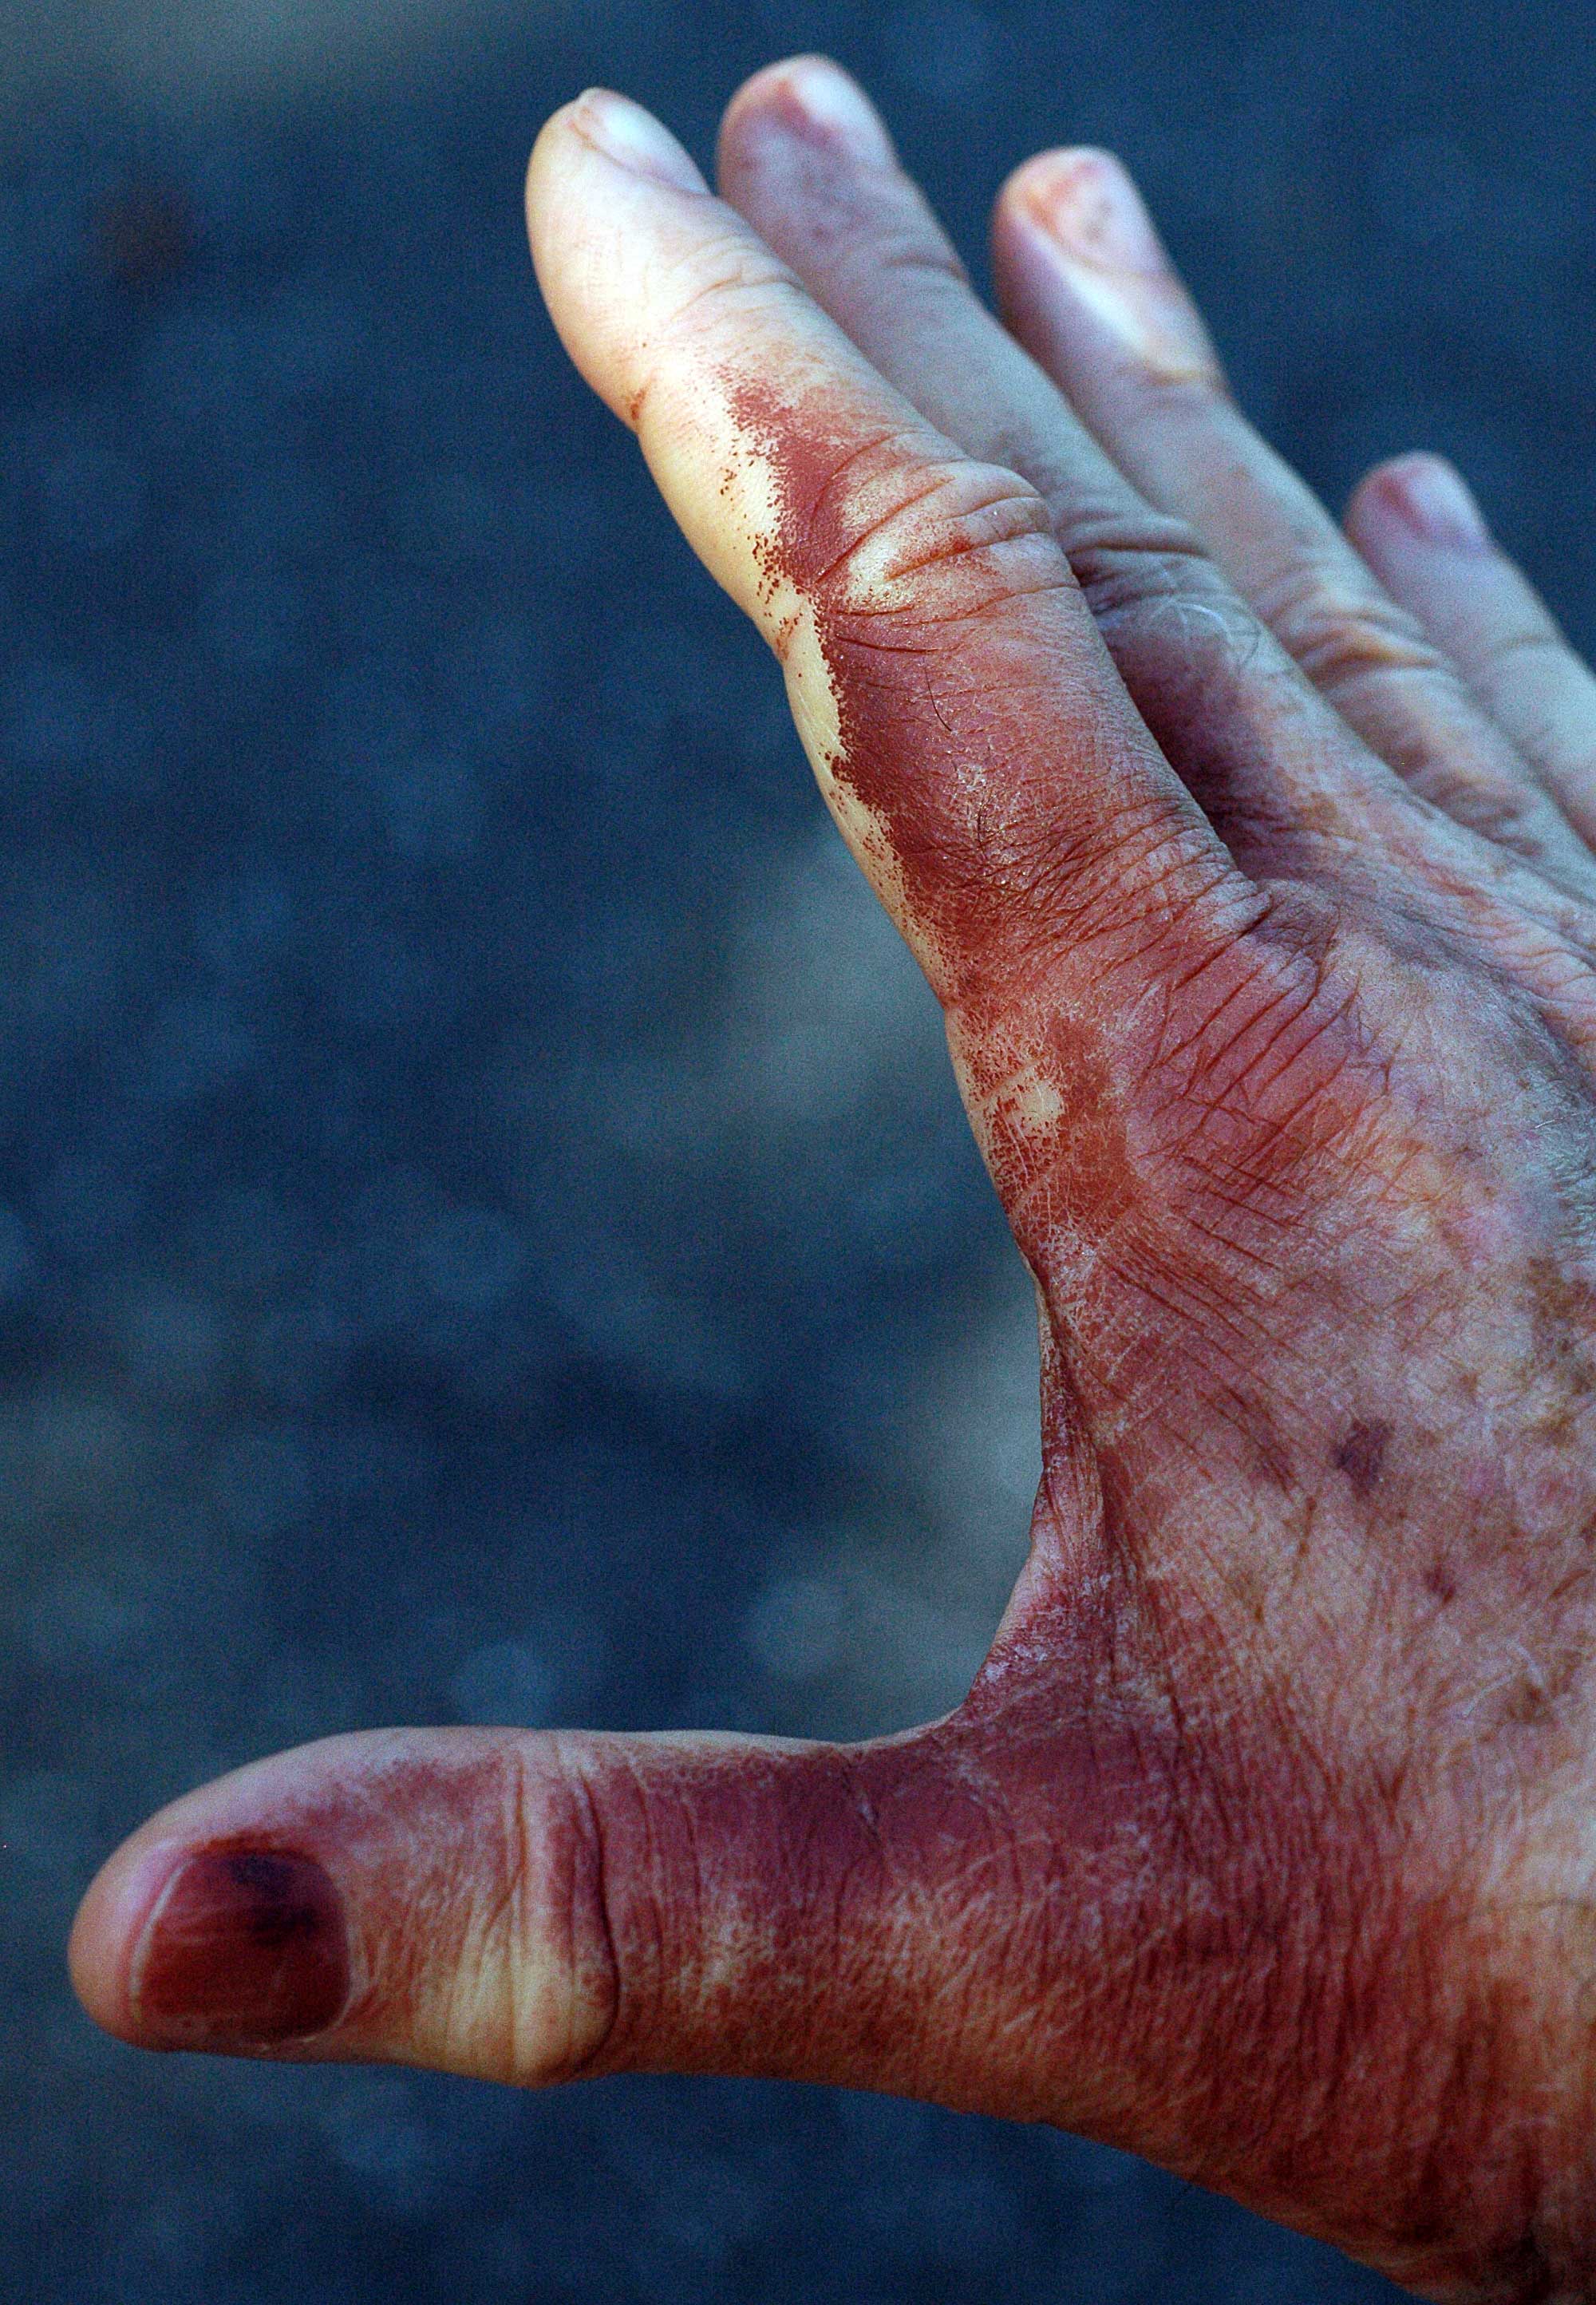
I use the cardboard tubes from the center of toilet paper to hold freight car cars bodies—house cars in particular—when I am painting and my right hand inevitably gets covered in paint; a sign I have been productive that is very satisfying to me.
The Paasche Talon is very well made, a bit heavier than either of my two Badgers or my Harder & Steenbeck. Robust would be an accurate description for it. The Talon’s trigger’s feel and control is very smooth and positive. It is very easy to change the needle, nozzle or tip, and spray regulator parts to control the spray pattern or adjust for the type of paint. For example Acrylic Paints require a larger needle and tip than do solvent based paints and the relatively large 0.66mm needle/tip/spray regulator combo that comes with the Talon kit is ideal for the broadcast spraying of acrylics. The needle/nozzle/spray regulator parts are clearly marked with one, two, or three notches or grooves so the sets of parts are easy to keep sorted. The GREX MAC Valve comes with a built-in Quick Disconnect that is very handy.
Given that I have four airbrushes in regular use and the cheap Harbor Freight for spraying metallic paints, my friend Pierre Oliver of Yarmouth Model Works said recently that I have become an “airbrush collector.” He is probably correct! I do enjoy owning and using them.
– Bill Welch
Thank you Bill for sharing another interesting technique here on the blog. Questions and comments can be posted below. Please follow the instructions so your comment can be posted. All comments are reviewed and approved before they appear.
Say Bill,
Have you considered latex gloves rather than a high budget for Boraxo and a
considerable amount of time to clean your hands? For those that have issues with
latex there are non-latex gloves available as well. They are cheap and can be found
in almost any drugstore. My initial fear of losing the “feel” of what I was painting
from wearing them disappeared very quickly upon trying them.
My best, Don Valentine
Don, Bill mentions in the text that he is using an acrylic paint.