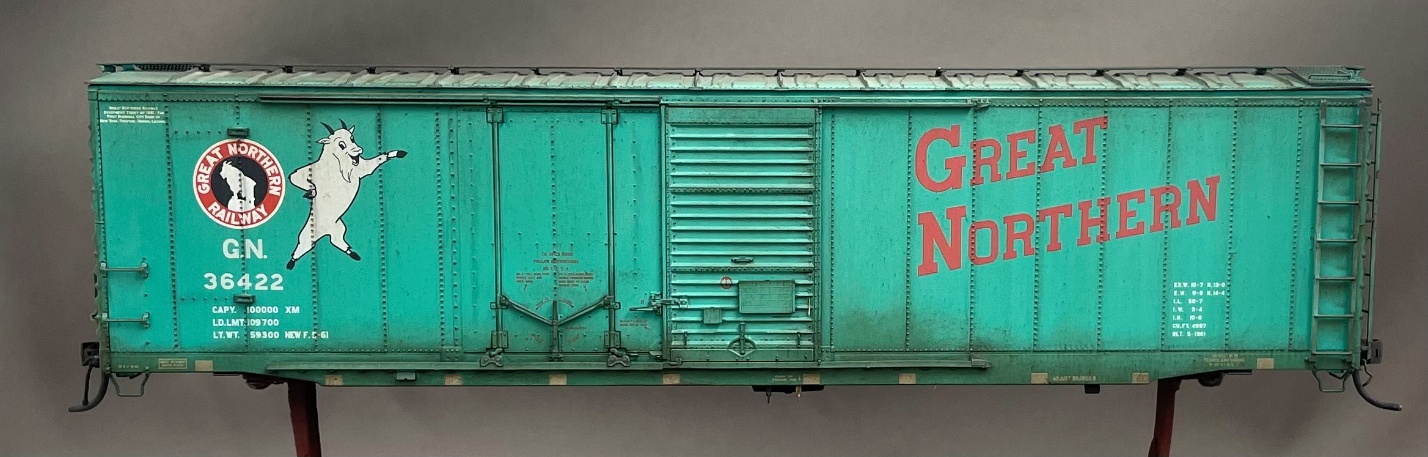
Chris Vanko sent a summary of his weathering techniques. Here he is with the details.
I thought I would share a portion of my weathering clinic at this years RPM Naperville for all that might be interested in the techniques that I use.
The model chosen was a pre-painted and lettered model from Moloco – #70531-06. This is a Glacier Green paint scheme that would require a slightly different approach to weathering versus the typical Box Car Red car. As I model late 1960s, the car would have seen some wear, but not an extensive amount.
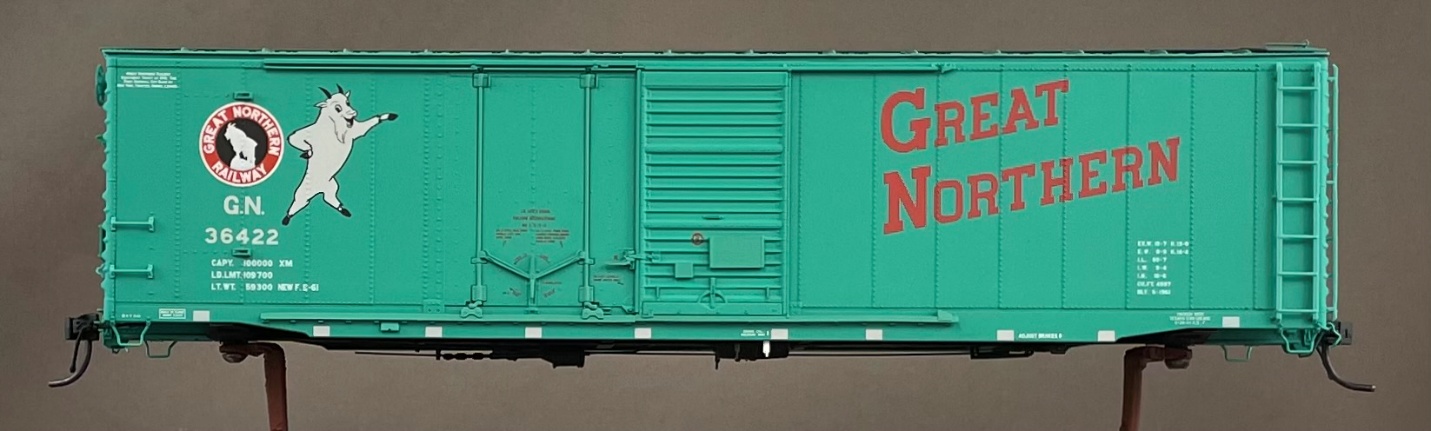
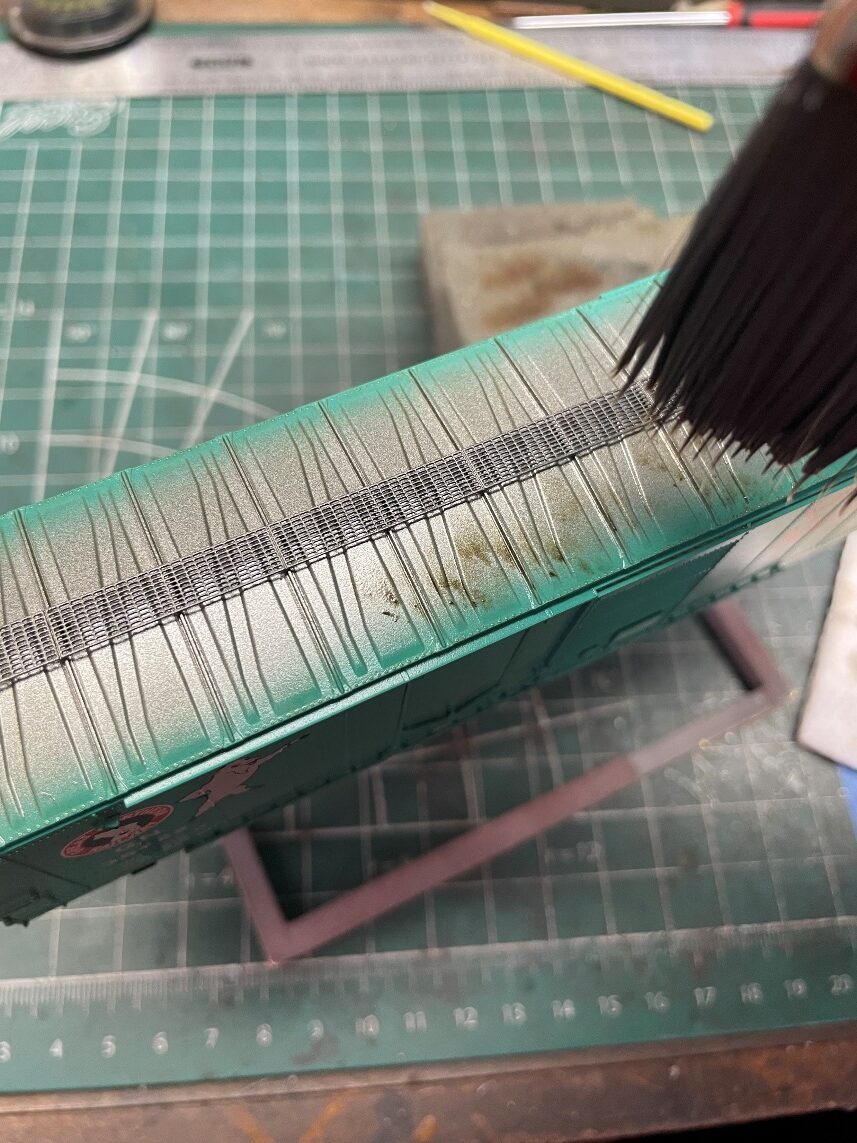
The first step (shown above) was to simply apply a coat of flat to remove the glossy paint finish and give the surface tooth for the oils that were to be used for the weathering to adhere to. Then, a fade oil wash was applied.
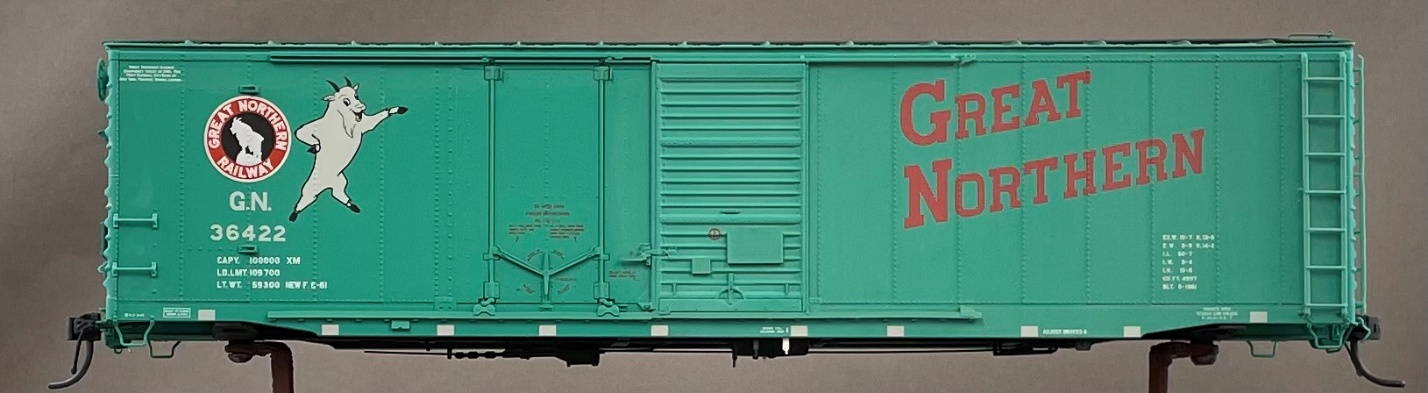
The wash was applied to the car by starting at the top chord and drawing the brush down vertically. Since this step is to fade the color, it involves multiple passes to ensure the surface is completely covered and guarantee there are no streaks on the surface after application. The effect that I was going for was a very subtle shift in the color for this car. Had I wanted more fading I would have just kept adding layers until it got to the desired level. The above photo shows the fade applied from the door to the right.
Next, after again laying a flat over the faded car, a grime oil wash was applied to the car. The grime color was made with Raw Umber with a touch of black (be careful with adding black to any color as it can overpower it very quickly).
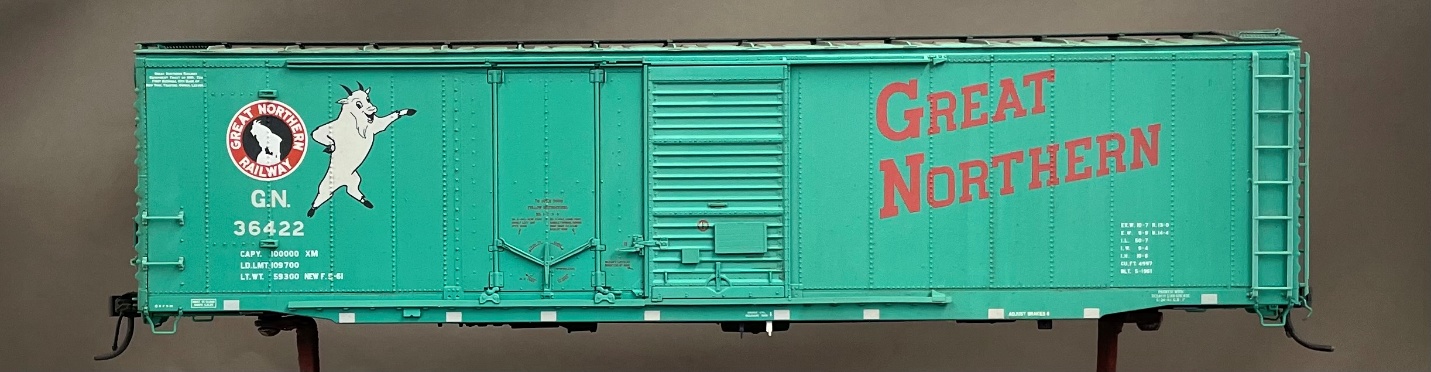
The same technique of using a brush and drawing the wash down the car sides was used for the grime coat. This was done sparingly on this car, but more a more “dirty” appearance could be had by simply applying the wash in more layers.
The next step was to start the dry brush detailing. Four colors (raw umber, burnt umber, black, unbleached titanium) are placed on a piece of cardboard and allowed to sit for about 10 minutes to allow the oil to leech out leaving the pigment. I then touched the paint with the edge of a small flat brush (in this case raw umber and a touch of black) and rubbed off most of it on the cardboard.
The car ends and the roof of the car got similar treatments.
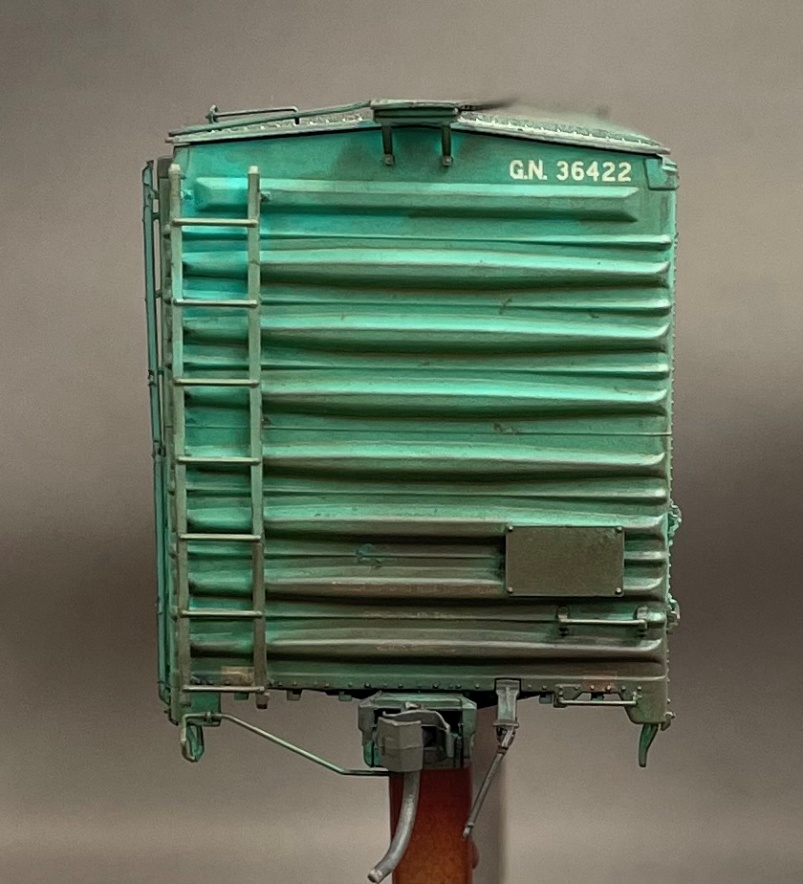
The overall result is a car that has seen age, but still in good operating condition. A much more detailed description of the work on this car can be found in my RPM Naperville presentation file. My entire clinic is available as a PDF download on this RPM Naperville event page. Several clinic files are also available on that page.
Subscribe to the Resin Car Works blog so you don’t miss a new model announcement. Add your email address to the Subscribe function at the bottom of the page.
Questions and comments can be posted below. Please follow the instructions so your comment can be posted. All comments are reviewed and approved before they appear. Share the blog link with other model railroaders.