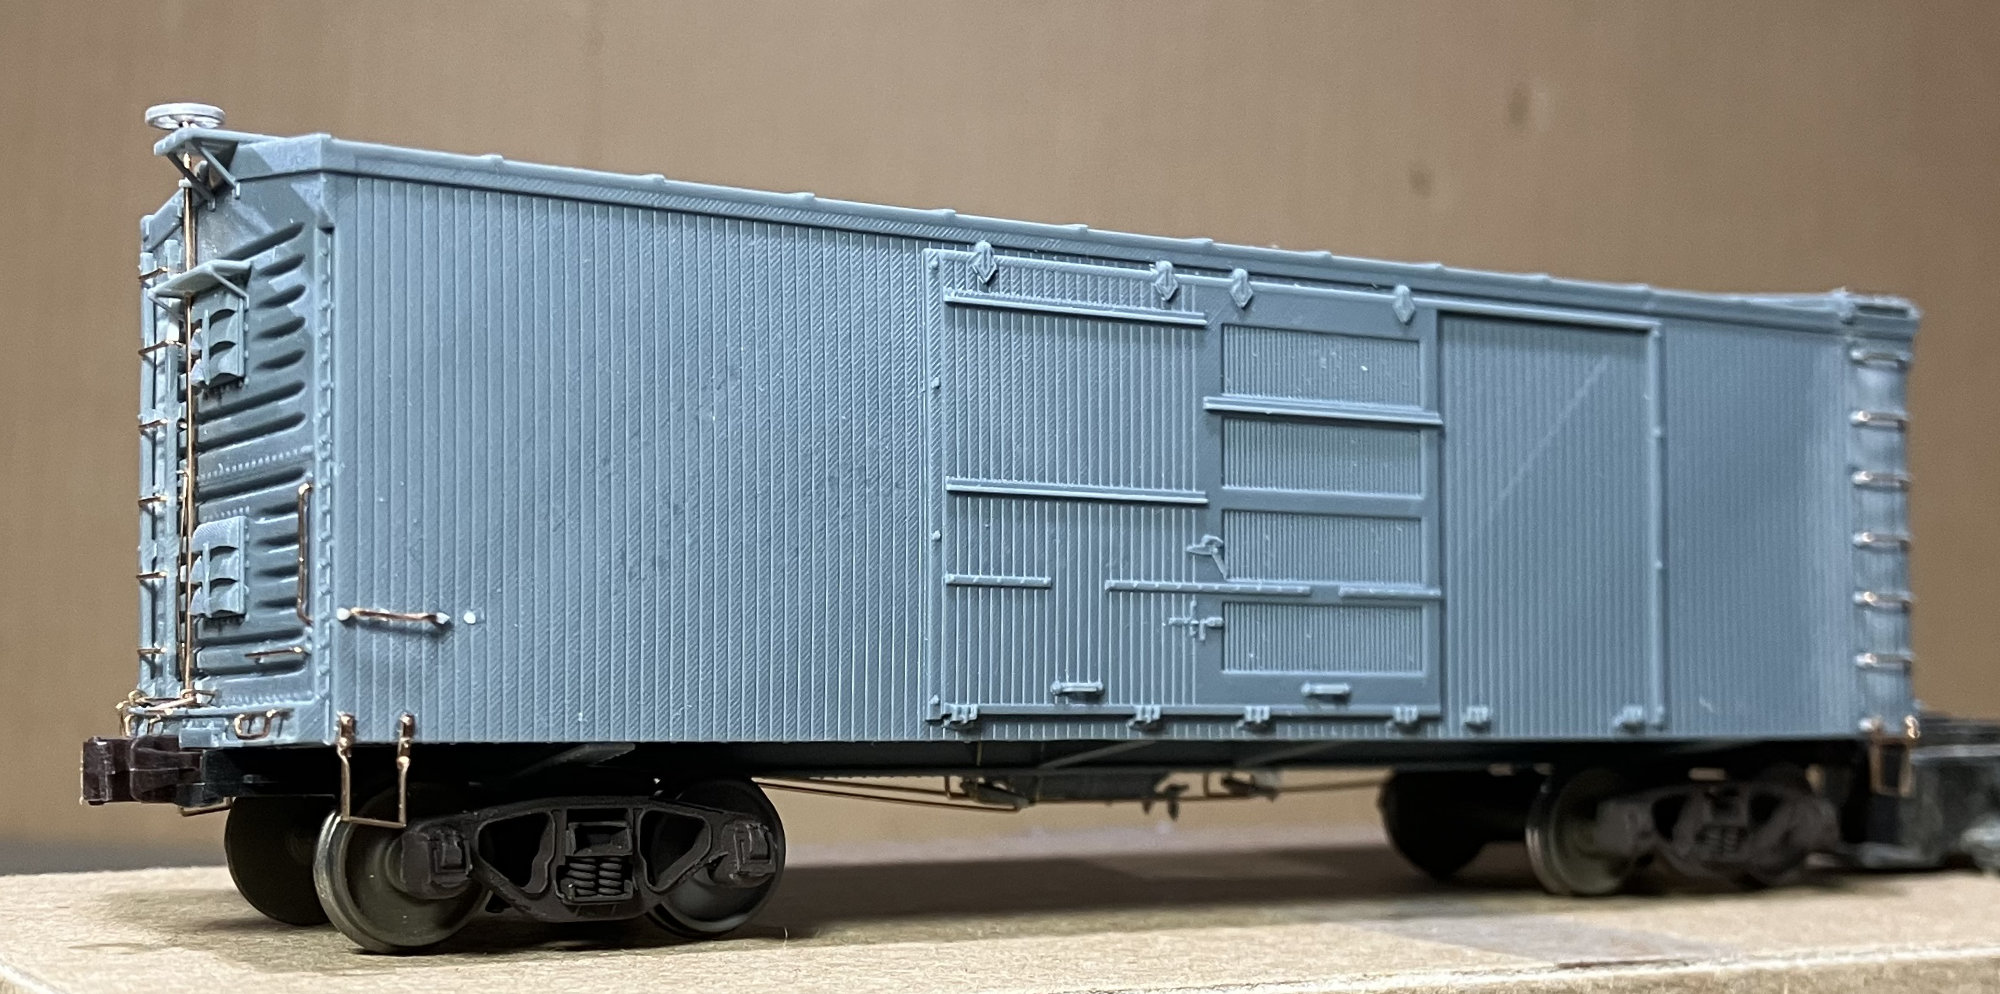
I bought an HO scale 3D printed model of a Chesapeake & Ohio ventilated box car last year. While prepping for a recent operating session, something seemed off about the model as it sat with other box cars. It took me awhile, but I noticed the tack boards on the car end were missing.
This model is offered by Yuma Car & Foundry and sold through 3D Central. I summarized upgrades and issues with the original prints in a post on my DesignBuildOp blog. As noted there, the issues I had found were corrected with new printing files.
I had not noticed the missing tack boards until recently. I have kept extra parts from completed resin kits so I sorted through the box and found a couple of matching tack boards that were close to the prototype size. These extra parts have been helpful a number of times for freight car kit builds.
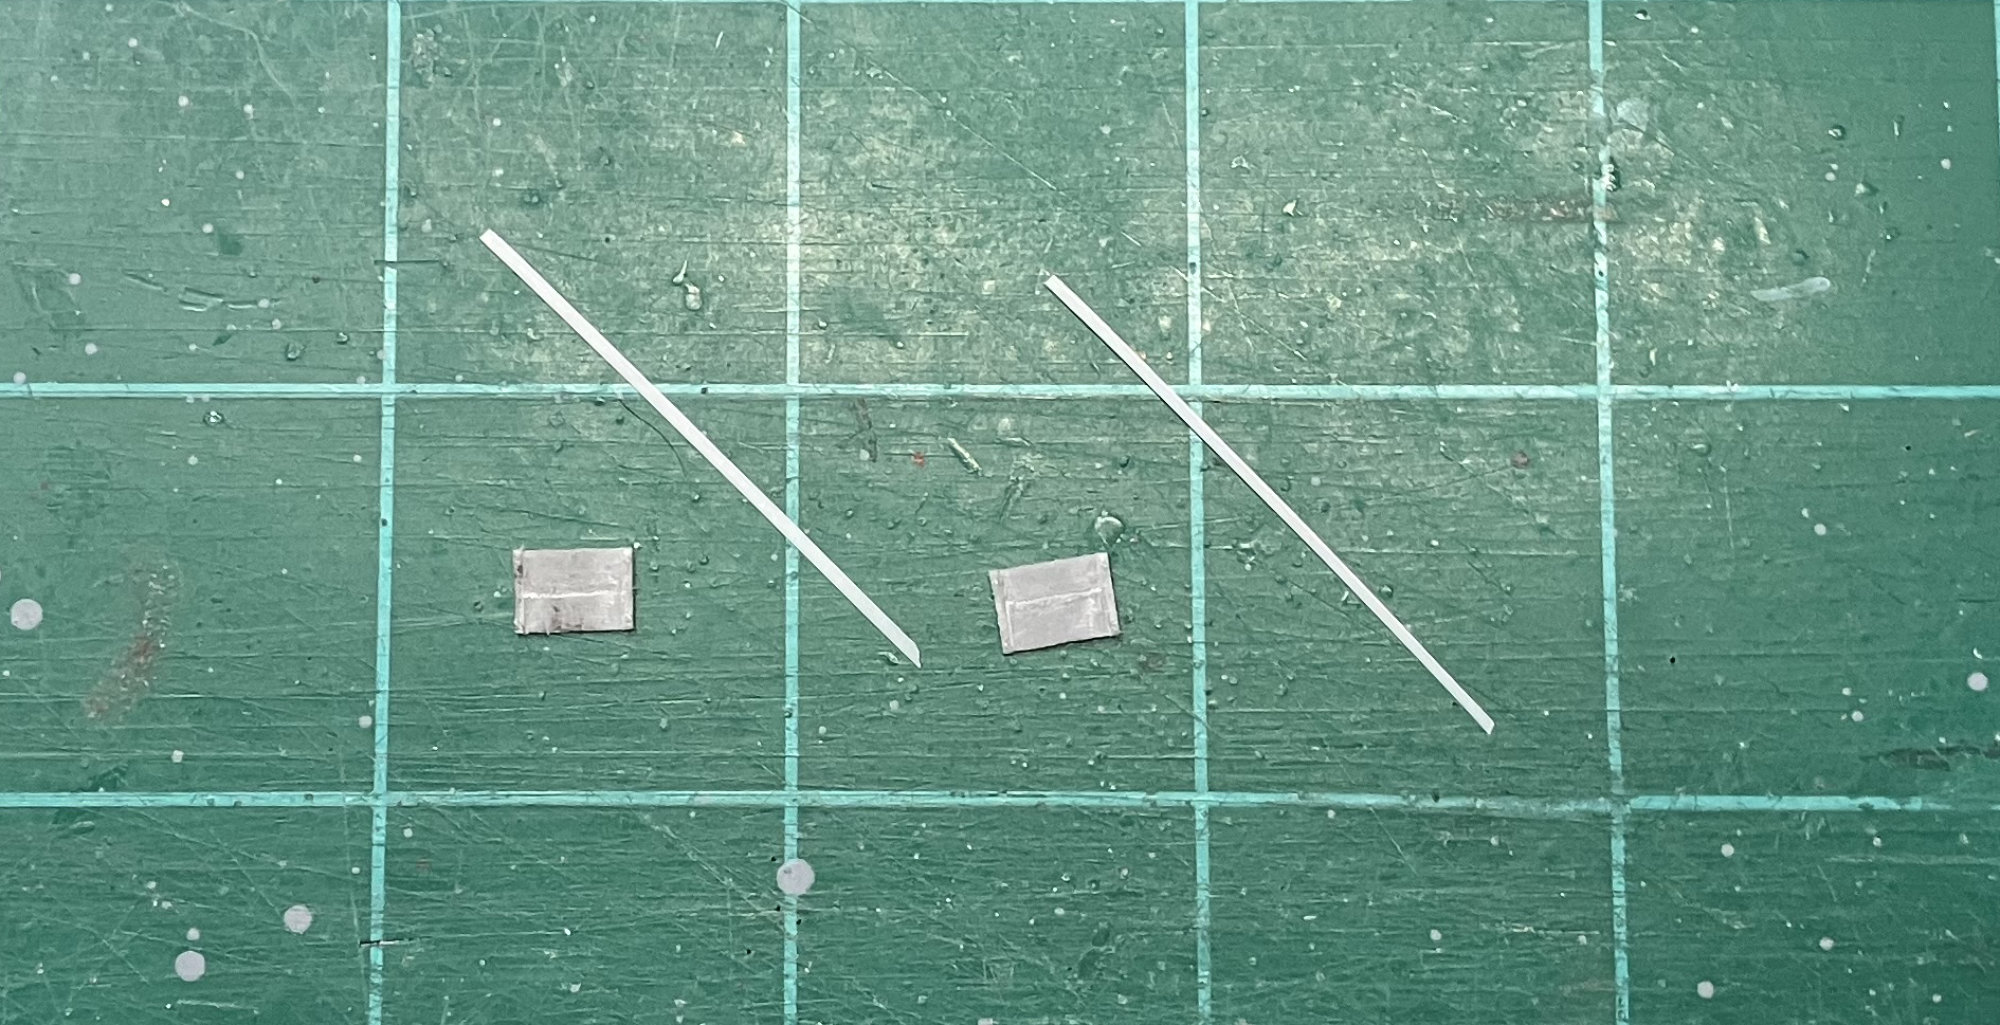
I cleaned up the castings and sliced thin strips of resin part flash to represent the mounting straps for the boards.
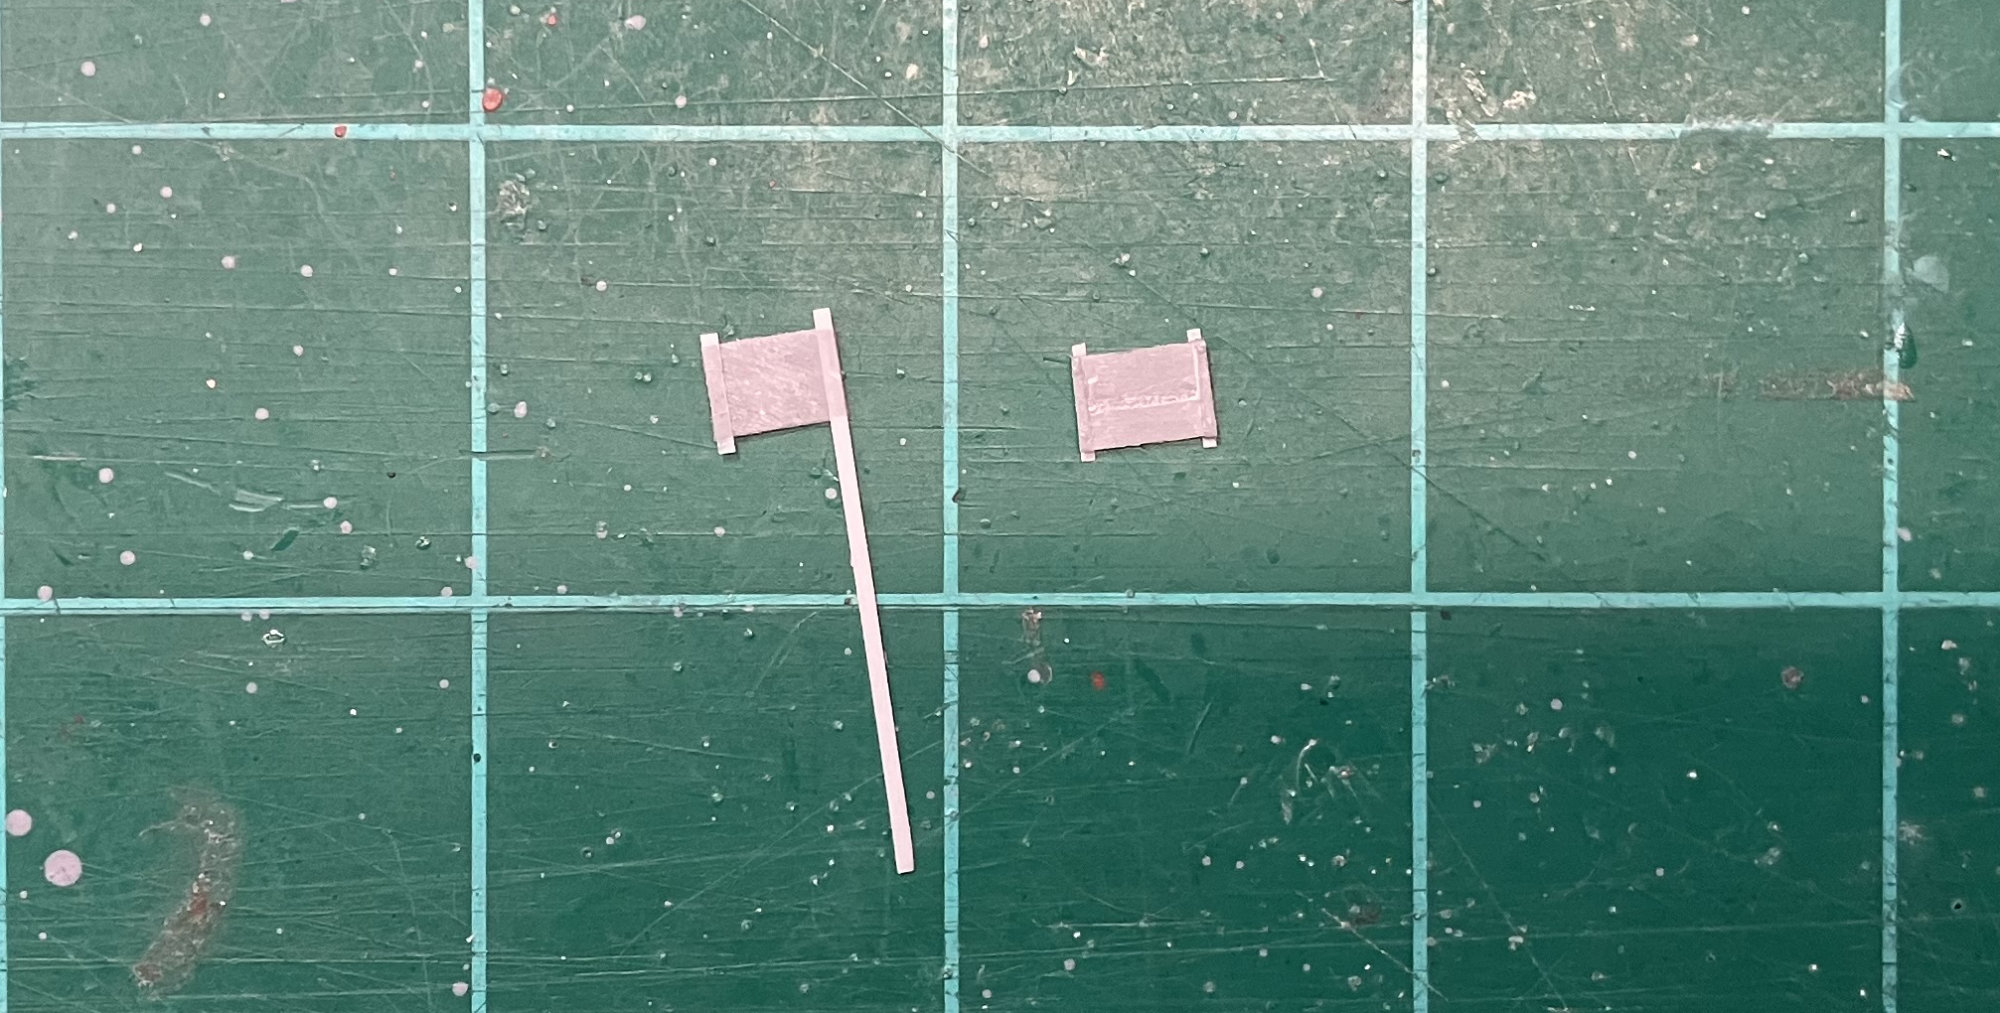
The strips were mounted on the back of the tack boards with cyanoacrylate adhesive (CA), then the excess was trimmed away to leave a bit extending beyond the edge of the parts.
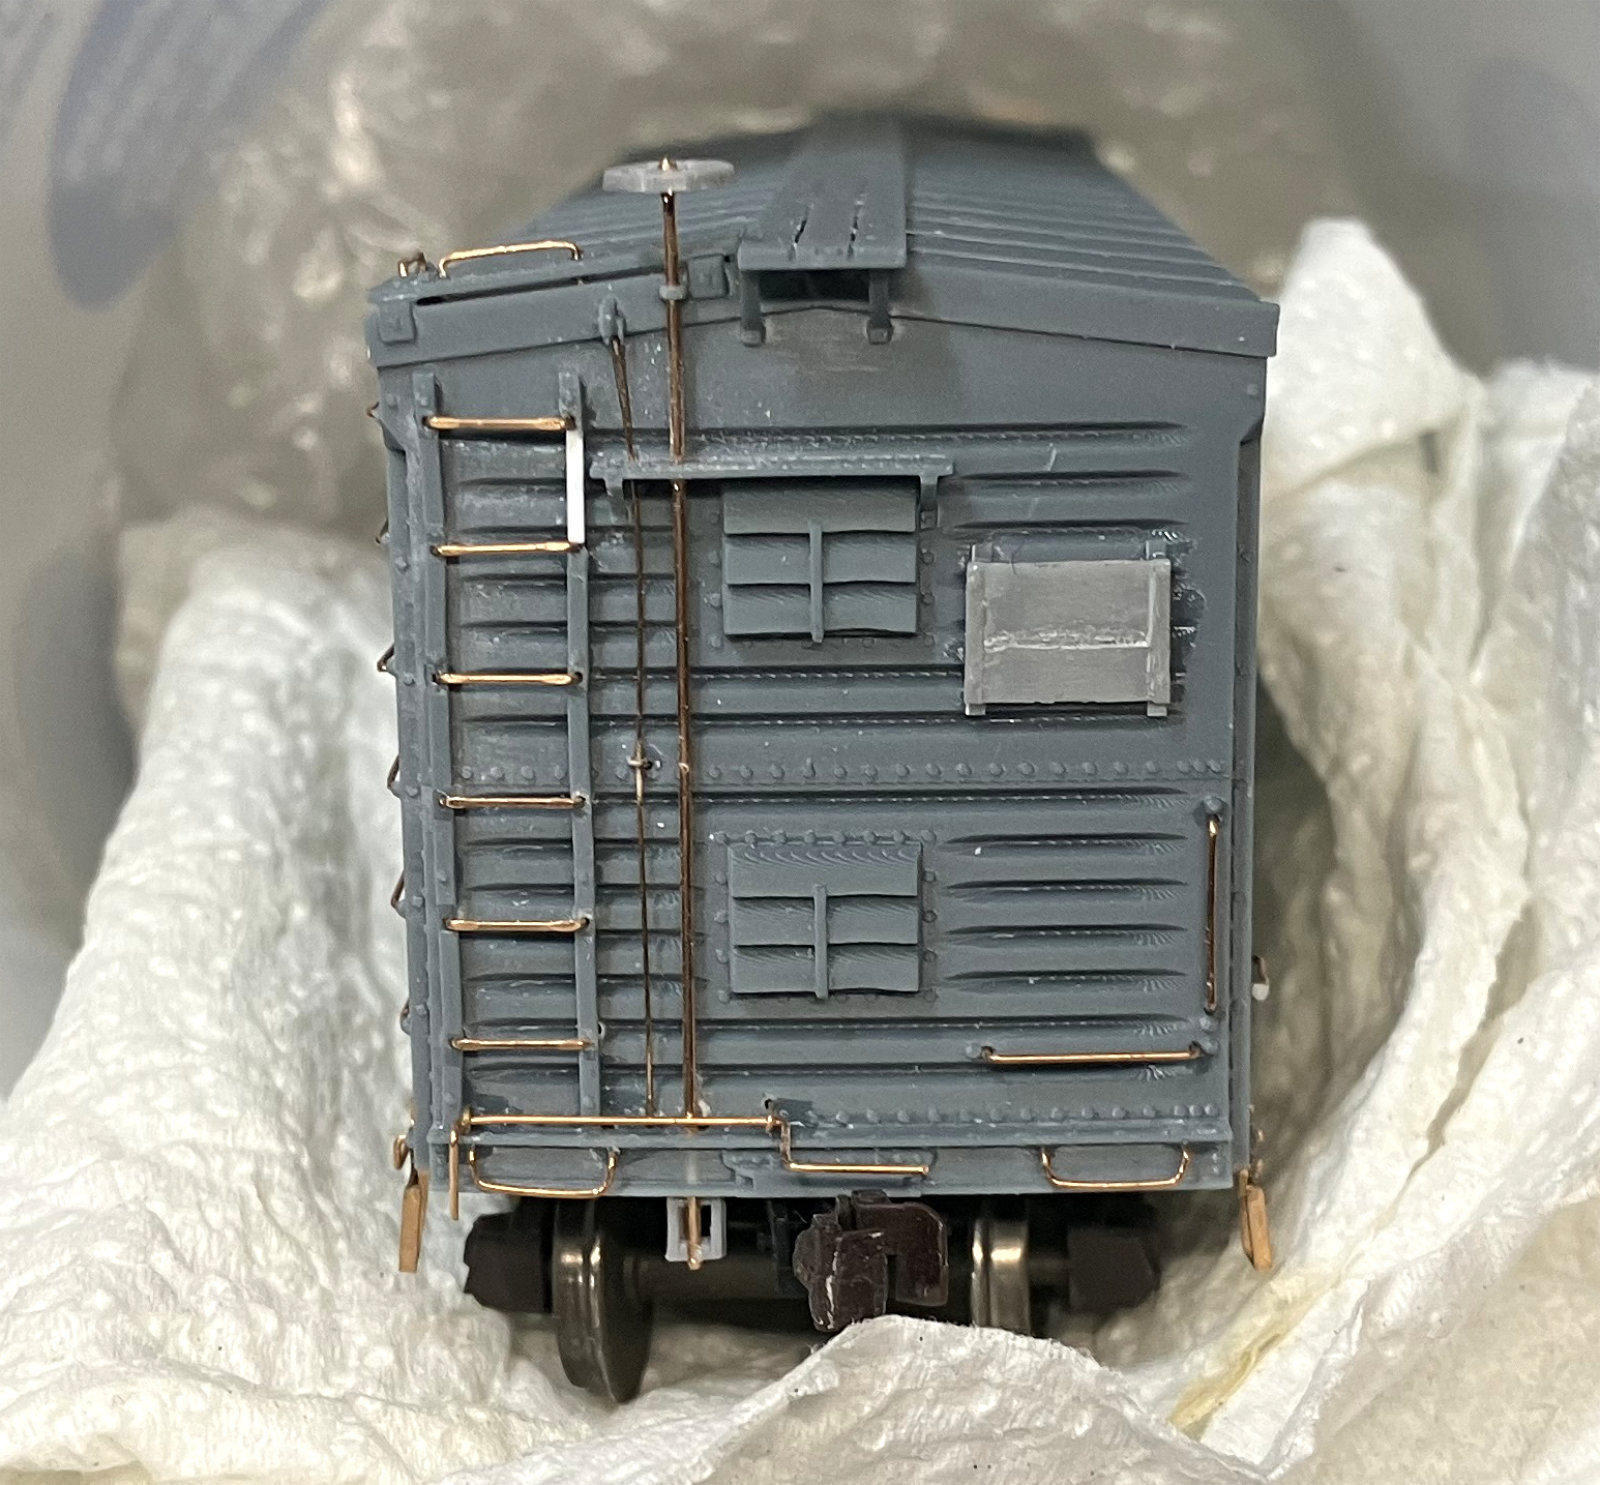
I installed the tack boards onto the car ends in a location documented on a prototype image.
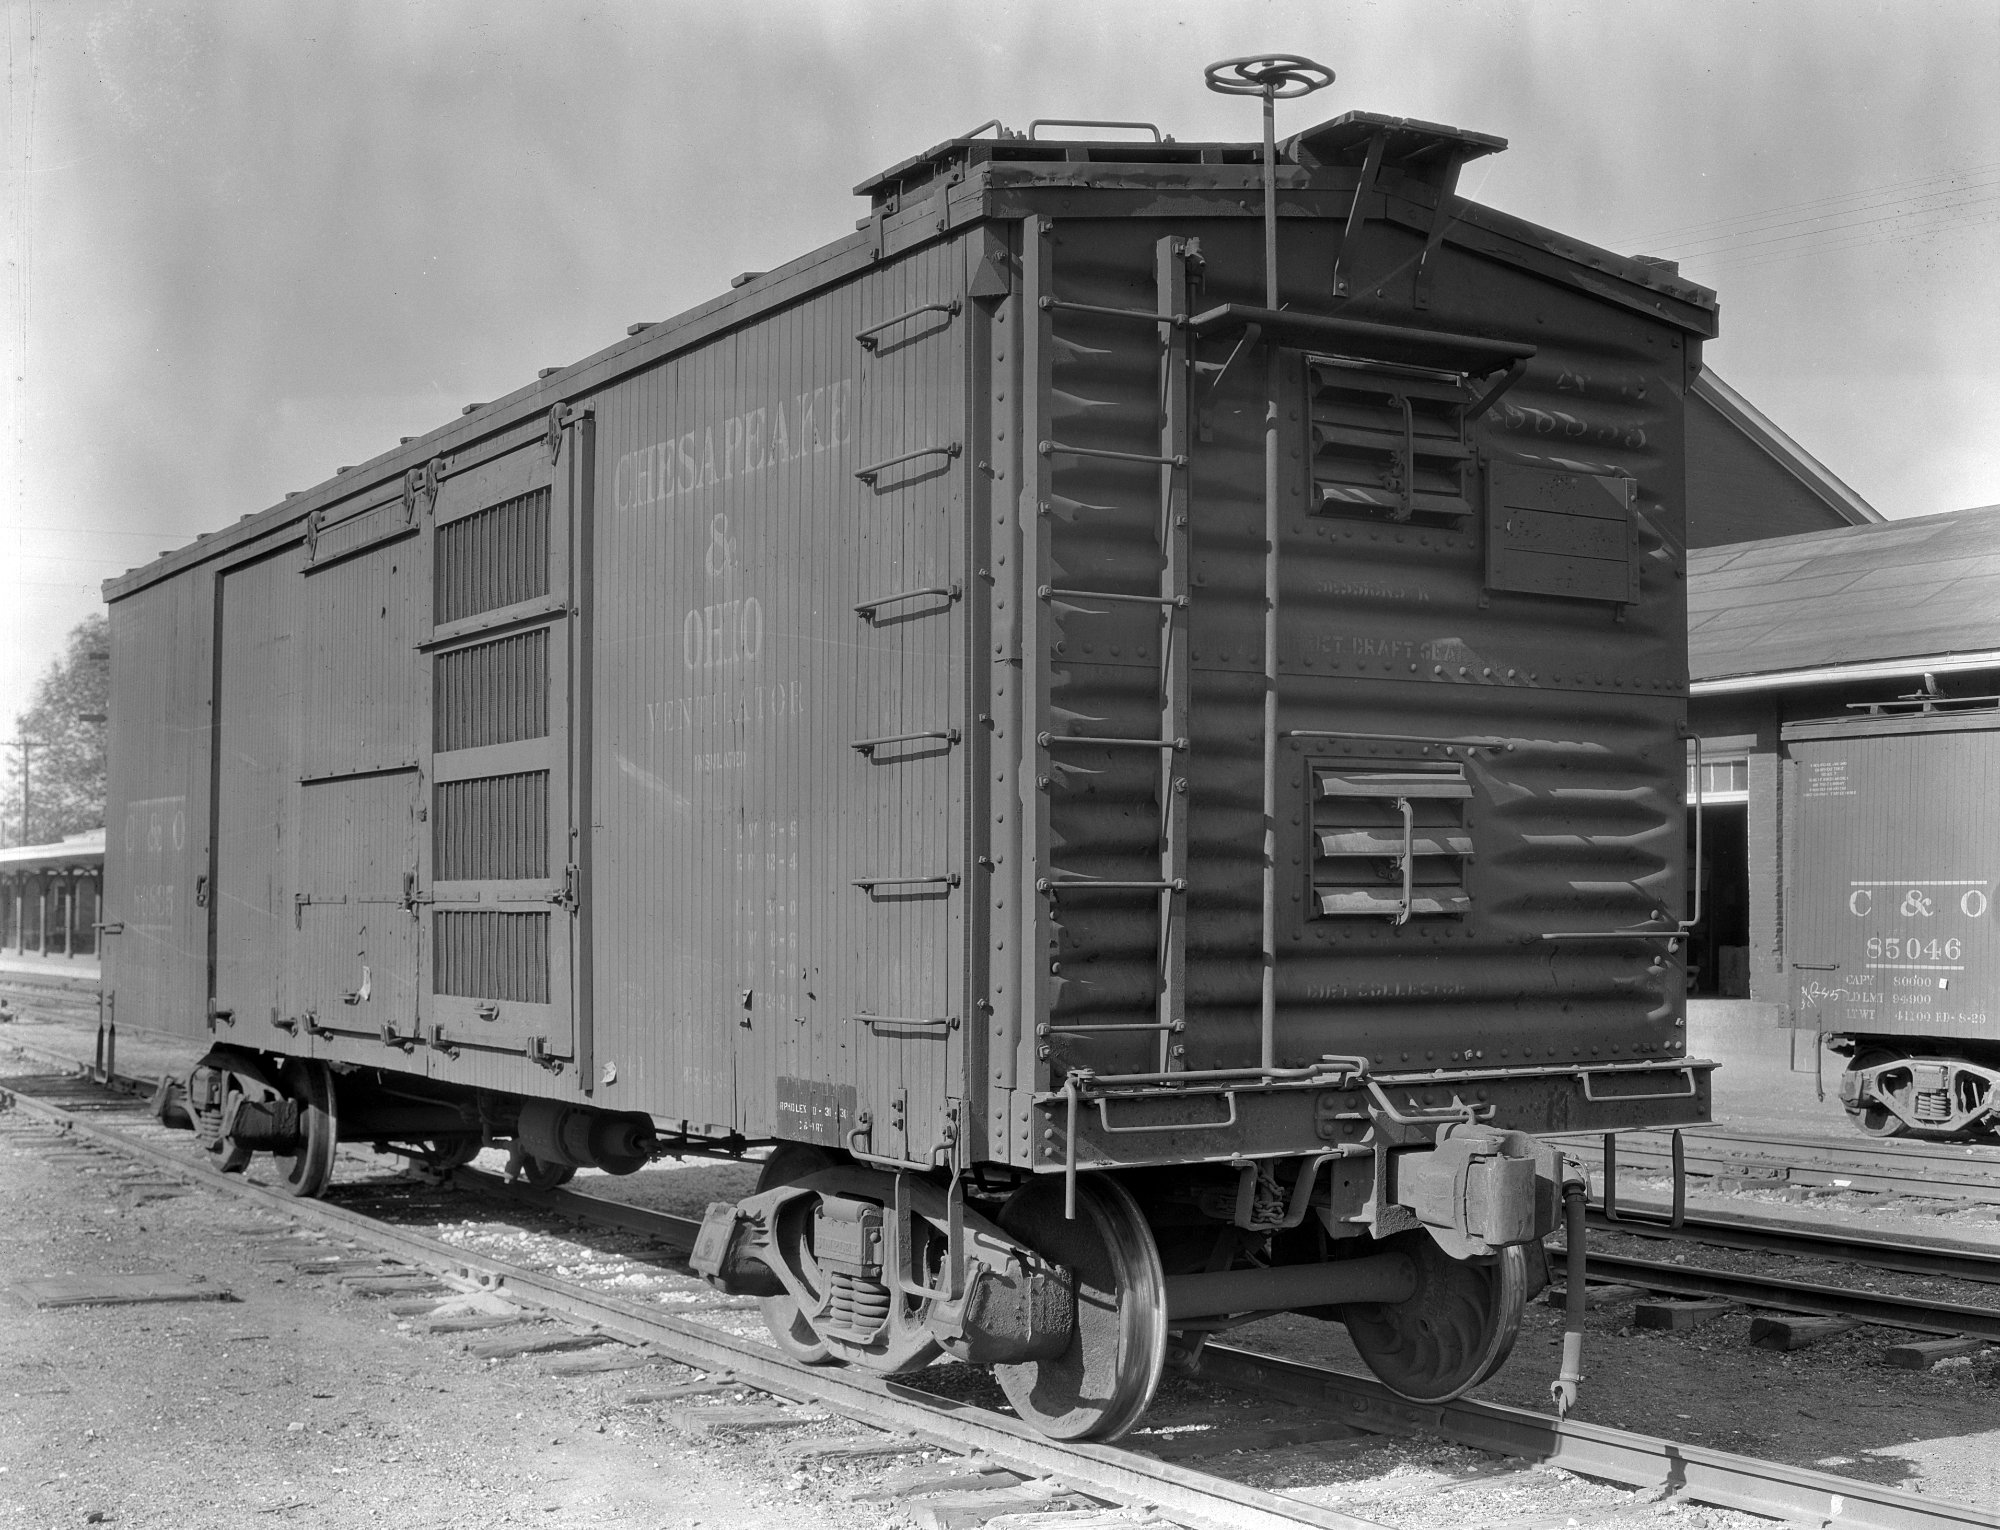
I used this 1931 image of C&O 86635 to fix the tack board location on the model end. This image also guided my work installing the sill steps, retainer line, and uncoupling rods.
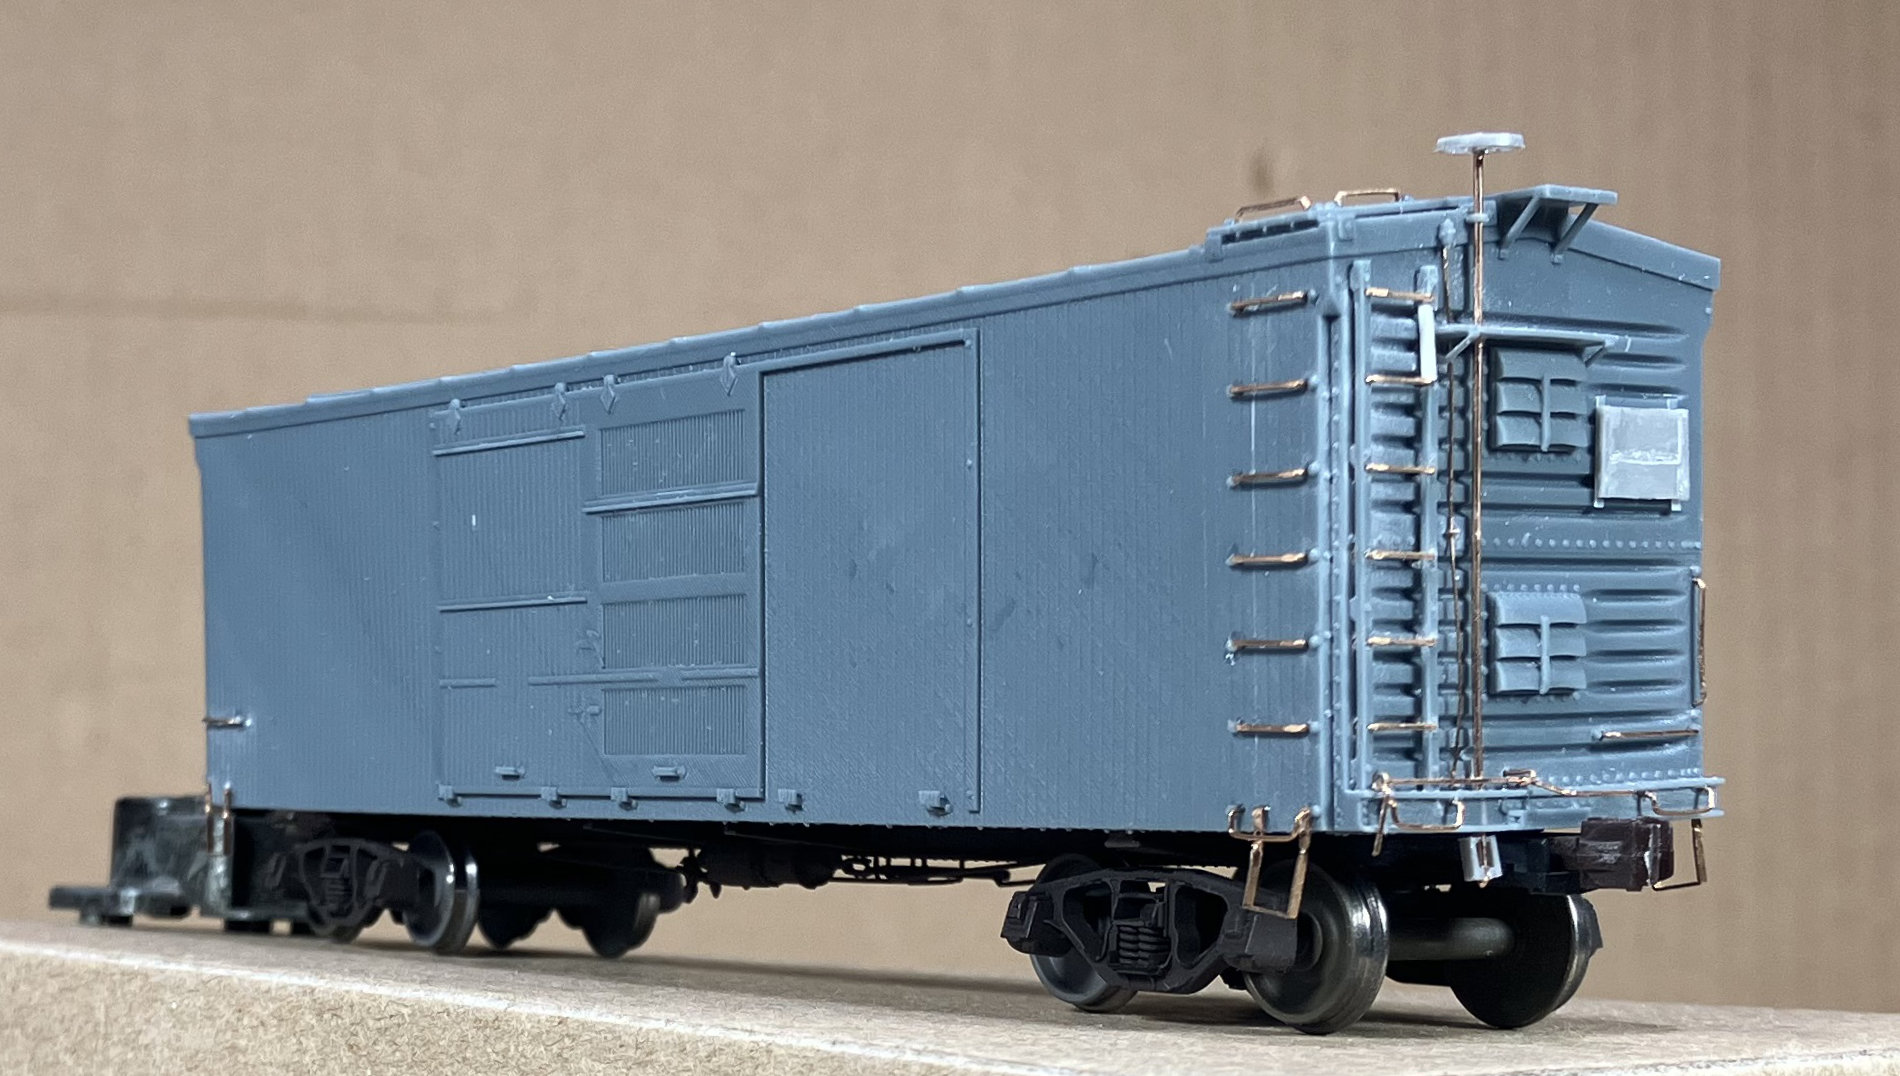
Now my C&O ventilated box car is ready for warmer weather when the paint shop opens. I also contacted the kit designer and the tack boards have been added to the latest print file.
Sometimes our model kits are missing detail pieces. Saving the extra parts from older, completed kits can be a handy resource to keep your projects moving towards the finish line.
Eric Hansmann
Subscribe to the Resin Car Works blog so you don’t miss a new model announcement. Add your email address to the Subscribe function at the bottom of the page.
Questions and comments can be posted below. Please follow the instructions so your comment can be posted. All comments are reviewed and approved before they appear. Share the blog link with other model railroaders.
When were tack boards added to cars?
As box cars began to be built with steel ends, tack boards were needed. This seems to start in the early Teens. – Eric H.
Very nice work . What are the correct trucks to purchase for this car?
Thank you, Gerard! I used the Tahoe Model Works 40-ton ARA trucks under these C&O 36-foot cars. The prototype trucks had Simplex bolsters, but those have rarely been produced on HO scale trucks. – Eric H.
How are the ventilated doors handled on this model? It seems they might best be done as two separate pieces to be built up and added as they are with resin kits.
Don, the ventilated doors are printed onto the model. As noted with these kits at the Yuma Car & Foundry page, “Our kits are Fleet-Builders and intended to help a modeler affordably add cars to their fleet, whether they need five or fifty.” – Eric H.
Thank you for our response Eric. “printing” ventiilated doors on such a kit is a non-starter for people like me when it could be done so much better with so little more effort. Why not separately print a front siide and back side for the doors with hollows on the inside of one of them for the usual rods to be placed just as is provided with poured resin kits. Better yet print the regular door as well so the kit can be assembled wiith either door where the doors are wanted. Sure it will add afew dollars to the cost but wth a ventilated car I’ll wager it will double the sales.
Eric – nice job on the build. As to tack boards: in consultation with Matt at 3DCentral, we’ve decided to include the tack boards as separately printed parts. That keeps the printing of the car body cleaner and more straightforward.
Good job Eric, great minds think alike as I did the same thing. I used .005 plastic cut in strips to mount mine.
Fenton