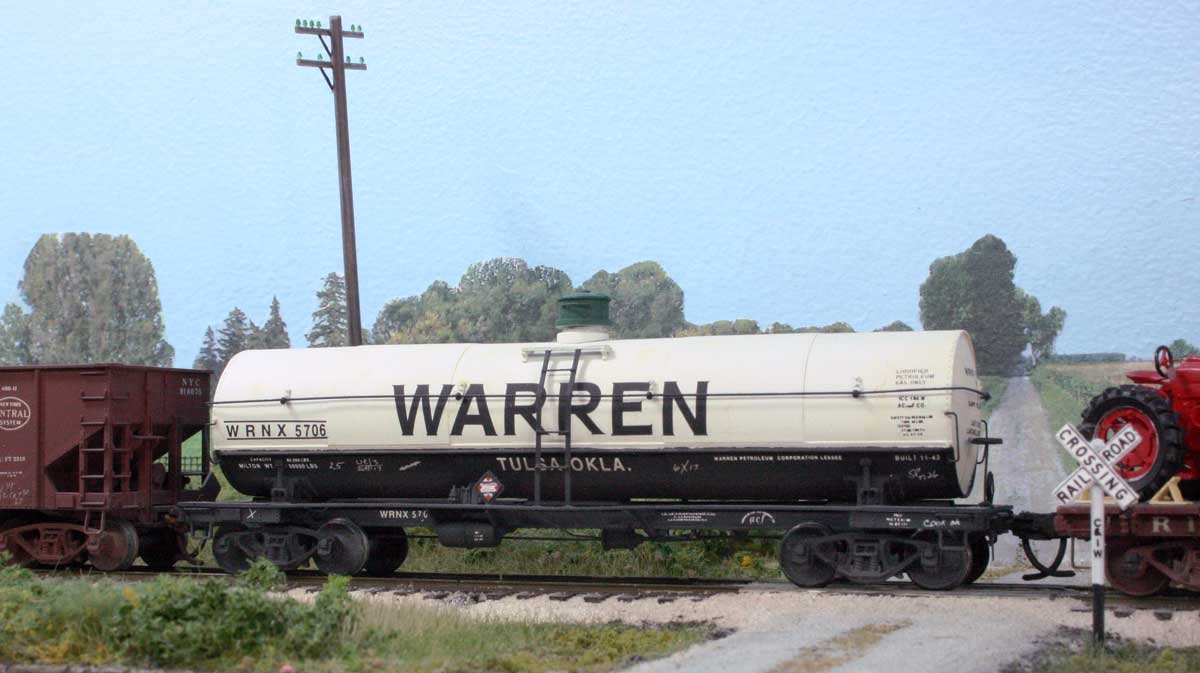
The recent St. Louis RPM event was a blast! I’ll have a report here soon. Check out the photo spread from the event.
Frank

The recent St. Louis RPM event was a blast! I’ll have a report here soon. Check out the photo spread from the event.
Frank

Bill Welch is back with more tales from his workbench. Click on any image here to review a larger size. Here’s his latest report.
As a part of building freight car models, I enjoy collecting photos for car kits I already have or hope will be produced. I have found several photos of the big 50-foot Northern Pacific single sheathed cars that I used to aid in building an HO scale kit of the car offered by Speedwitch Media. After I had finished my assembly, I realized I have a colour photo from circa 1956 on my computer showing the galvanized roof panels devoid of any paint except for some misting of overspray along its edge from the last time the body had been painted. The roof ribs did appear to be painted or perhaps coated with a “freight car red” car cement. I decided I wanted to try and recreate this appearance, which meant I needed to mask the roof, a chore made more tedious because I had already glued the Running Board System in place. Oh joy!

I present for you a fine illustration of not paying attention to what you’re doing. In this example, I forgot to follow the measure twice cut once rule.
I was working on a build of Resin Car Works Kit 1.04. I painted the grey and masked that area, then painted the rest of the tank red. The lower tank, frame and trucks were painted separately then the car was assembled. When I went to place the decals, they did not fit.
You did read that correctly. The decals did not fit.
I had made the grey area too wide. This grey band shouldn’t be any more than the width of the platform. I would have known this if I had test fit the decals to the area before masking the car. So I lost some time on this build. I’ll just repaint the car in black, which is appropriate for my era.
It’s a lesson learned on this tank car paint job. I know I’ll get it right the next time!
Frank
A recent discussion on the Steam Era Freight Car (STMFC) YahooGroup reminded me of some hopper conversations from the past. There were a few posts on New York Central (NYC) offset side hopper cars and the lack of models available. Here are some quick tips to modify some readily available models to better reflect NYC prototypes. Click on any image here to view a larger size.
A likeness of an NYC offset twin can be created by removing 1-foot, 6-inches from the center of an Athearn, Accurail, or Atlas car (the triple A of model train manufactures). It is easy to hide the cut as there’s a riveted seam which runs down the center of the car.
The car also needs to be raised a bit which is can be accomplished by using washer on the kingpin. This gives the model more of the NYC look of being taller than a standard twin hopper. Compare the length and height differences between a NYC twin and standard twin in the lead photo of Peoria & Eastern 2831 and Rock Island 89727.
P&E 2831 is an Athearn car. Once the car is raised the couplers need to be lower. This is done by attaching a new coupler box to the old one. Some styrene is added to the bottom of the hopper to again give the car a taller appearance.
NYC 868422 is an Accurail car essentially modified in the same manner as the Athearn car.
Decals are available for this and other NYC hoppers from Resin Car Works! Check out the selection on our website.
Frank