Jerry Hamsmith has been busy with a resin kit group build and sent a progress summary. Here’s part one.
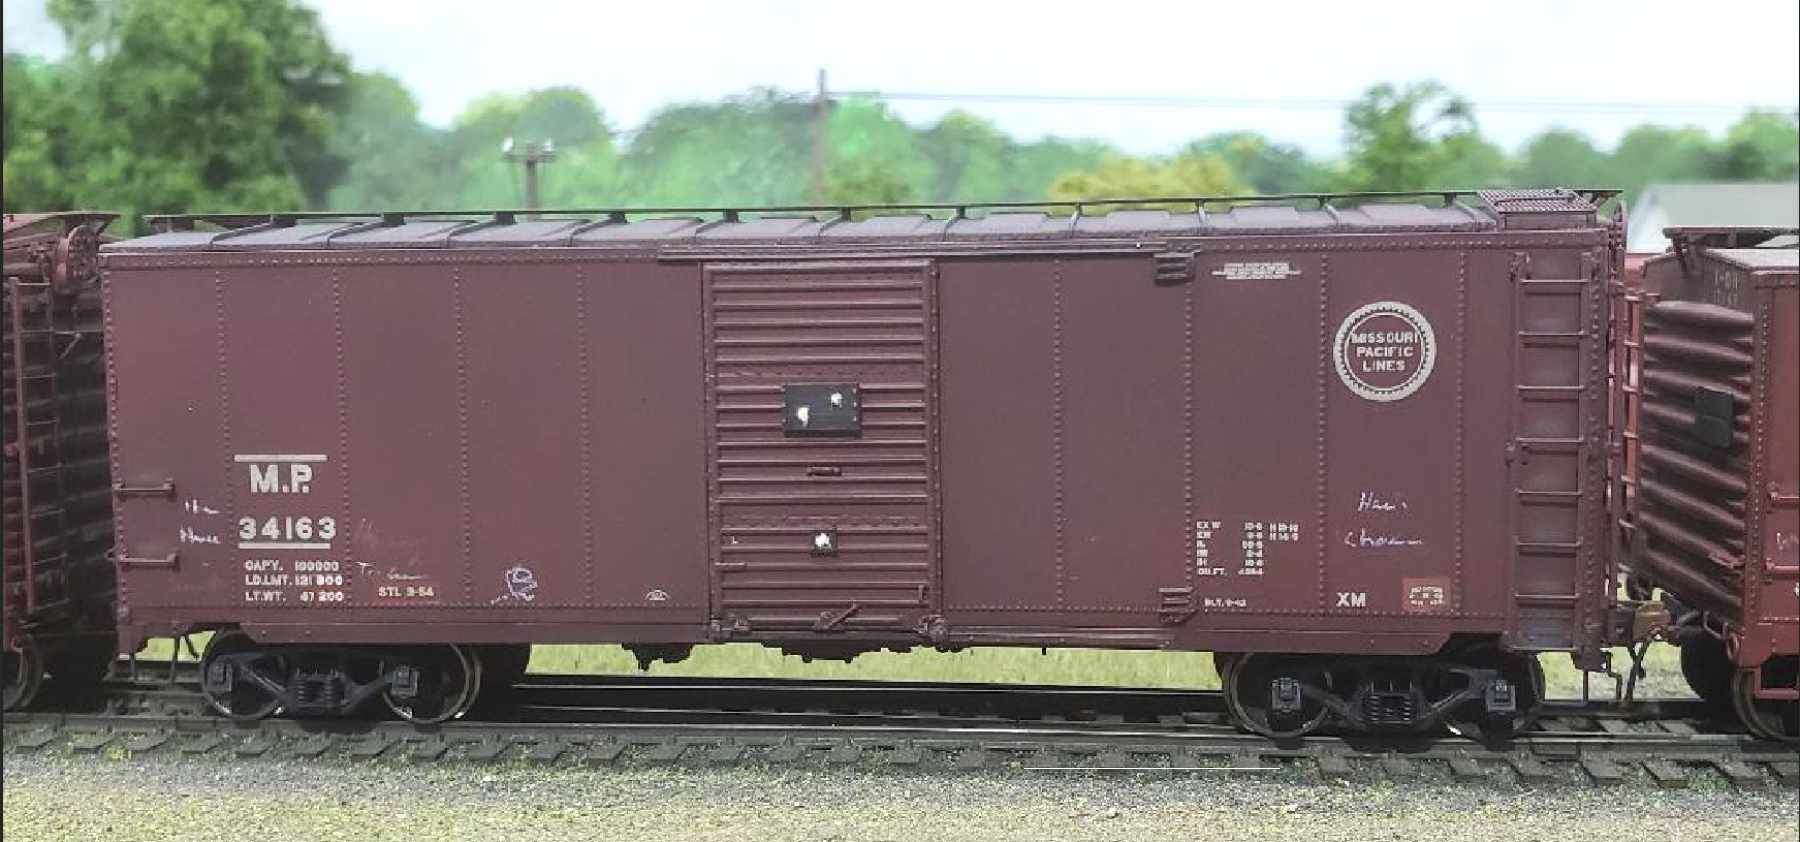
Recently, a group of fellow modelers (Ed Rethwisch, Chris Vanko, Bob Hanmer, Allen DeBraal, Brad Hanner, and myself) successfully completed a build of the newly released Resin Car Works Kit 8.05, a Missouri Pacific 1942 ACF boxcar. This series of posts will follow along with the build and describe our techniques. We hope this encourages modelers to build any resin kit and, specifically, to aid in building this RCW kit.
Prototype
The background prototype information and a description of kit parts are available on the Resin Car Works Kit 8.05 Extras page. That information should be reviewed as a starting point.
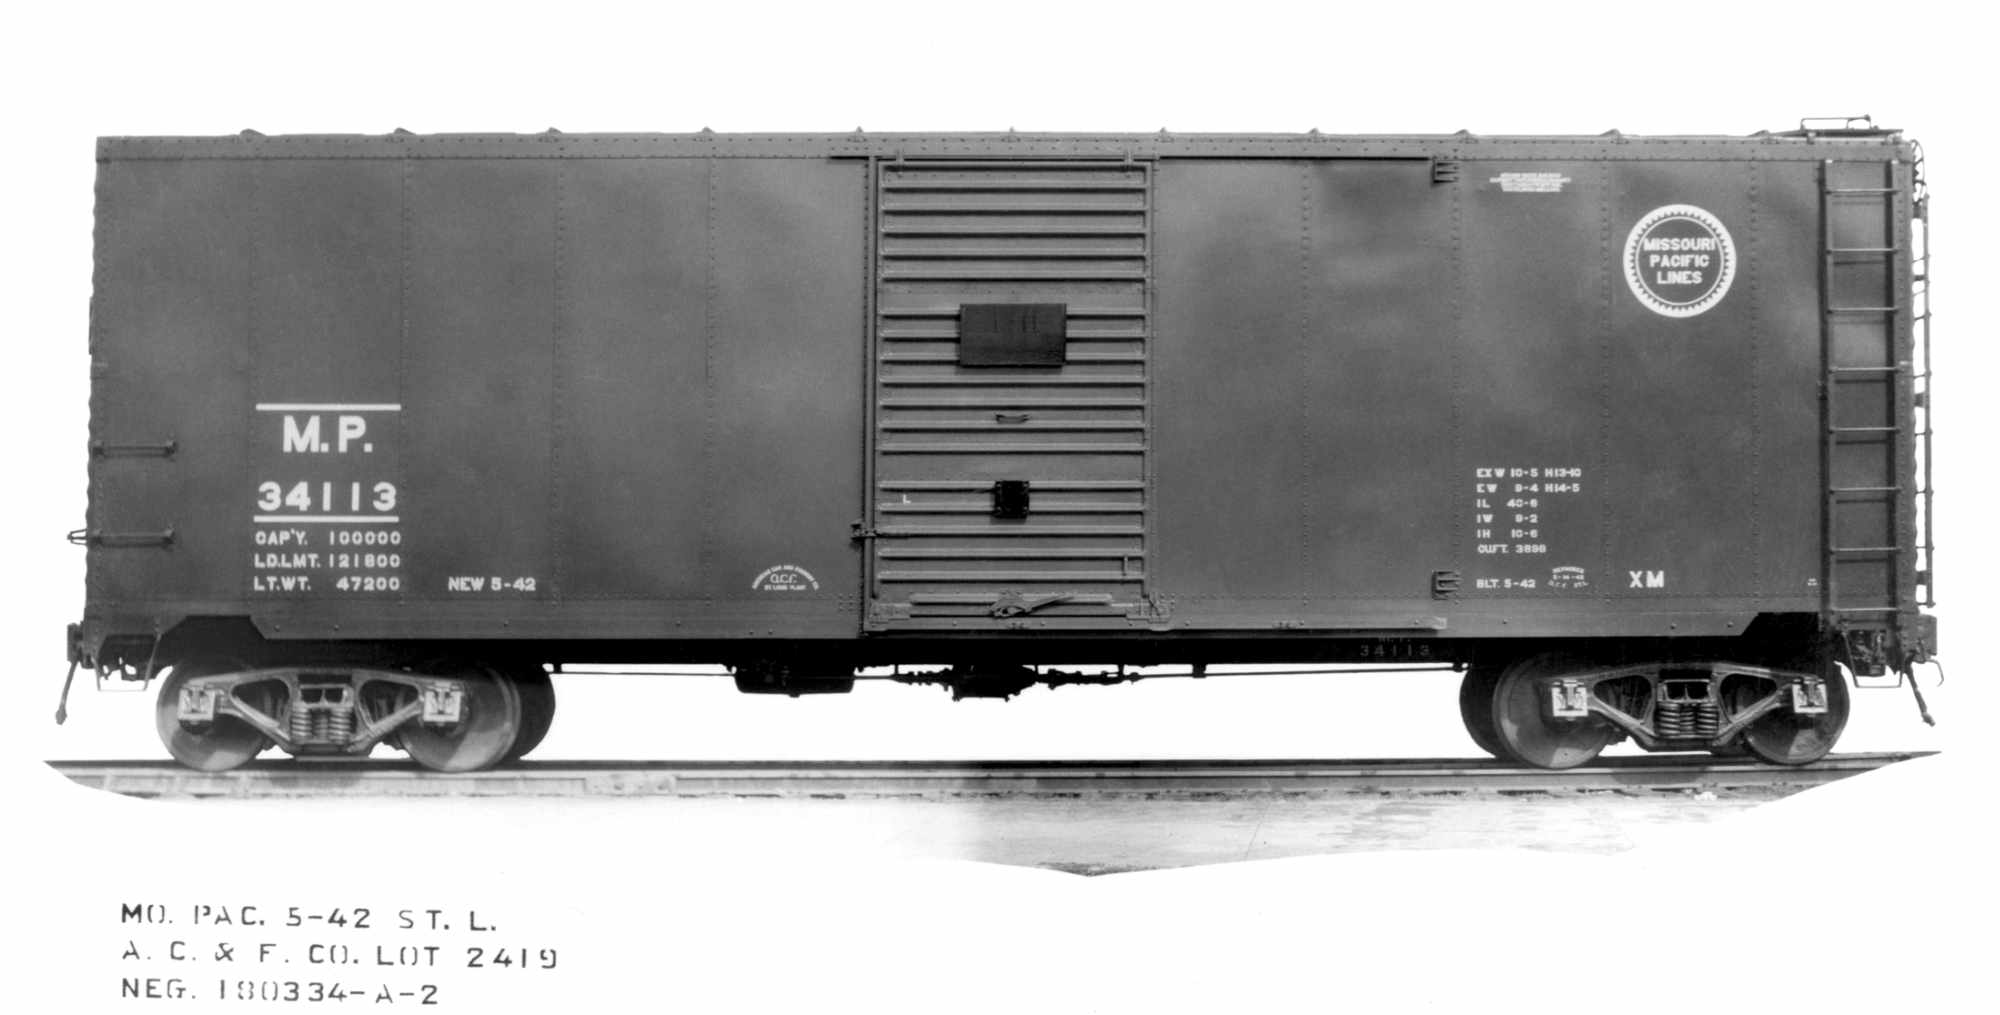
A total of 1,900 cars were built for the MP and it’s subsidiaries by ACF and delivered between March 1942 and February 1946. A portion of those cars, some 250, differed from the rest in that they had side sill tabs that extended continuously from bolster to bolster. The RCW kit is designed to model those cars with the long side sills.
Those prototype cars were numbered and delivered as follows:
- StLB&M 17501-17600, 100 cars, built 5-42, ACF lot 2419
- I-GN 17751-17825, 75 cars, built 4-42, ACF lot 2420
- M.P. 34113-34262, 150 cars, built 5-42, ACF lot 2419
- M.P. 34263-34287, 25 cars, built 4-42, ACF 2420
First steps
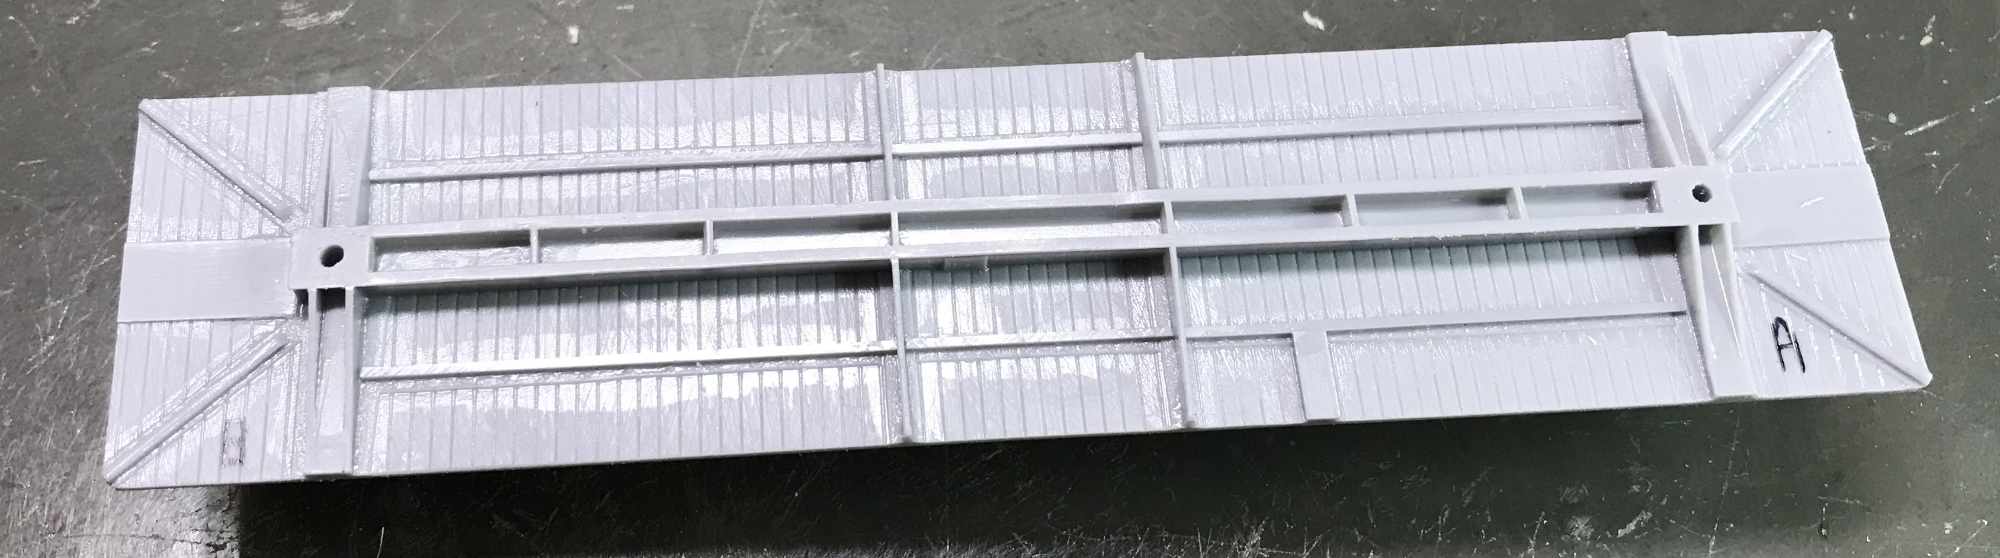
After familiarizing ourselves with the parts provided, most of the group began with the underframe. The floor casting was washed in warm water and Dawn dish detergent. When dry, holes were marked for the bolsters and drilled with a #50 bit for 2/56 screws. The A and B ends were identified and marked on the floor. This was determined by the position of the pad cast onto the underframe for the control valve.
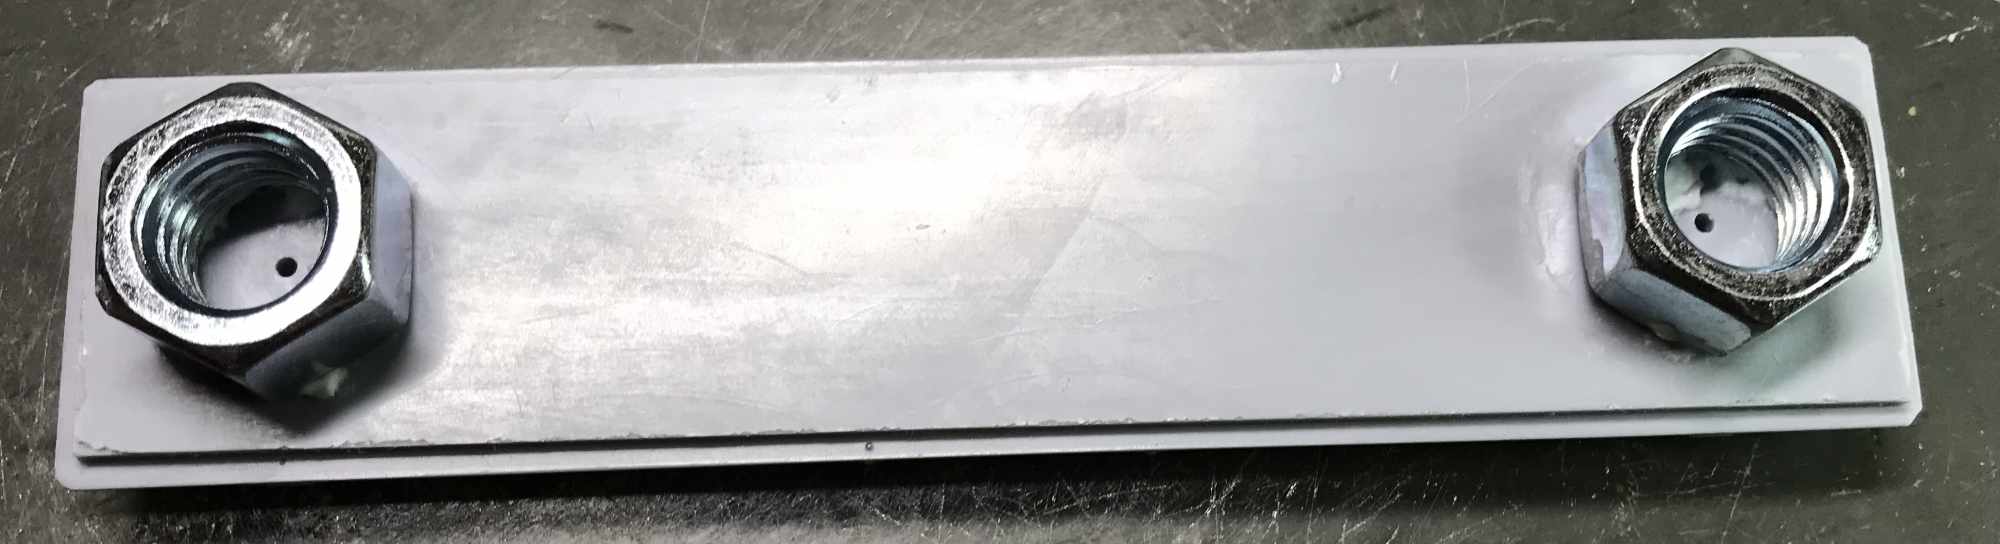
A method to add weight to the car was determined by each member. Some used a flat piece of steel or lead glued to the top of underframe casting, while others used tire weights. I used a pair of half-inch hex nuts, easily found at any hardware store. These were attached with Formula 560 canopy glue. Once the glue had set, and additional bead of ACC was added around the outside edges of the hex nuts.
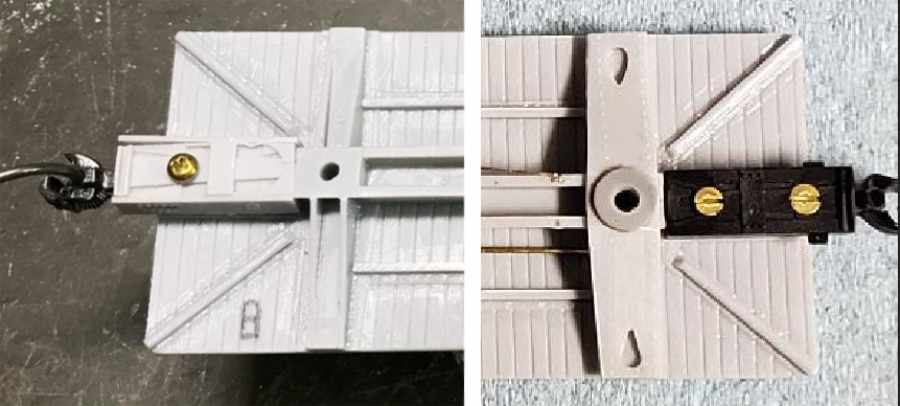
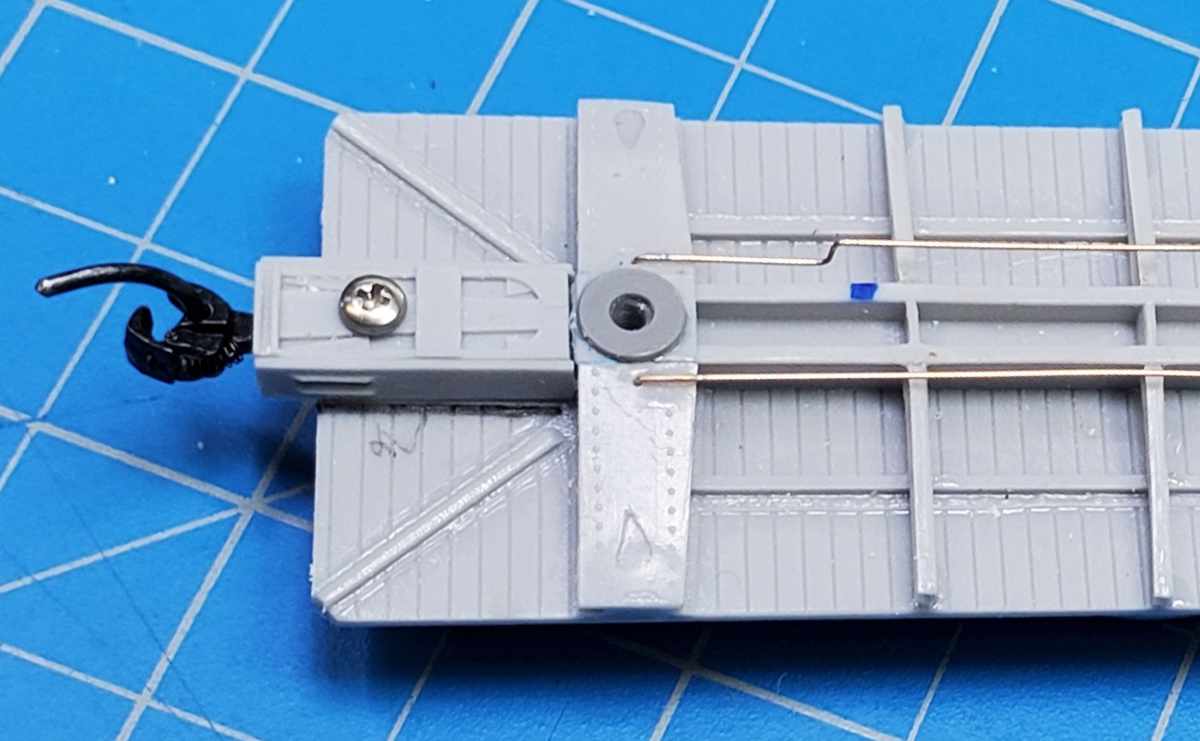
Couplers were added next. Some group members decided to use the kit provided parts and others used Accurail pockets and scale size couplers. In both cases, the pocket bases and lids were prepared and attached. Kadee #158 whisker couplers were used in the kit based pockets.
Next, the kit provided Tahoe Model Works double-truss truck sideframes and appropriate wheelsets were attached to the car and the resulting coupler height was tested. In all circumstances, the couplers were too low and spacer washers were added over the bolster holes. The washers included on the Tichy brake sprue provided the correct height adjustment.
Underframe details
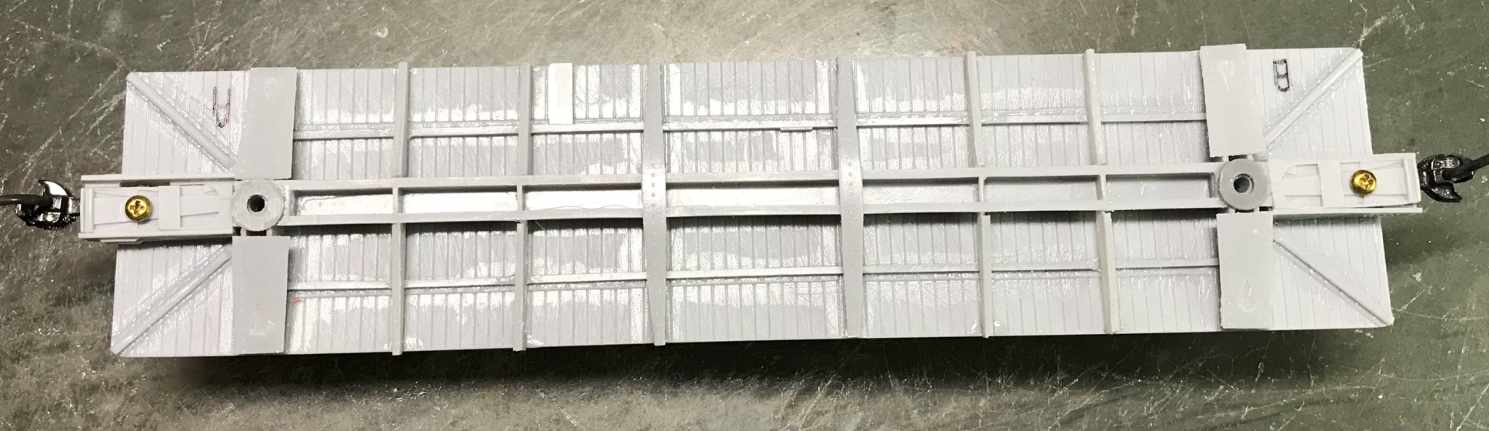
The crossbearers (cross ties) were then added with care taken to be sure that the grooved part on each was facing toward the end of the car in all cases. These parts should be lined up with the markers cast into the center sill.
The major crossbearer caps were added last and trimmed to fit. The bolster caps were also added and trimmed to allow for the Tichy washers over the truck attachment holes.
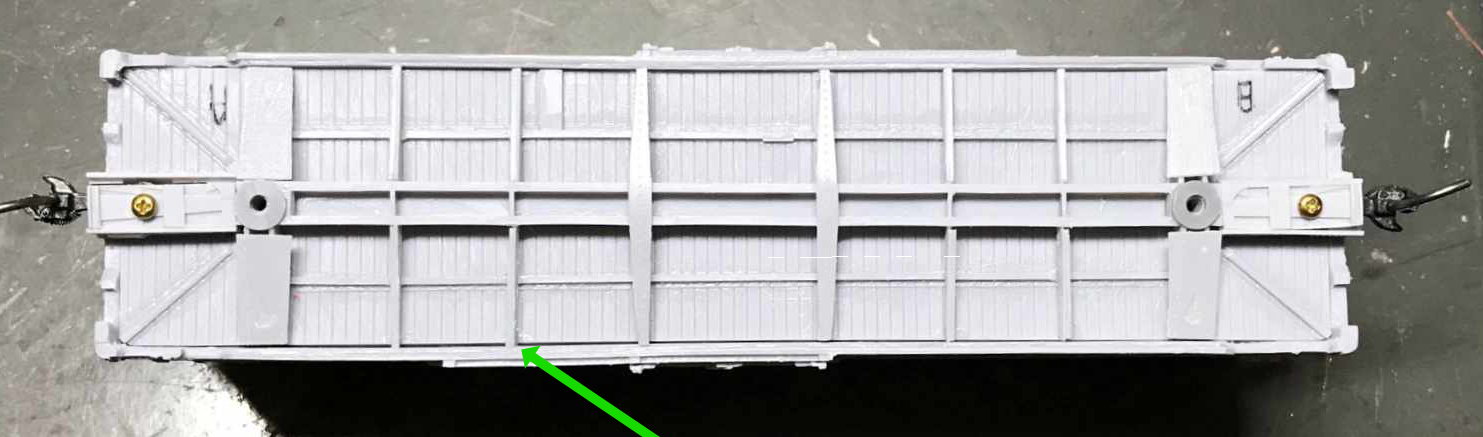
Once all the cross ties and bolster caps had been installed, the underframe was test fit into the car body. In my case, a few of the cross ties remained too long and interfered with a good fit. These were shortened and the proper fit was achieved.
Some members decided to permanently attach the underframe to the car body at this time. Others opted to wait until the brake components were added.
We will add the brake components in the next installment.
Jerry Hamsmith and his group offer some great tips to get a resin freight car kit rolling. We look forward to the next part of the story!
Subscribe to the Resin Car Works blog so you don’t miss inspirational modeling and new model announcements. Add your email address to the Subscribe function at the bottom of the page.
Questions and comments can be posted below. Please follow the instructions so your comment can be posted. All comments are reviewed and approved before they appear. Share the blog link with other model railroaders.
How do I find out when they’re doing a group build? I would love to follow along.
I recently finished a RCW insulated tank car. Some challenges but a lot of fun. Always inrterested to see methods others use to build resin kits.